

This article addresses configuring Google Workspace Business and Education editions with the Barracuda Email Security Gateway as your inbound and/or outbound mail gateway.
Inbound Configuration
- Log into the Google Workspace admin console at https://admin.google.com.
- From the Home page, go to Apps > Google Workspace > Gmail. From the Home page, go to Apps > Google Workspace > Gmail > Spam, Phishing, and Malware.
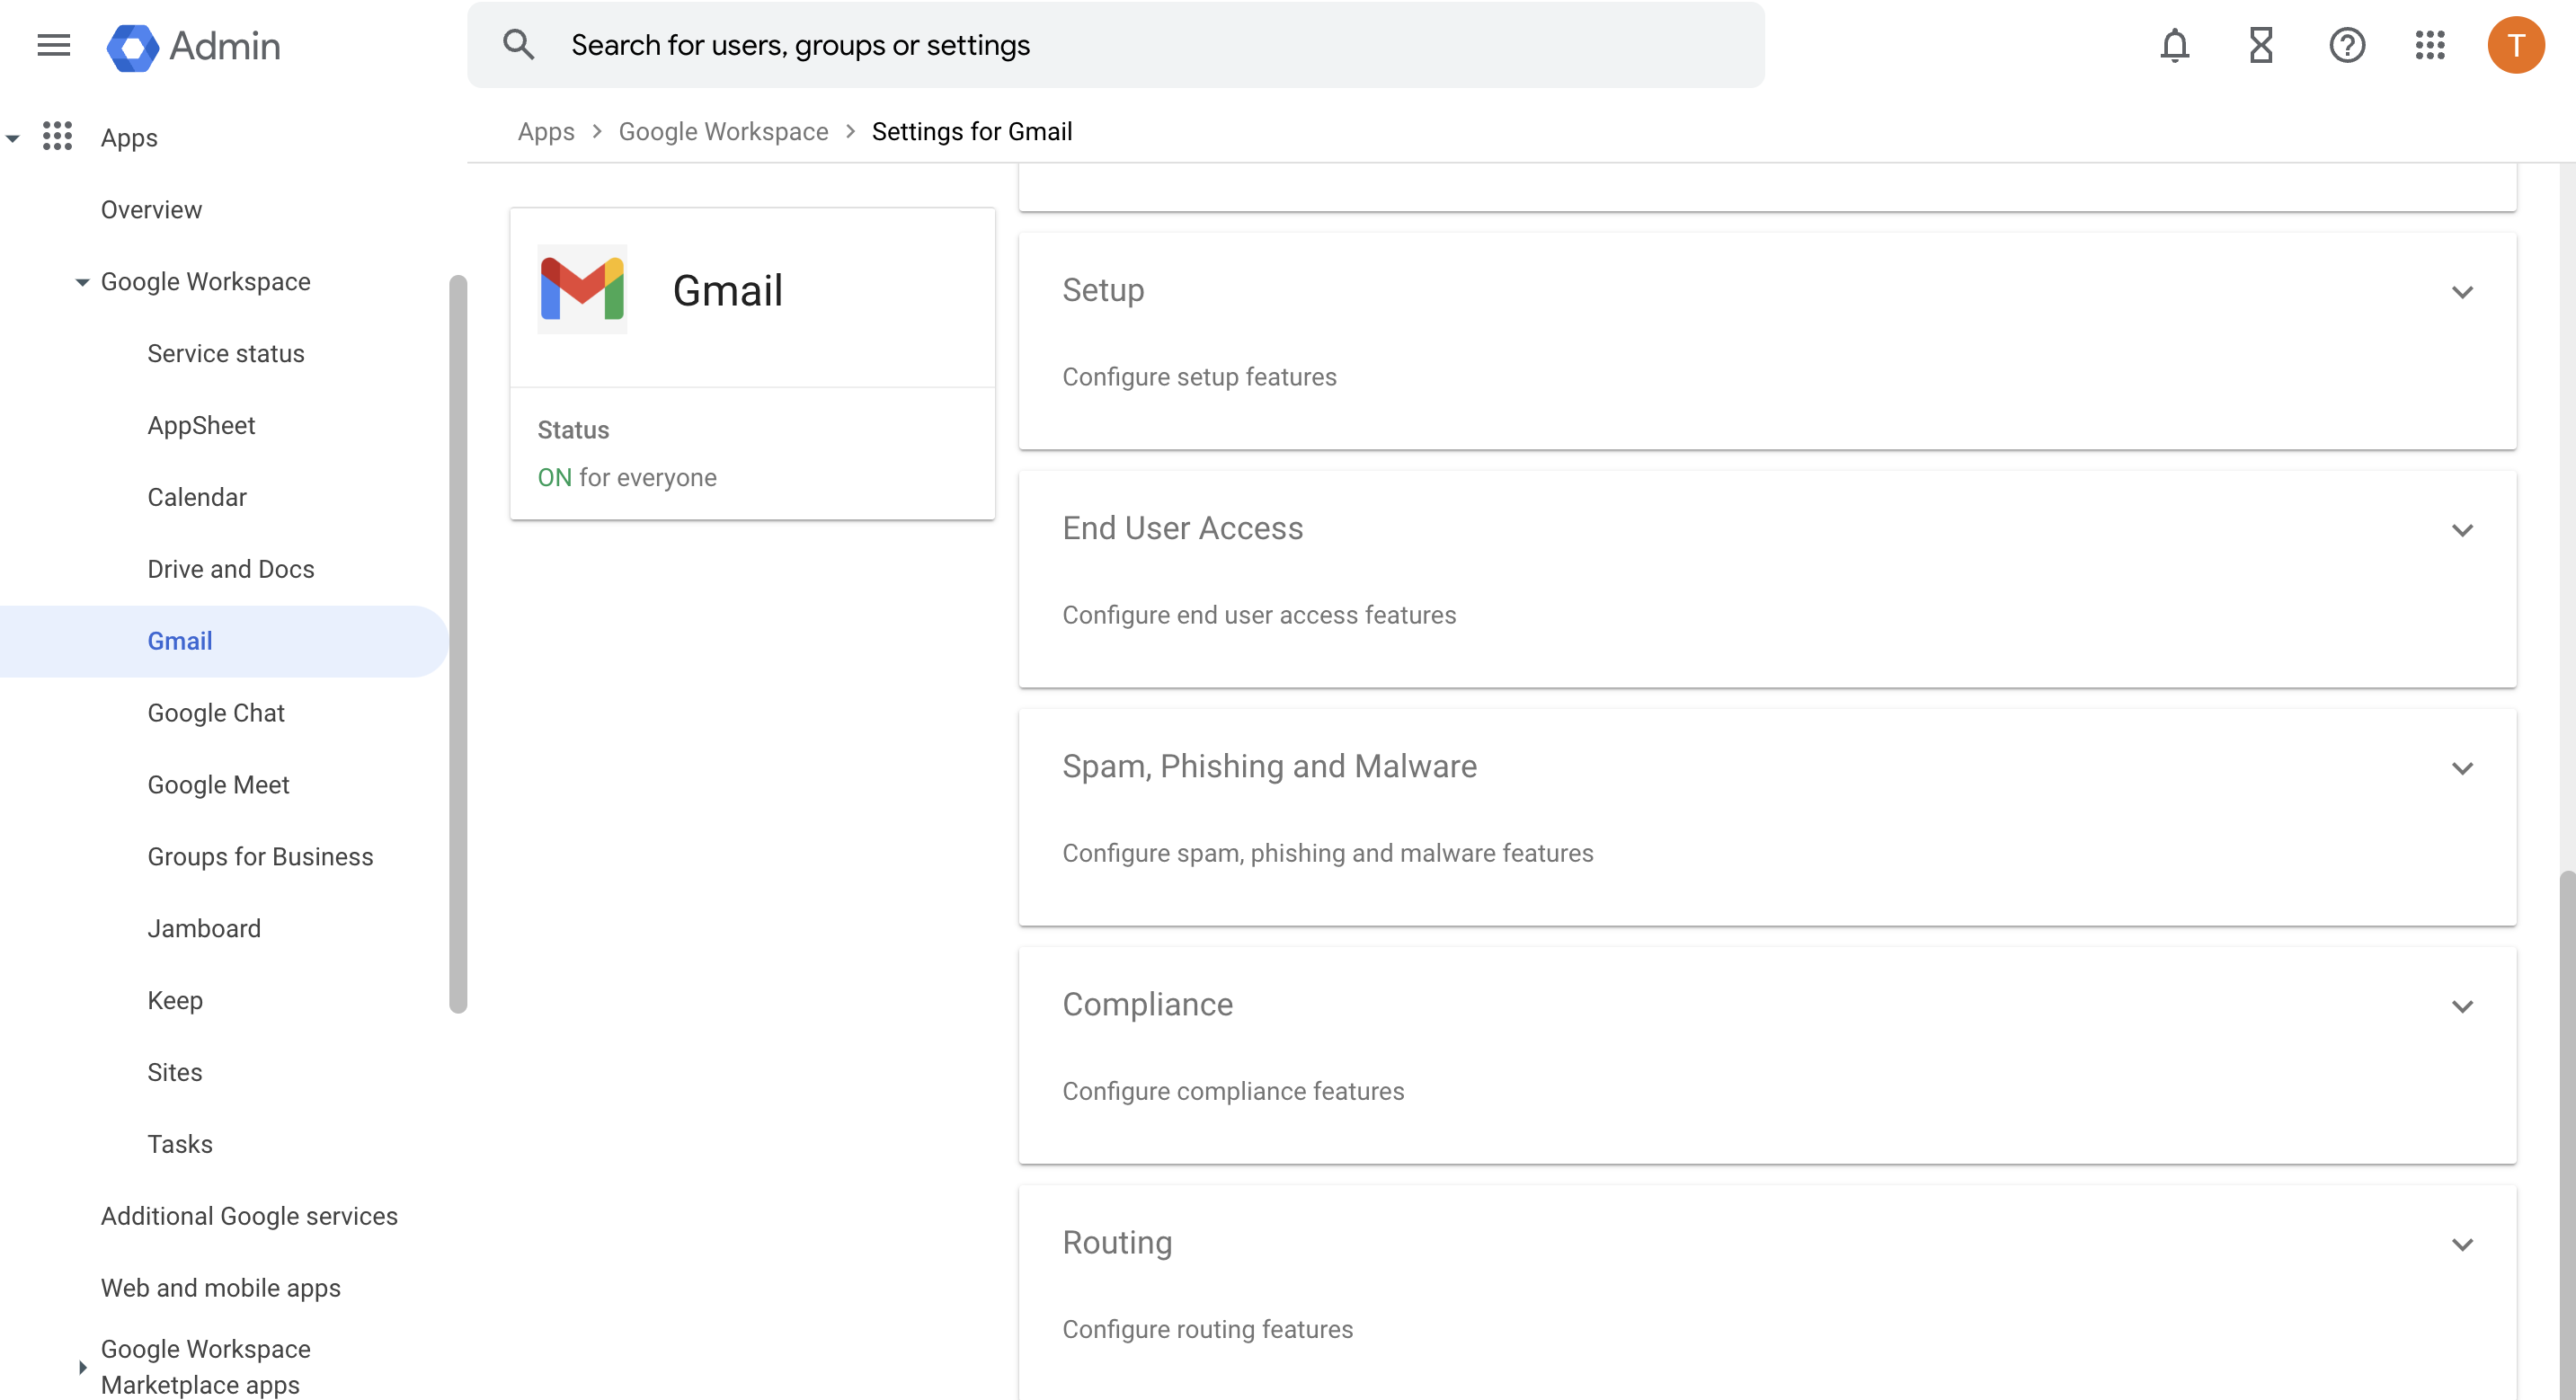
- Scroll to the Inbound gateway section and, on the right, click Enable, and then click Edit.
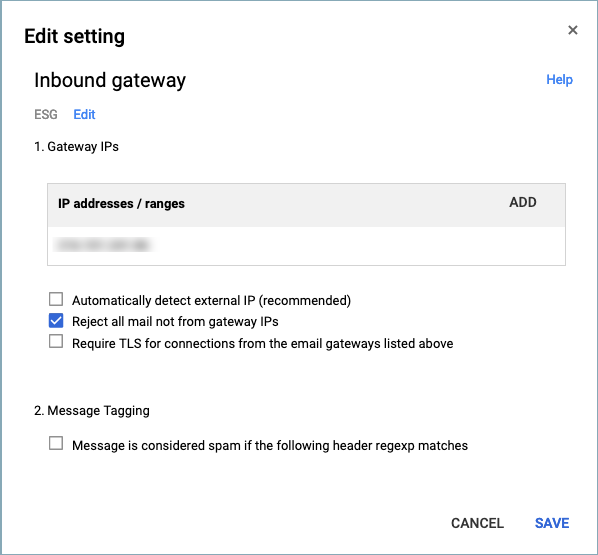
- In the Gateway IPs section, under IP Addresses / Ranges, enter the public IP addresses of the Barracuda Spam Email Security Gateway(s), specifying either a block of addresses or individual IP addresses.
- Select the following options:
- Automatically detect external IP (recommended)
Reject all mail not from gateway IPs. MAKE SURE TO CHECK THIS BOX. All other mail will be rejected.
- Require TLS for connections from the email gateways listed above
- Click Save.
More information on inbound gateways can be found here.
Figure 1: Google Workspace - Inbound Gateway Settings
Outbound Configuration
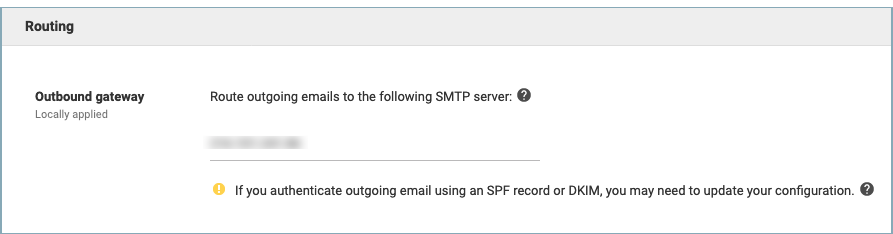
- Scroll to the Routing section, and locate Outbound gateway.
- Enter the IP address of the Barracuda Email Security Gateway that is the outbound mail gateway.
Figure 2: Google Workspace - Outbound Gateway Settings
More information about outbound gateways can be found here.
Additional settings:
- nslookup -q=TXT _netblocks.google.com 8.8.8.8
- server: google-public-dns-a.google.com
- address: 8.8.8.8
- Non-authoritative answer:
_netblocks.google.com text ="v=spf1 ip4:216.239.32.0/19ip4:64.233.160.0/19ip4:66.249.80.0/20
ip4:72.14.192.0/18ip4:209.85.128.0/17ip4:66.102.0.0/20ip4:74.125.0.0/16
ip4:64.18.0.0/20ip4:207.126.144.0/20ip4:173.194.0.0/16 ?all"
Configuring the Barracuda Email Security Gateway
- Navigate to DOMAINS > Domain Manager and specify your domain in New Domain Name, then click Add Domain.
Click the Manage Domain link and then BASIC > IP Configuration. Add the Google Workspace destination mail servers as follows:
Priority
Value/Answer/Destination
1
ASPMX.L.GOOGLE.COM
5
ALT1.ASPMX.L.GOOGLE.COM
5
ALT2.ASPMX.L.GOOGLE.COM
10
ALT3.ASPMX.L.GOOGLE.COM
10
ALT4.ASPMX.L.GOOGLE.COM
Also add the Destination Server name/IP address or hostname that receives email after spam and virus scans. It is usually best to use a hostname rather than an IP address so that the destination mail server can be moved and DNS updated at any time without having to make changes to the Barracuda Email Security Gateway configuration.
How to Configure Google Workspace to Bypass the Barracuda Email Security Gateway for Internal Mail
In the Google Workspace Admin console:
- Go to Apps > Google Workspace > Gmail > Advanced Settings.
- On the General Settings tab, scroll down to the Routing section. This is where you set your Outbound Gateway to route mail to the Barracuda Email Security Gateway. To the right, click EDIT, and add a route as shown.
- Select Internal - sending.
- Under Show Options, Envelope filter, select Only affect specific envelope recipients .
- Under Pattern match, enter a REGEX expression containing your domain. For example, for
myworkdomain.com, you could use.*@mywork\.com
Scroll down in the popup and, under Route, select Change route.
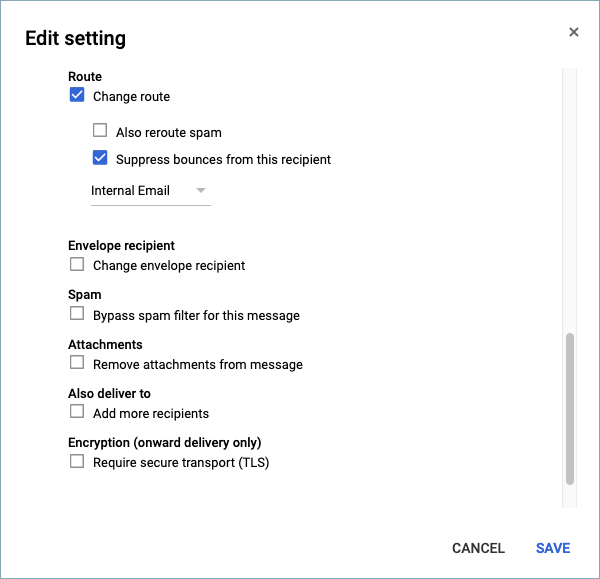
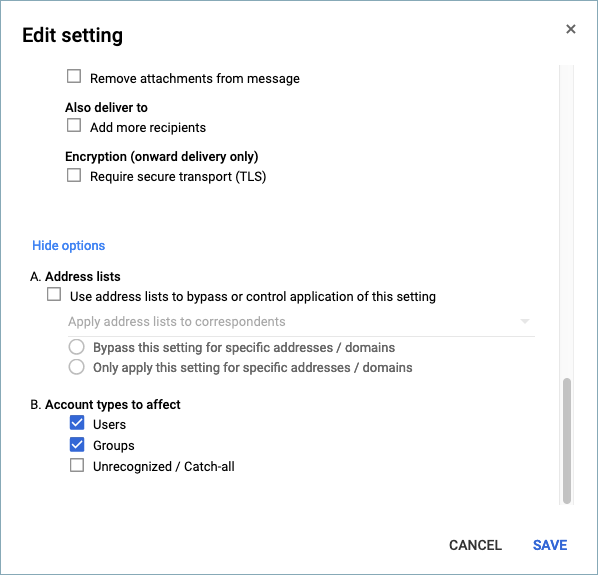
Scroll down and click Show Options.
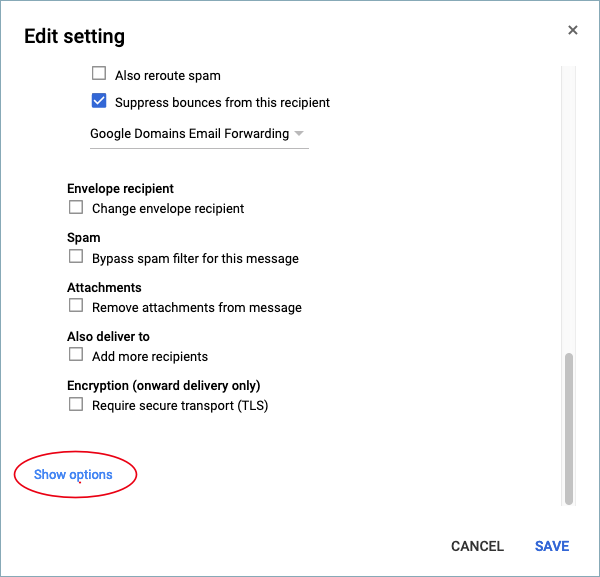
Under Account Types to affect, select Users and Groups. Click SAVE.
Now all internal mail is routed directly to Google servers, and all other mail routes through Outbound Gateway.