

Follow these instructions to install the network connector on your Mac:
Step 1. Install the Mac client
- Open the RESOURCES > My Network Connector page.
- Click the Download Mac Client button. You will be prompted to either Run or Save the installer (.dmg file).
- Launch the installer once the installation package downloads, and select all default settings as you continue through the installation.
Once installed, the Network Connector is ready for use by any user on the remote system who is logged in through the web interface of the Barracuda SSL VPN.
Step 2. Install the client configuration file
To be able to run this client in stand-alone mode, or without requiring an explicit login through the web interface, you must install a configuration file for the client on the remote system.
- Log back into the Administrative Interfaces.
- Go to the RESOURCES > My Network Connector page.
- Hover over the icon for the client configuration file in the My Network Connector section. A list of actions will appear.
- Select Install Client Configuration file. When installing the configuration file, you may be presented with various warnings depending on the security level that is configured on your system. Accept the warnings as they appear in order to continue with the installation.
Step 3. Launch the Network Connector client
- Select Finder > Applications > Network Connector. A gray network icon will appear in the top right of your screen.
- Click the network icon and choose Connect LAN1 Client (where LAN1 may be a different network name, depending on how it was configured by ssladmin).
- Enter your username and password when prompted, and click OK.
Troubleshooting
If you have not used the Network Connector before, it could happen that the first launch fails because the system does not accept the Network Connector driver. You will then see a warning message:
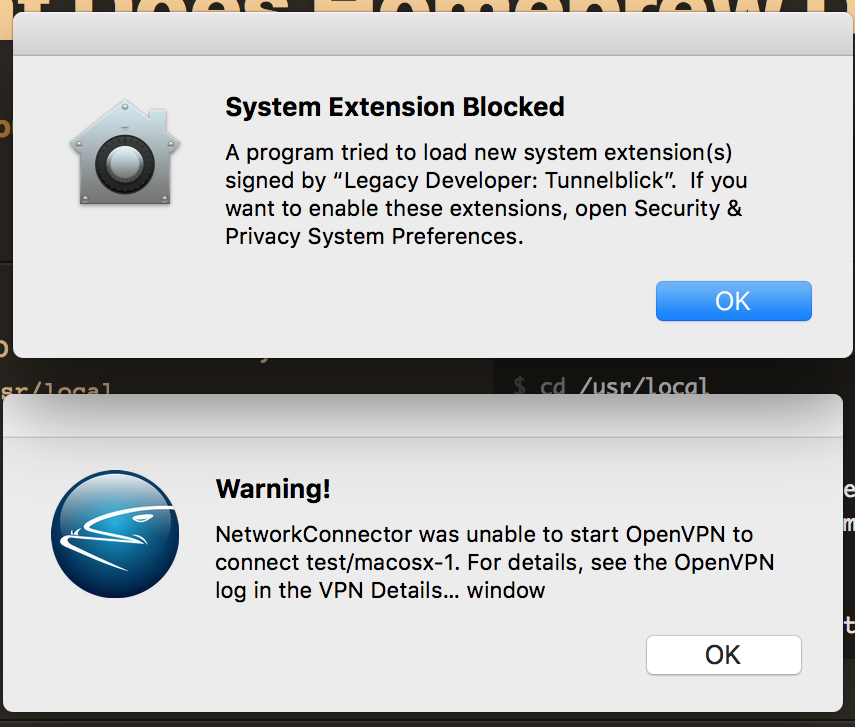
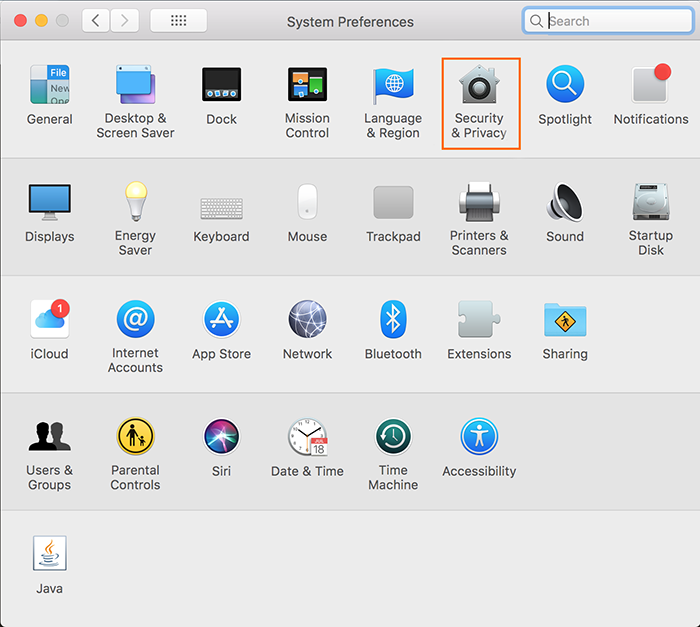
- Go to System Preferences > Security & Privacy.
A message is displayed, stating that the software is blocked from loading.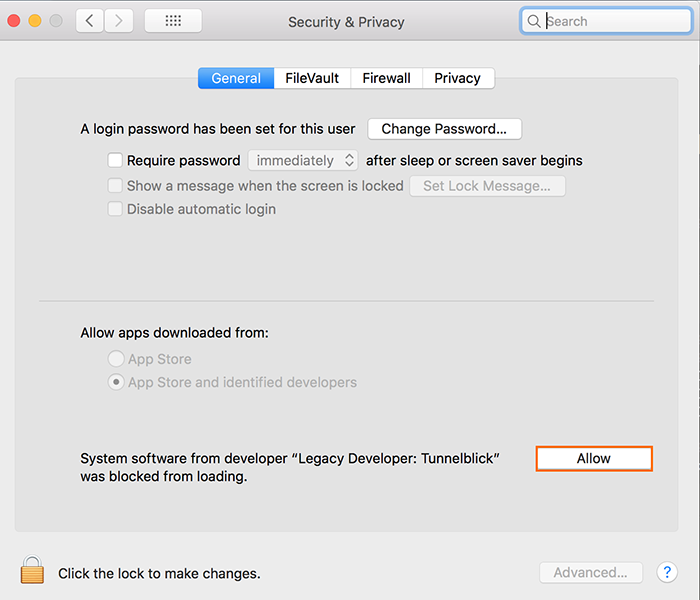
- Click Allow to accept the Network Connector driver.
This option is only available for 30 minutes from the first launch of Network Connector. To perform this step again, you must reboot your Mac, launch Network Connector again, and then open the System Preferences > Security & Privacy configuration.