It seems like your browser didn't download the required fonts. Please revise your security settings and try again.

End-of-Sale/Renewals for Models 100 and 200

As of October 4th, 2020, new sales for models 100 and 200 of the Barracuda Email Security Gateway ceased. As of November 30, 2023, renewals for models 100 and 200 of the Barracuda Email Security Gateway have ceased. 

How to add Additional Storage to your Azure Deployment

  • Last updated on

Virtual machines (VMs) deployed through Azure Gallery prior to mid February, 2015 do not support Disk Expansion. If you deployed prior to this time period and want to expand the disk, you must re-deploy the VM using the latest VM image available in Azure Gallery.

  1. Log in to the Microsoft Azure Portal.
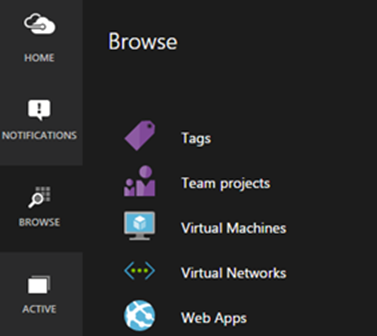
  2. Click Browse, and then click Virtual Machines:
    spam07.png
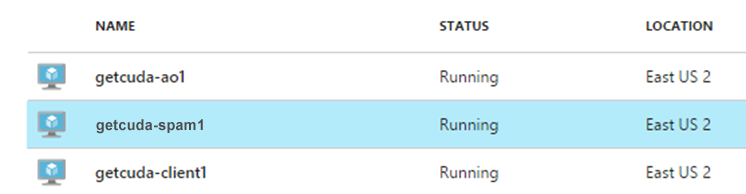
  3. Click on the Instance where you want to increase storage:
    spam01.png 
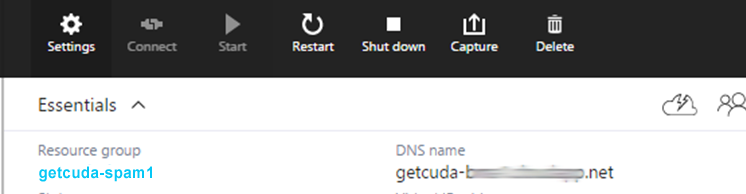
  4. At the top of the pane, click Settings:
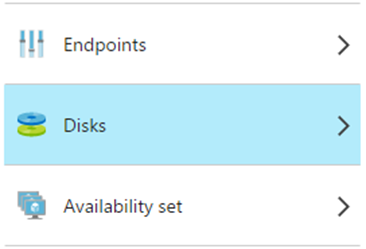
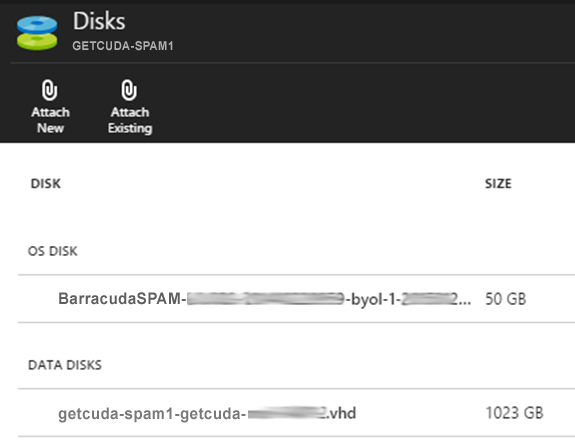
    spam02.png
  5. Click Disks:
     spam08.png
  6. click Attach New:
    spam03.png 
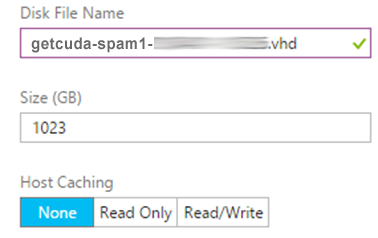
  7. Enter the disk size as per your requirement.

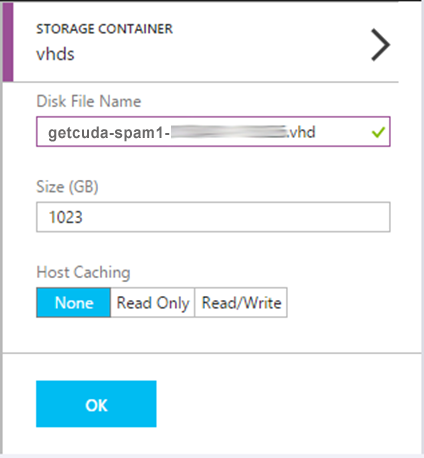
  8. Set Host Caching to None:
    spam04.png  

  9. Click OK:
    spam06.png 
  10. Once the task is complete, go to Settings of the selected Instance, and then click Restart:
    spam09.png 

    During the reboot process, the Barracuda VM provisions the additional storage. This can take some time depending on the region where your virtual machine is located and the amount of provisioned storage.