

This article refers to the Barracuda ArchiveOne 6.6 and higher.
A mailbox repository stores data archived from end-user mailboxes. Before getting started, verify you have the following permissions:
- Proper file permissions on the server where the new repository is located;
- Proper user permissions to run ArchiveOne;
- ArchiveOne service account must have full control over the repository's parent directory.
Use the following steps to create a mailbox repository:
Create the parent directory for the repositories on your file system, for example, C:\Repositories. Note the following rules when creating the parent directory:
The ArchiveOne service account must have full control over the repository's parent directory.
Each repository consists of an Index location and a Data location. Both of these folders are usually stored within a single parent directory whose name corresponds with the repository name, for example, C:\Repositories\Mailbox_Repository_Year_2015.
Repositories must never share base directories, i.e., Index/Data/Temp.
Log in to the ArchiveOne Admin Console.
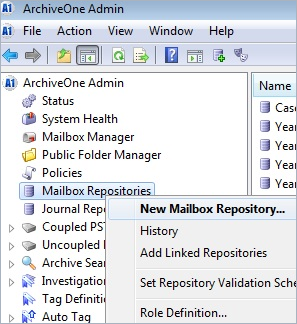
Right-click Mailbox Repositories, and then click New Mailbox Repository:
The Repository Configuration Wizard launches. Click Next in the initial page to proceed.
In the Repository Name page, enter a name to identify the repository, and then click Next.
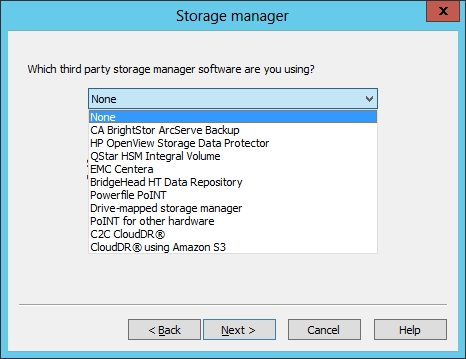
- In the Storage manager page, from the drop-down menu make your selection:
- If you are using a specified device to hold archived data, select the appropriate Storage Manager.
- If you are using a local or mapped network drive, select None.
Click Next. In the Index location page, click Browse and navigate to and select the Index folder.
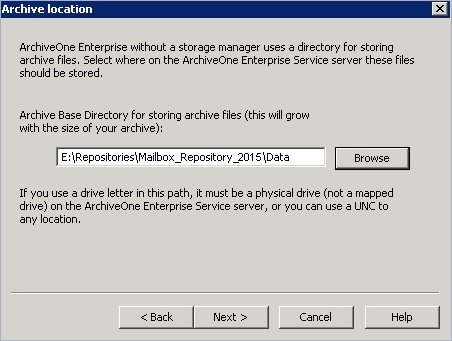
- Click Next. In the Archive Location page, browse to and select the Data folder, for example: C:\Repositories\Mailbox _Repository_Year_2015\Data:
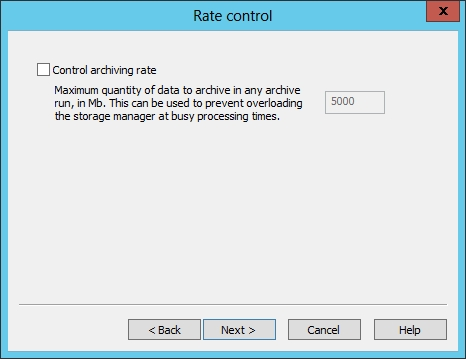
- Click Next. In the Rate Control page, select Control archiving rate and enter the maximum amount of data to archive during any archive run in MB if you want to specify that policy runs archive a set maximum amount of data at a time. This can prevent overloading at busy times. This is generally only required if you are using a Storage Manager.
- Click Next. In the Retention page, select a period of time to retain messages from the drop-down menu:
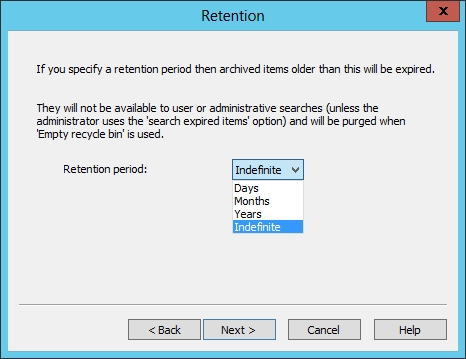
- Click Next. In the Browse Archive page, select Index data in this repository into the browse Archive database if you want the repository index synchronized to the BrowseArchive database so that users see the data archived to this repository in their archive folder hierarchy in the Search Archive view in Outlook.
- The Configuration Wizard completion page displays once the repository is created. Click Finish to close the wizard.