

The Barracuda VPN Client for macOS lets you directly connect to configured VPN servers or through HTTP, SOCKS4, or SOCKS5 proxies using different protocols. The Barracuda VPN Client for macOS features all popular and strong encryption algorithms such as AES256 or 3DES, as well as other popular authentication methods such as X.509 certificate authentication. For advanced users it is possible to use the VPN Client without the GUI on the command line.
For more information, on the command line client, see How to Configure the Barracuda VPN Client for Linux.
Supported Operating Systems and VPN Client Versions
- macOS 10.5 (Leopard): Barracuda VPN Client for macOS version 3.2 HF6
- macOS 10.6 (Snow Leopard): Barracuda VPN Client for macOS version 3.2 HF6
- macOS 10.7 (Lion): Barracuda VPN Client for macOS version 3.6.2
- macOS 10.8 (Mountain Lion): Barracuda VPN Client for macOS version 3.6.2
- macOS 10.9 (Mavericks): Barracuda VPN Client for macOS version 3.6.5, 4.0.0
- macOS 10.10 (Yosemite): Barracuda VPN Client for macOS version 3.6.5, 4.0.0
- macOS 10.11 (El Capitan): Barracuda VPN Client for macOS version 3.6.5, 4.0.0
- macOS 10.12 (Sierra): Barracuda VPN Client for macOS version 4.0.1
- macOS 10.13 (High Sierra): Barracuda VPN Client for macOS version 4.1.1
Supported Tunnel Modes
- TCP
- UDP
- Hybrid
Step 1. Download the Installation Files
Download Barracuda VPN Client for macOS from the Barracuda Download Portal.
- Click the Support link on the upper-right of the page.
- Select CloudGen F downloads.
- Select NAC / VPN Client in the Type column.
- Download the Barracuda VPN Client for your firmware version. For example: Barracuda NG VPN Client X.X.X for OS X
Step 2. Install the Barracuda VPN Client
Install the Barracuda VPN Client on a dedicated macOS workstation.
- Double-click the setup file for the Barracuda VPN Client (e.g., VPNClient_4.0.0_OSX.pkg).
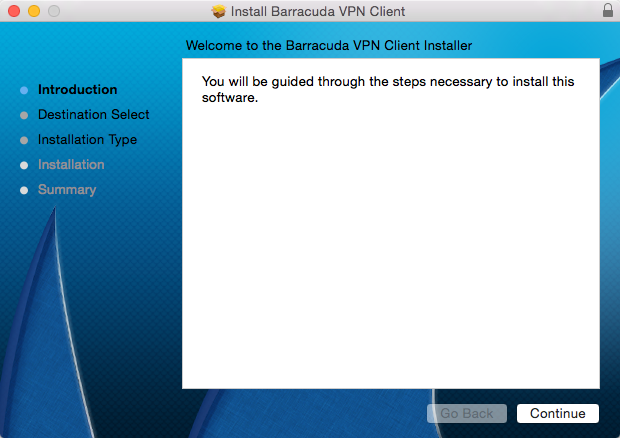
- When the Welcome screen opens, click Continue.
- Chose to install the Barracuda VPN Client at the default location, or click Change Install Location and select another target location.
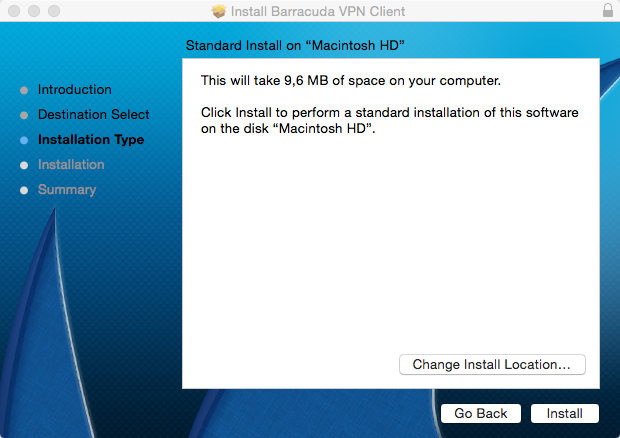
- After you have chosen your install location, click Install.

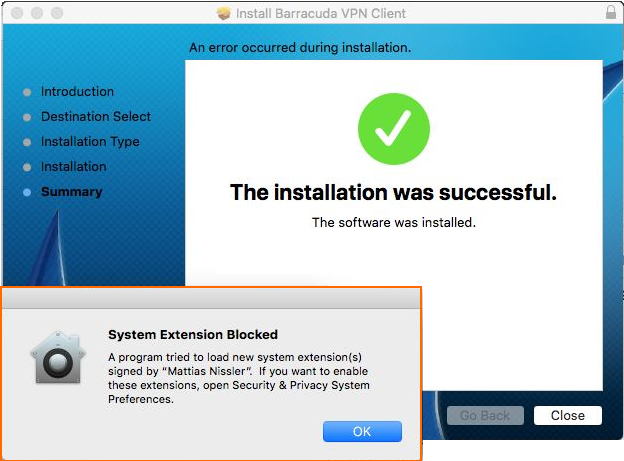
Click Close. The installation completes and a System Extension Blocked window will is displayed.
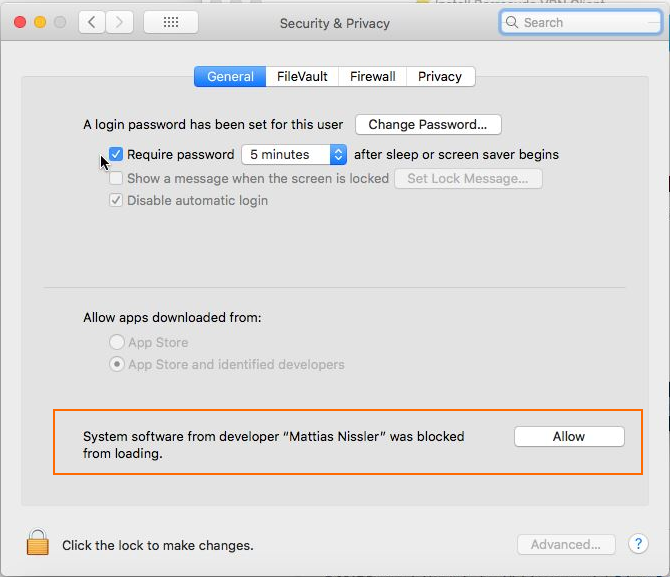
- Go to System Preferences > Security & Privacy.
- Click Allow next to the "System software from developer Matthias Nissler was blocked from loading" block message to enable the system extension.
You can now connect and configure the settings. Continue with How to Configure the Barracuda VPN Client for macOS.