

This article refers to the Barracuda Cloud Archiving Service, and a Microsoft Exchange Server 2013 or newer environment utilizing Standard Journaling, also known as mailbox database journaling.
If your Exchange environment has Premium Journaling capability, and you want more granular control over journaling, use the set up details in the article How to Journal to the Cloud Archiving Service from Microsoft Exchange Server 2013 and Newer - Premium Journaling.
Note: If you have not completed the initial setup and user configuration, see the Getting Started section to activate the service and add users:
- Step 1 - Activate Subscription
- Step 2 - Configure Directory Services
- Step 3 - Launch the Initial Setup Wizard
Microsoft Exchange allows a Journal recipient to be either a mailbox or contact. By using a contact with an email address that is part of a non-existent domain, you can create a send connector that uses SMTP to deliver journaled mail to the Barracuda Cloud Archiving Service. Use the steps in this article to configure Envelope Journaling.
Option 1. Configure Journaling via Script
Option 2. Manually Configure Journaling
Step 1. Create Mail Contact
The Mail Contact is the account that is to act as a "holding location" for journaled messages. The email address associated with this account is the designated recipient.
- Log in to the Barracuda Cloud Archiving Service, and copy your journaling address from the Mail Sources > SMTP Journaling page:
- Log in to the Exchange Admin Center (EAC), and in the left pane, click recipients > contacts.
- Click the + symbol, and click Mail contact.
- In the new mail contact window, enter Journaling in the First name field, and Contact in the Last name field. The Display name field automatically populates.
- Enter JournalingContact in the Alias field (no spaces), and paste the journaling address copied from the Mail Sources > SMTP Journaling page into the External email address field:
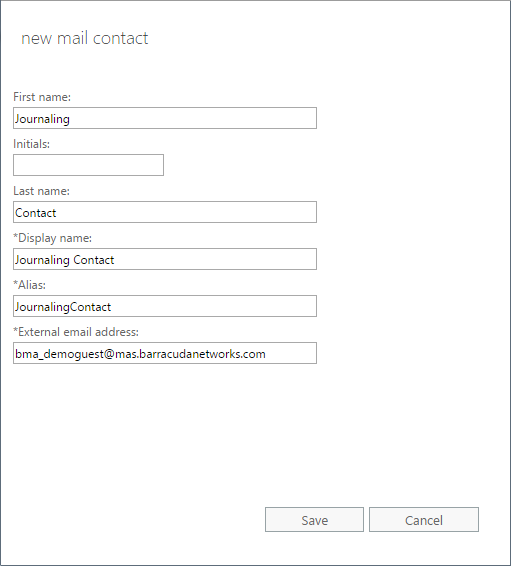
- Click Save.
Step 2. Configure Journaling
- Log into your Exchange Server and open the Exchange Management Shell.
- Execute the following command to create the remote domain; this command ensures TNEF encoding is disabled, where mas.barracudanetworks.com represents the domain in your journaling address, for example:
New-RemoteDomain -DomainName mas.barracudanetworks.com -Name "Cloud Archiver Domain" - Next, execute the following command to enable auto-forwarding:
Get-RemoteDomain | Where {$_.DomainName -eq "mas.barracudanetworks.com"} | Set-RemoteDomain -TNEFEnabled $false -AutoForwardEnabled $true Enter the following command to verify the settings:
Get-RemoteDomain | Where {$_.DomainName -eq "mas.barracudanetworks.com"} |Format-table Name, DomainName, TNEFEnabled, AutoForwardEnabled
To route journaled mail that is sent to the contact to the Barracuda Cloud Archiving Service, use the following steps to create a Send Connector for the Remote Domain:
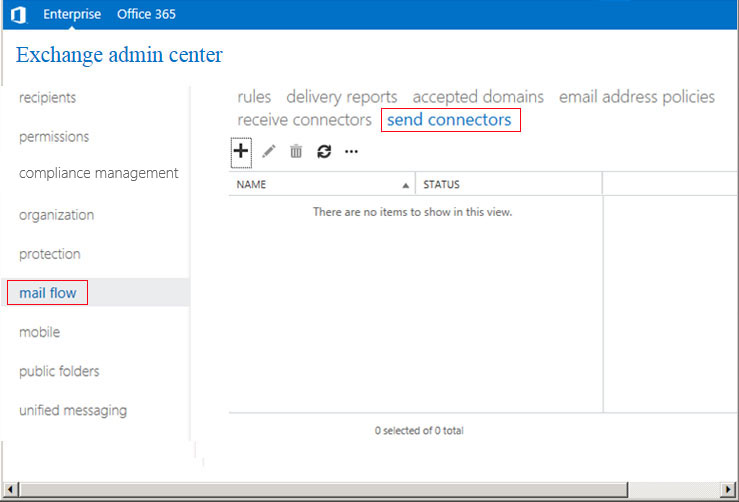
- Log into the EAC and click mail flow in the left pane, select send connectors at the top of the page, and then click the + symbol to create a new send connector:
- In the Name field, enter a name for the connector, and in the Type section, select Custom:
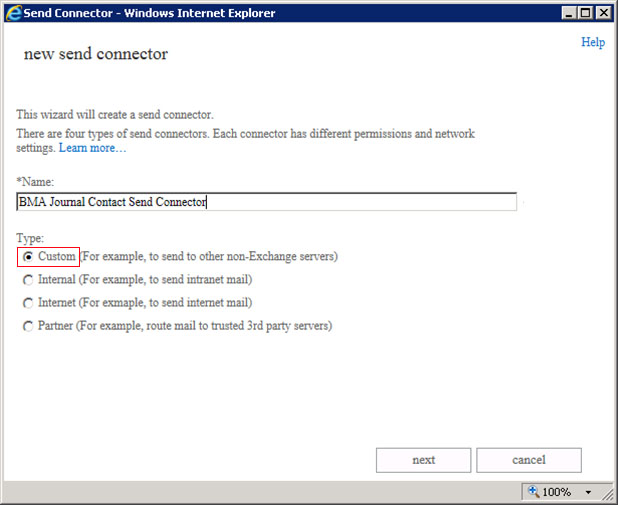
Click next. (Recommended) In the Network settings page, select MX record associated with recipient domain.
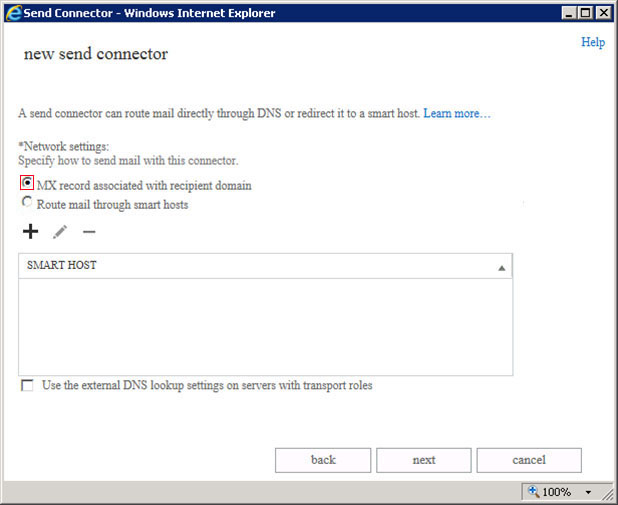
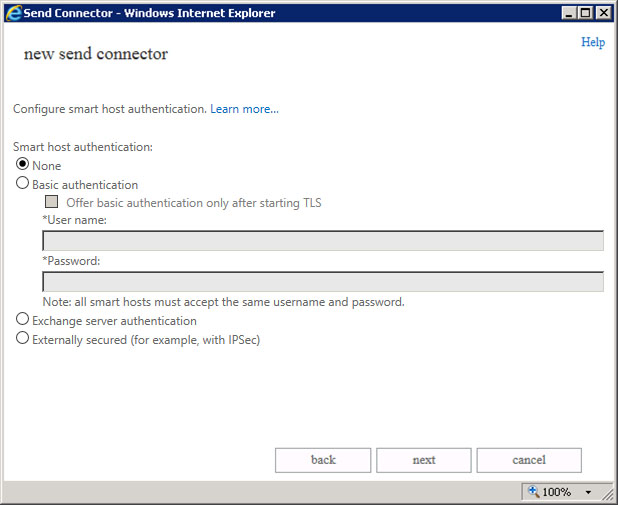
- Click next. In the Smart host authentication page, because authentication is not used on the smart host connection to the Barracuda Cloud Archiving Service, no changes are necessary; click next:
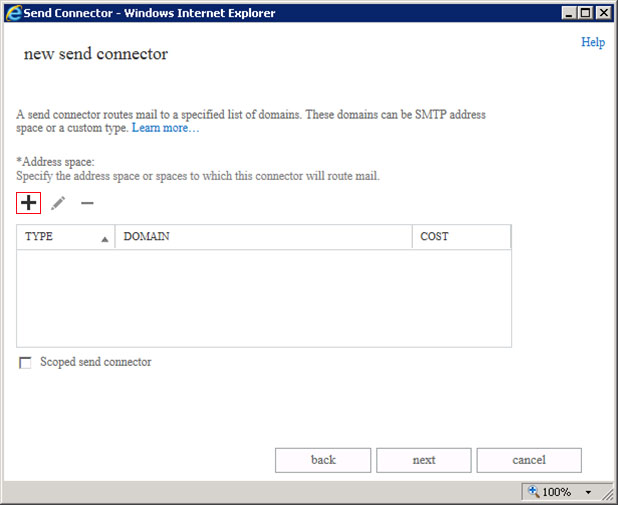
- In the Address space section, click the + symbol:
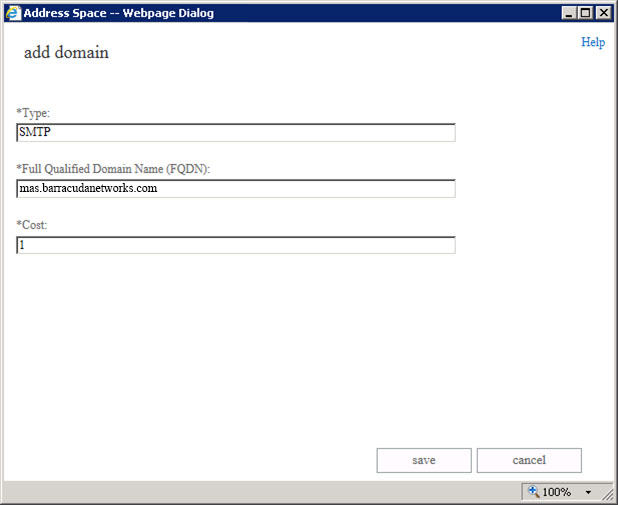
- In the Address Space page, enter the domain portion of your journaling address:
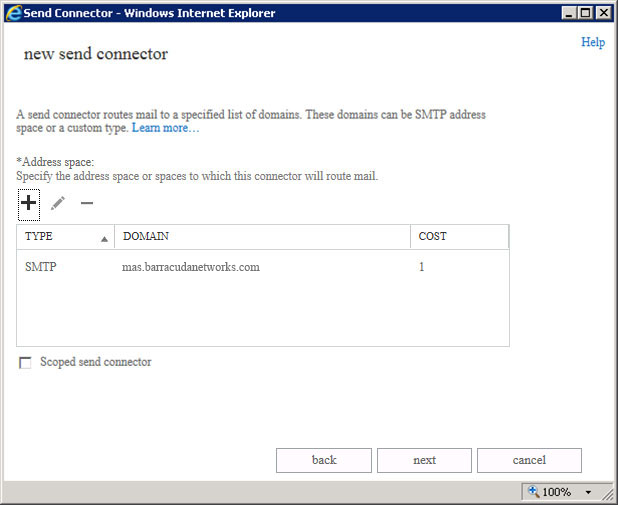
- The domain is added to the Address space list:
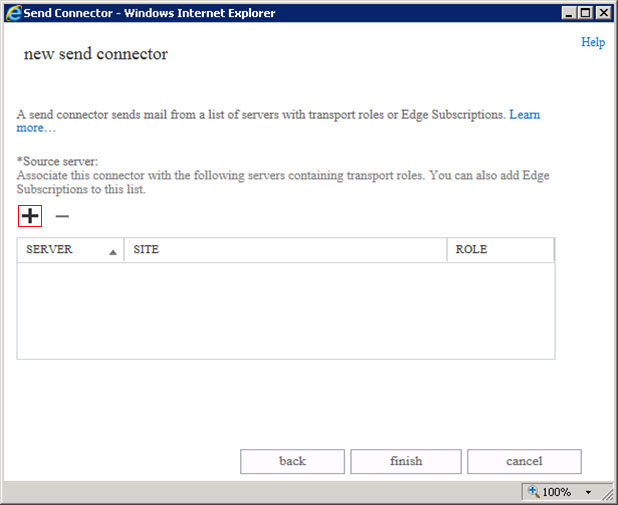
- Click next. In the Source server section, click the + symbol:
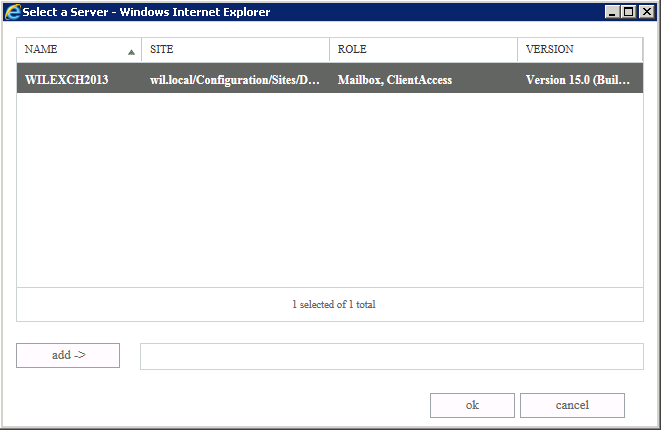
- Verify all of the appropriate Exchange Servers are listed; click add to add additional servers:
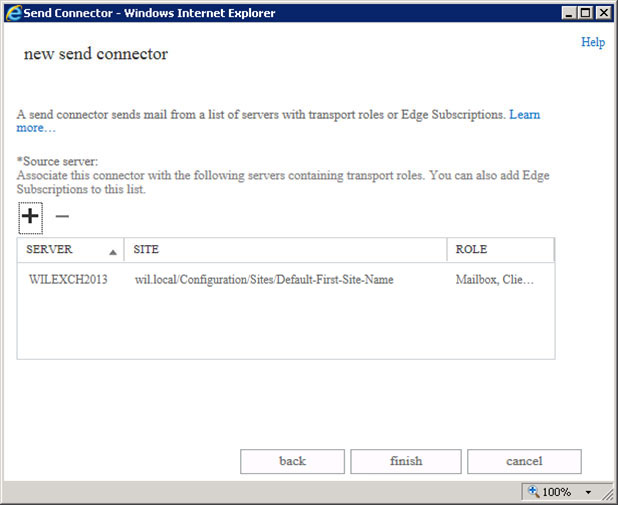
- Click OK. In the Source server page, the selected servers display:
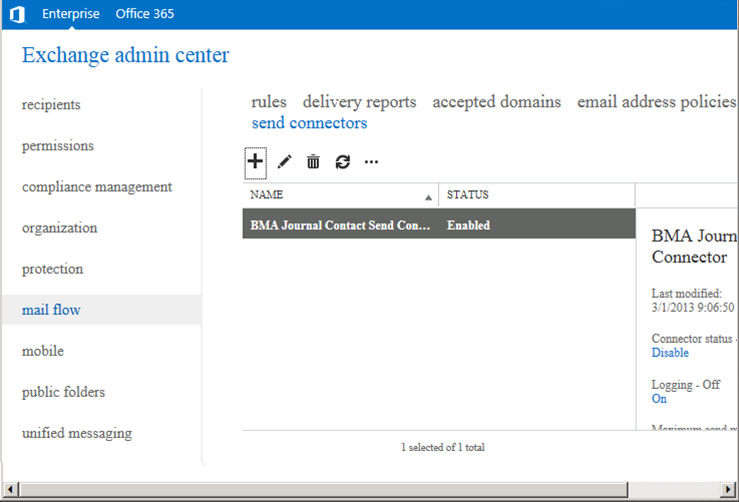
- Click finish. The new send connector displays as Enabled in the send connectors list:
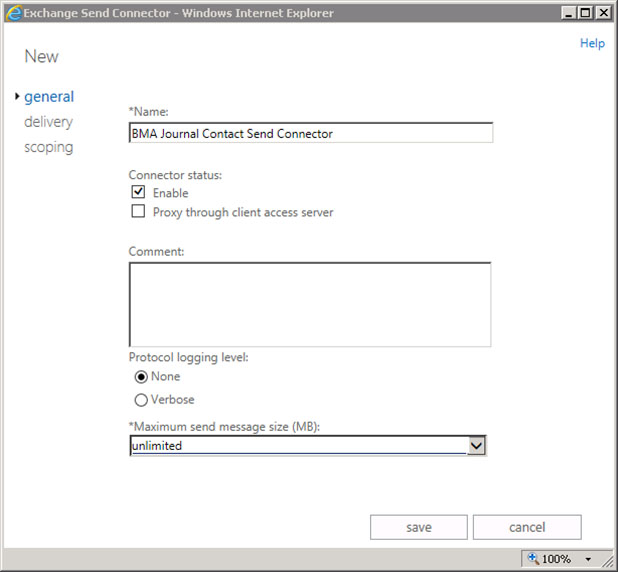
- Click the Edit icon to edit the Send Connector properties. From the Maximum send message size (MB) drop-down list, select unlimited, and then click save:
Step 3. Set Up Mailbox Database Journaling
Use the following steps to set up mailbox database journaling:
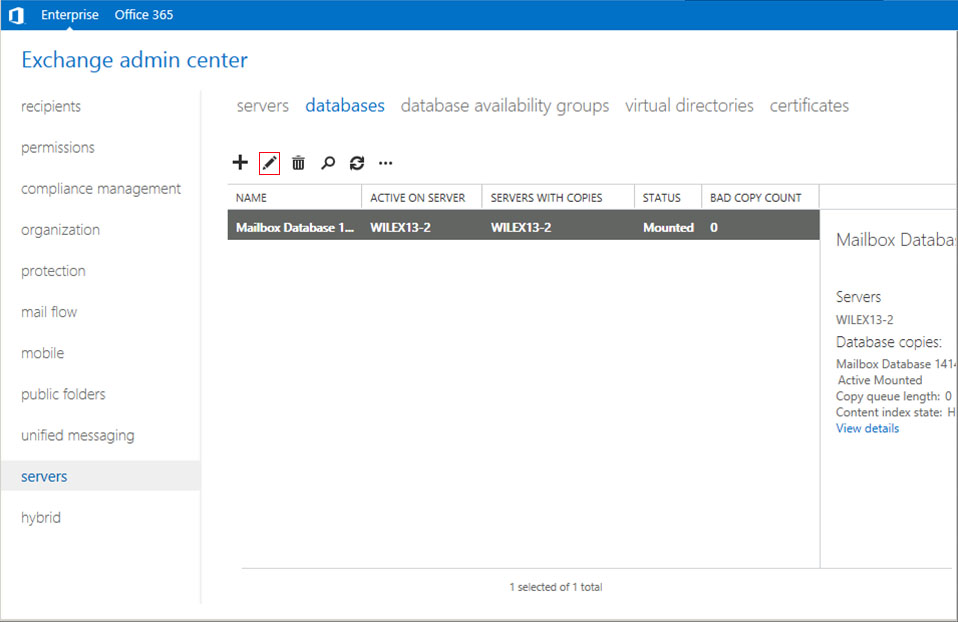
- Log into the EAC and click servers in the left pane, select database at the top of the page, and then click the Edit (
 ) icon to edit the database properties:
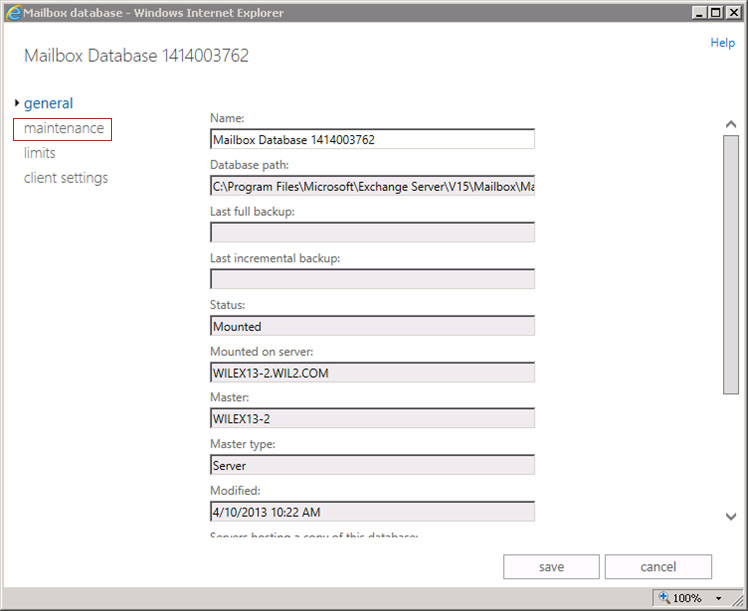
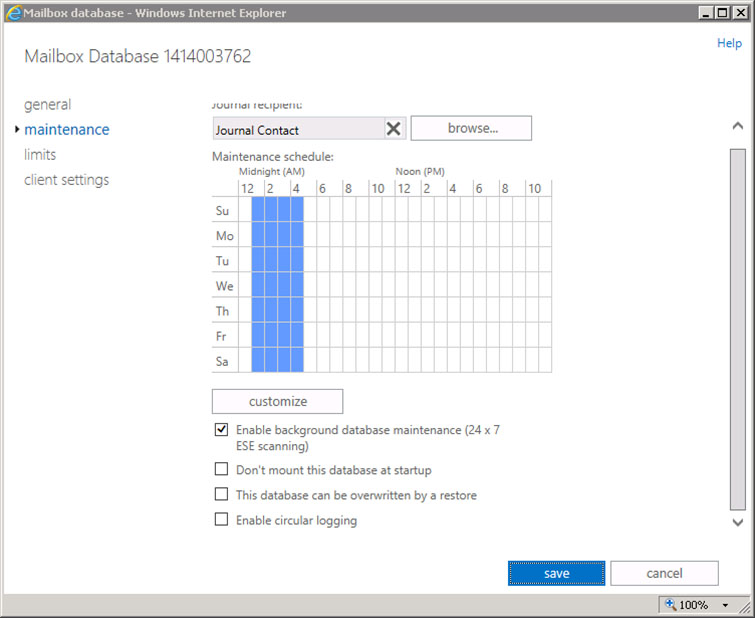
- In the Properties page, click maintenance in the left pane:
- In the maintenance page, click browse following the Journal recipient field:
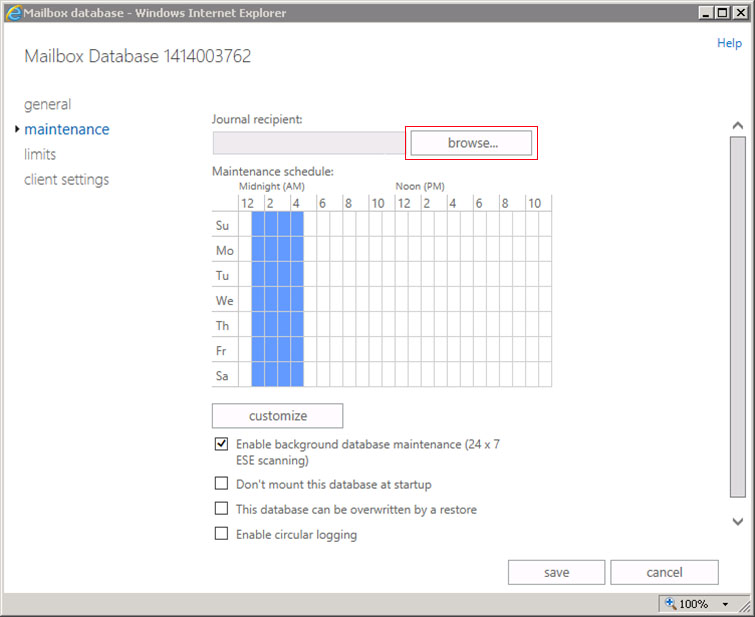
- Navigate to and select the destination location for journaled messages:
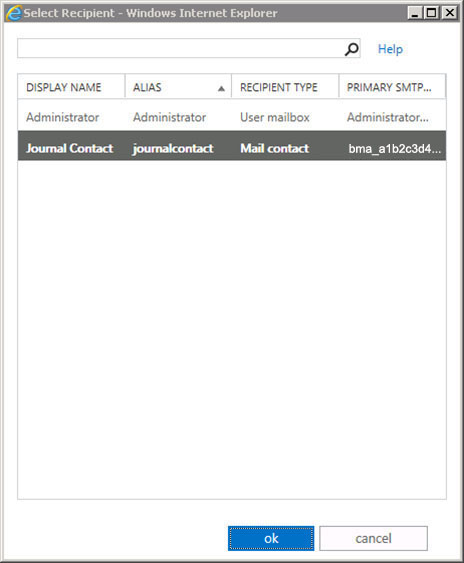
- Click ok to select the journal message recipient. The recipient displays in the maintenance page:
- Click save to save your settings.
Once you complete Option 1 or Option 2, the configuration is complete and journaled mail is forwarded to the Barracuda Cloud Archiving Service. Log in and go to the Basic > Search page in the web interface to verify that new mail is being processed. Note that it may take up to 30 minutes before journaled mail is available in the search results.
Barracuda Networks recommends hiding the Journal Contact–as well as any mailbox set up for undeliverable journal reports–from the GAL so that mail is not sent directly to these accounts.
Continue with Step 5 - Create Service Account .