

This section refers to the Barracuda ArchiveOne for Files version 7.2.0 and higher.
See also:
A policy is a set of rules and actions an agent uses to process data stored on a file server.
Define a List Policy
- Start the ArchiveOne Management Console.
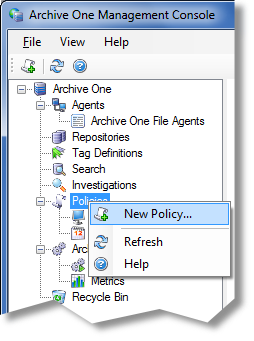
- Right-click Policies, and click New Policy:
The Policy Definition wizard displays. Click Next. The Criteria page displays:
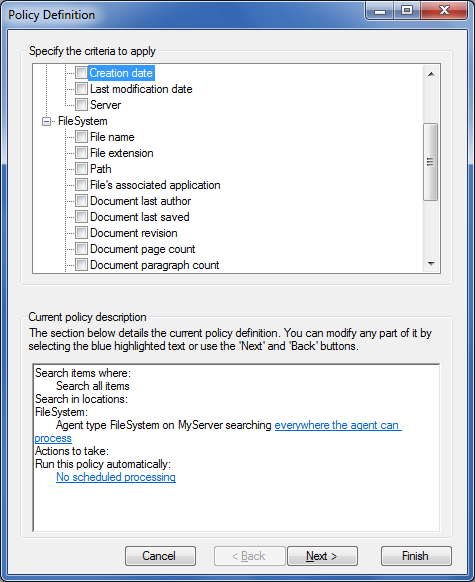
Use the Criteria page to select items to list. Select individual items, or clear all criteria to search all items. Click Next.
- The Agents page displays:
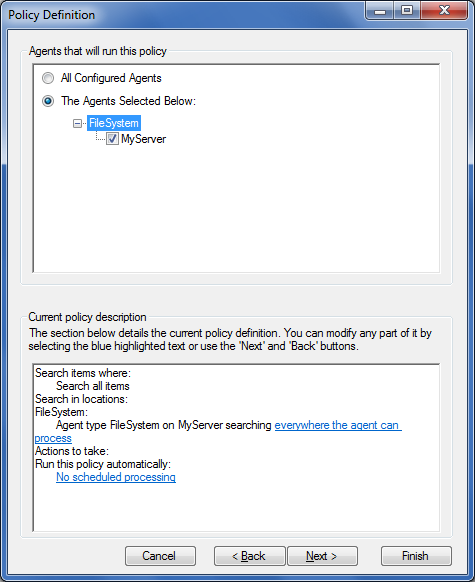
- Select an agent:
- All Configured Agents – When selected, the policy runs on all configured agents.
- The Agents Selected Below– When selected, the policy runs only on the selected agents.
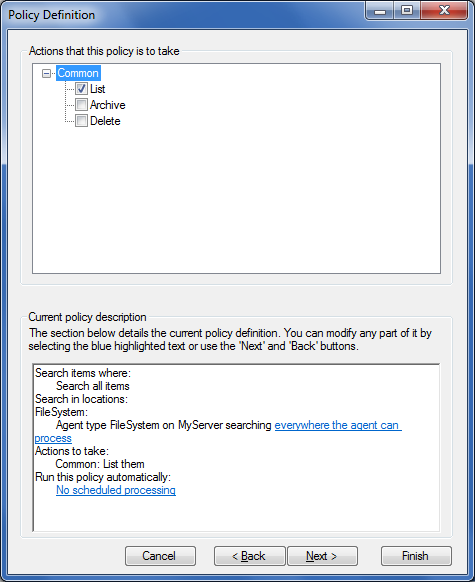
Click Next. The Actions page displays. Select the actions you want the agents to perform. For this example, select List:
Click Next. The Description page displays. Enter a Policy Name and optional Description:

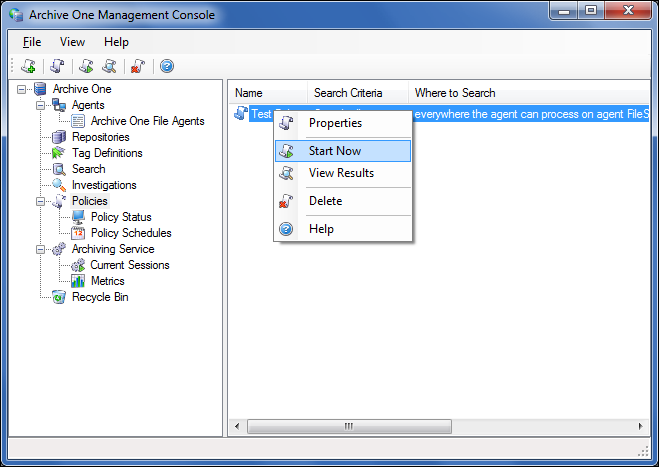
- Click Finish. The repository is now available for execution. To run the policy, right-click the policy, and click Start Now:
- The Policy Status dialog box displays the policy progress. You can close the dialog at any time; the policy continues to run. Once complete, the Policy Status changes to Completed:
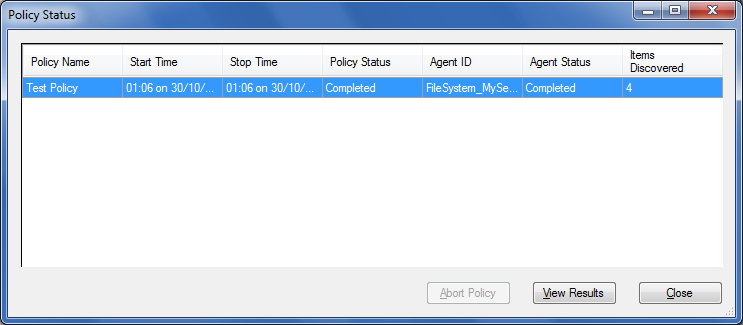 .
.
Define an Archive Policy
- Start the ArchiveOne Management Console.
- Right-click Policies, and click New Policy.
The Policy Definition wizard displays. Click Next. The Criteria page displays.
Use the Criteria page to select items to list. Select individual items, or clear all criteria to search all items. Click Next.
- The Agents page displays. Select an agent:
- All Configured Agents – When selected, the policy runs on all configured agents.
- The Agents Selected Below– When selected, the policy runs only on the selected agents.
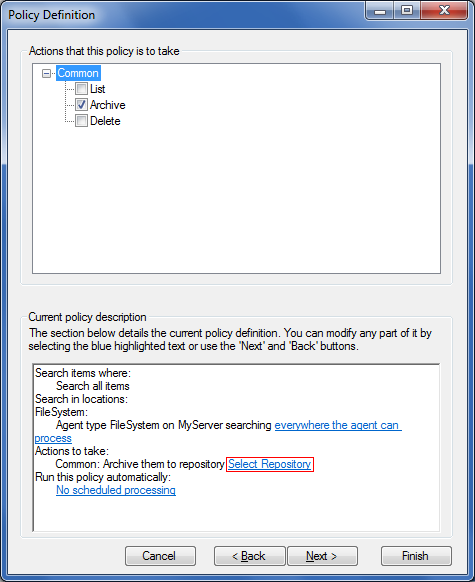
Click Next. The Actions page displays. Select the actions you want the agents to perform. For this example, select Archive.
In the Current policy description section at the bottom of the page, click Select Repository:
The Select Repository dialog box displays. Select the repository to which the agent is to archive data:
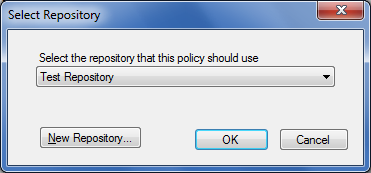
- Click OK to close the dialog box, and then click Finish.
- To run the policy, right-click the policy, and click Start Now.
Verify Data Archive
To verify items have been archived:
- Using Windows Explorer, navigate to the directory containing the original files.
- Right-click on a file and click Properties. For example:
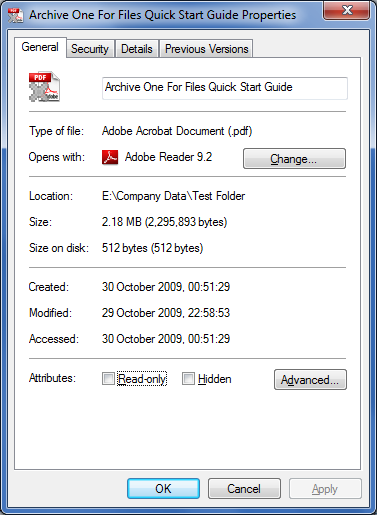
In this example, the Size of the file is reported as 2.18 MB while the Size On Disk is reported as 512 bytes confirming that the file has been archived. If a user opens this file, ArchiveOne for Files retrieves it from the repository and presents it to the user in the normal manner.
Continue with ArchiveOne for Files Search and Retrieval.