

Step 3: Use Barracuda Vulnerability Remediation Service to Scan and Remediate Vulnerabilities
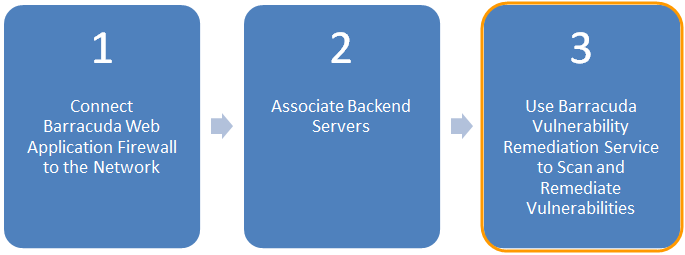
Configure the Barracuda Vulnerability Remediation Service to scan the application, and use the scan results to apply security policy changes on the Barracuda Web Application Firewall to secure your applications.
Log into the Barracuda Vulnerability Remediation Service
Log into the Barracuda Vulnerability Remediation Service at https://vrs.barracuda.com/, using the same email and password you used to connect your Barracuda Web Application Firewall to Barracuda Cloud Control in Step 1 above.
Run a Scan of the Application
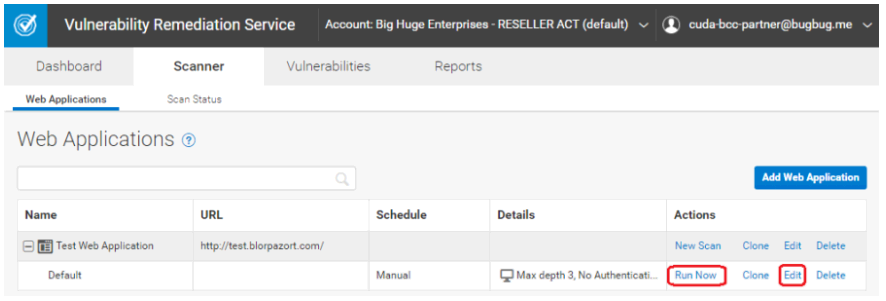
- Navigate to the Scanner > Web Applications page. Click Add Web Application.
- Configure the settings in the New Web Application dialog.
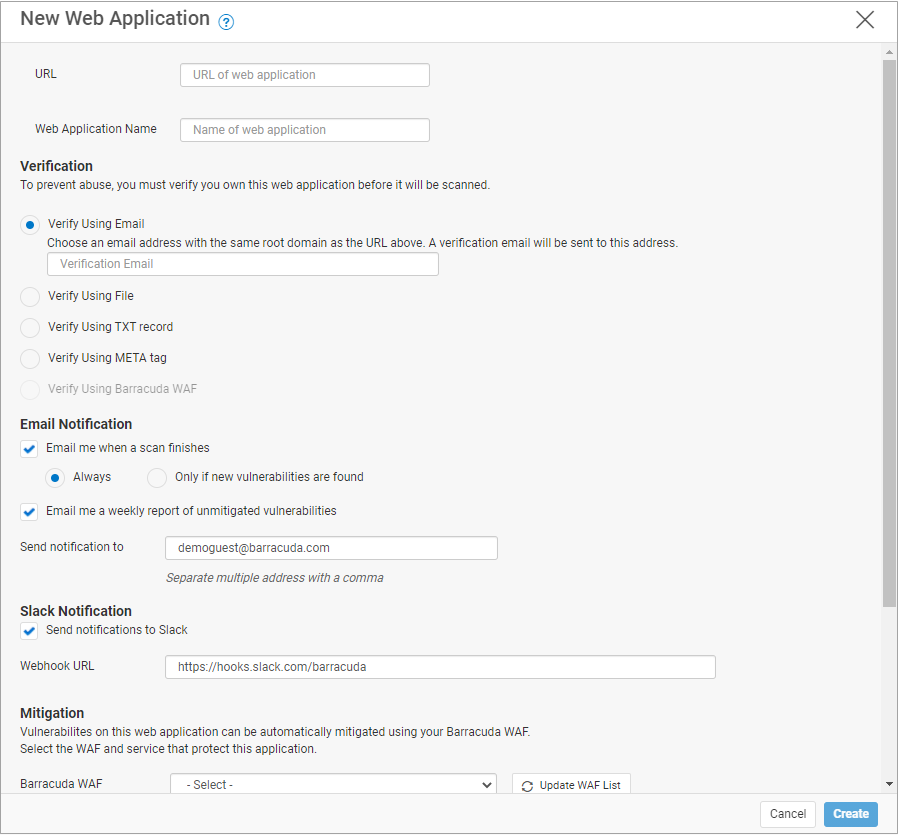
For more detailed information, refer to How to Create a New Web Application Scan.- Enter the publicly-accessible URL of your web application.
- Enter a Name for the application.
- Under Verification, select a method to verify that you are authorized to scan the application.
- If you already have your Web Application Firewall set up correctly, select Verify using Barracuda WAF.
- Otherwise, the easiest method is to specify an email address at the same domain. You will receive a verification email to this address with a link you must click to start the scan. If you do not have email set up, use a different verification method.
- Under Email Notification, select your email notification preferences.
- Under Slack Notifications, select Send notifications to Slack, then e nter your webhook URL using the format https://hooks.slack.com/services .
For details about setting up a Slack webhook, refer to https://api.slack.com/messaging/webhooks. - Under Mitigation, select the Web Application Firewall and Virtual Service that you created in Step 2: Associate Backend Servers.
- Click Create to create the web application.
- The Web Applications page refreshes to show the newly created application, along with a Default scan.
- To edit scan settings, or schedule the scan for a particular time, click Edit on the scan.
- To run the scan immediately, click Run Now.
- To track the progress of the scan, navigate to the Scanner > Scan Status page.
If you enabled email notifications when creating the application, you will receive an email when the scan is complete.
For additional details, refer to Scan Status.
Review Vulnerabilities on the Application
- When the scan is complete, navigate to the Vulnerabilities tab.
- Click the name of the web application for which you want to view vulnerabilities.
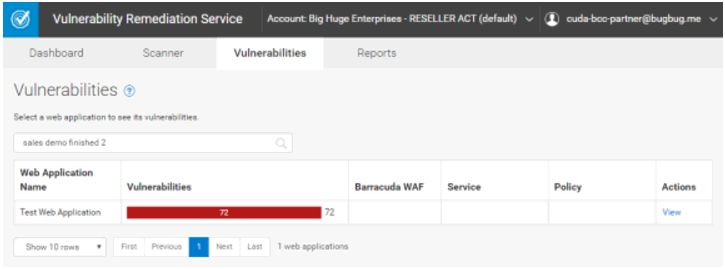
Click on a vulnerability to view detailed information, including technical information on how the vulnerability was detected.
For additional details, refer to Vulnerabilities and How to Work with Vulnerabilities in the Vulnerability Details Page.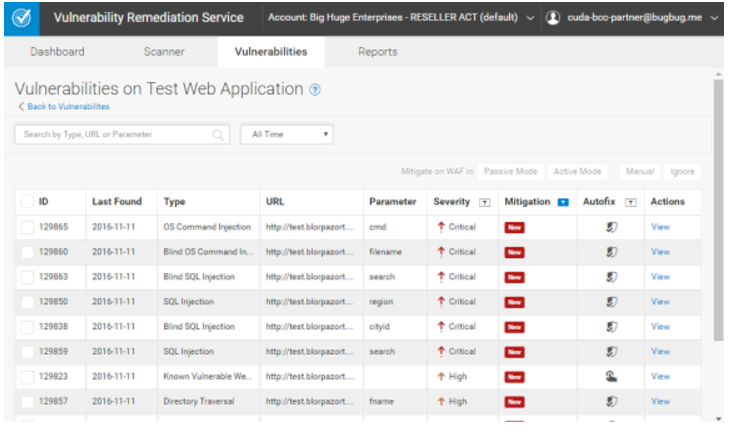
Fix Vulnerabilities
After you have reviewed the vulnerabilities, select the check box to the left of the vulnerabilities you want to fix and, next to Mitigate on WAF in, select Active Mode. Security policy changes will be applied to your Web Application Firewall to mitigate these vulnerabilities.
For additional details, refer to Vulnerabilities and How to Work with Vulnerabilities in the Vulnerability Details Page.