Note: Branding Your Portal is a feature for IBU partners only.
To brand your portal, perform the following steps.
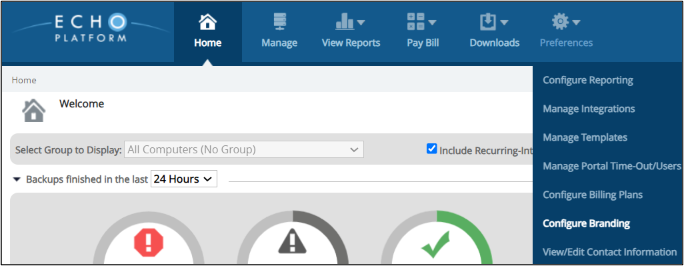
- At the ECHOplatform ribbon, click Preferences, Configure Branding.
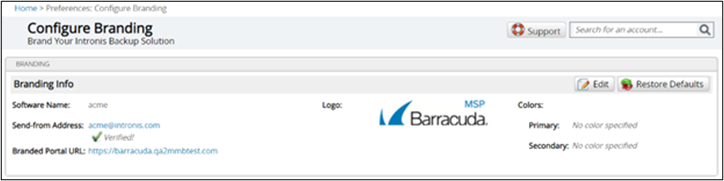
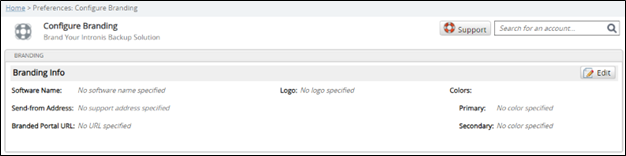
The Configure Branding page is displayed.
- Click the Edit button.
The Welcome page is displayed.
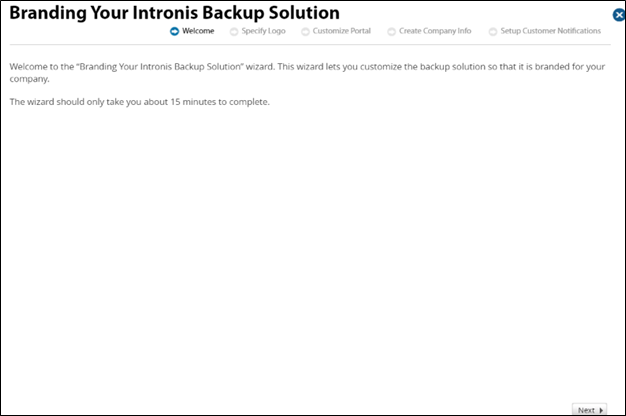
- Click Next.
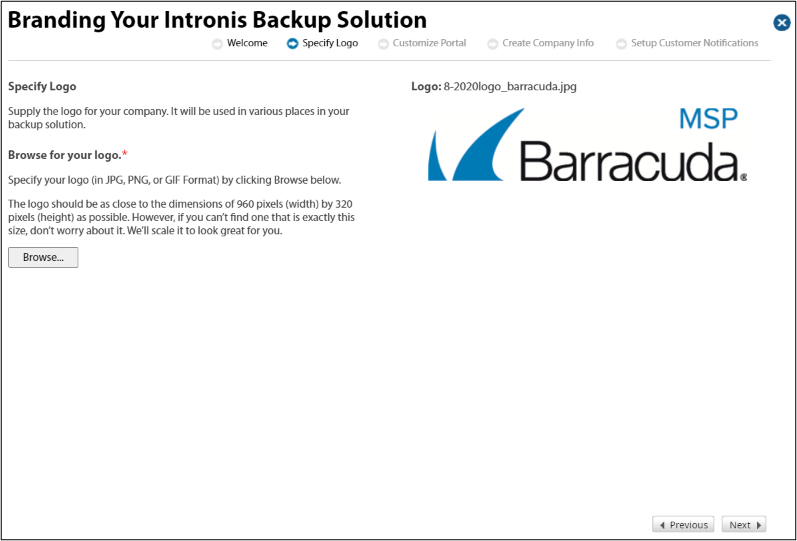
The Specify Logo screen is displayed.
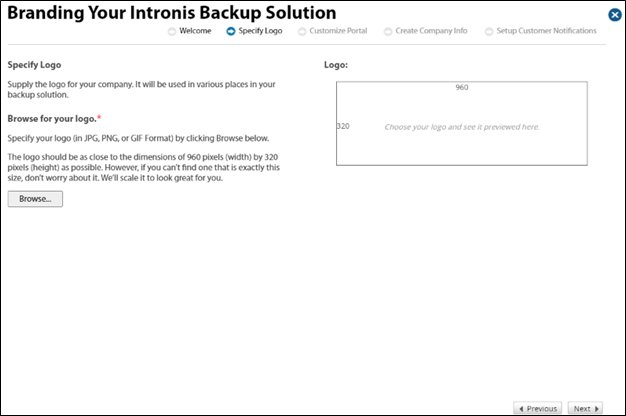
- Click the Browse button to select your company logo.
Note: Specify your logi in JPG, PNGm or GIF Format. The logo needs to be as close to the dimensions of 960 pixels (width) x 320 pixels (height) as possible. However, if you cannot find one that is exactly this size, it can be automatically scaled.
The logo is displayed in the right panel.
- Click Next.
The Customized Portal page is displayed.

- Specify the overall color scheme to make the portal reflect your existing brand.
You have the option of using the default colors or specifying custom colors by clicking the relevant radio buttons. Create a custom URL for your customers to display the status of their backups by typing it into the text box, and then click Next.
The Create company Info page is displayed.
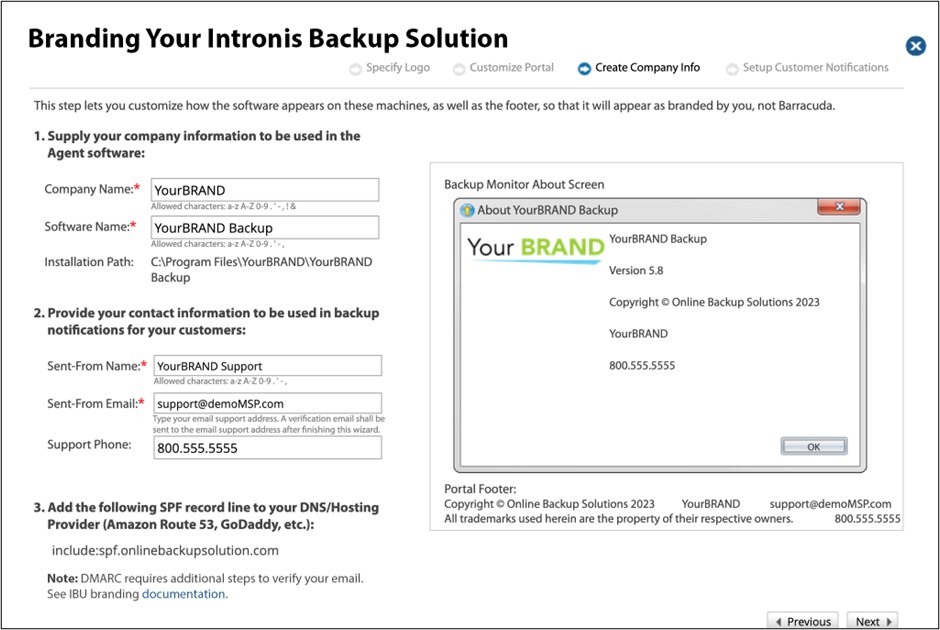
- In the first section, supply your company information to be used in the Agent software, and then select an Installation Path.
- In the second section, provide your contact information to be used in backup notifications to your customers.
- Type a support number to be displayed on the portal and on emails so your customers can call you for support.
- In the third section, add the following SPF record line to your DNS/Hosting Provider (Amazon Route 53, GoDaddy, etc.):
include spf.onlinebackupsolution.com - If using DMARC subdomains, see Configuring DMARC Subdomains for additional steps.
Note: Emails need to be verified before this feature can be used. Upon finishing this wizard, a verification email is sent to the customer support email address you typed in the field above.
- Click Next.
- The Setup Customer Notification page is displayed.
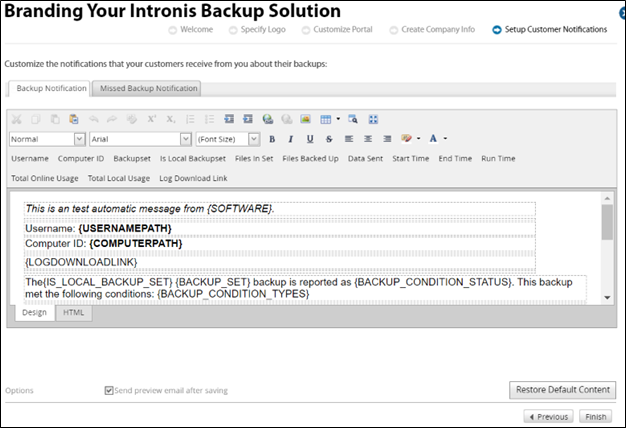
Customize the text and macros for the notifications that your customers receive from you about their backups by typing information in the relevant fields.
Note: The Design or HTML buttons are provided to meet your preference.
- Click the Missed Backup Notification tab to customize the status message, as shown below.

- When satisfied, click Finish.
The Completion page is displayed.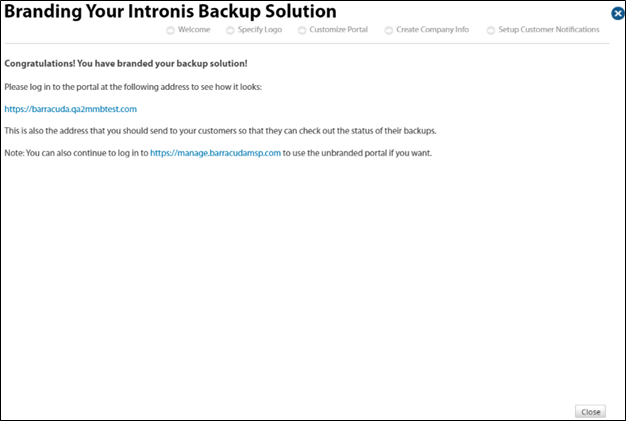
- Click the address link provided to view your branded solution.
Note: This is the address that is sent to your customers so that they can review the status of their backups.
The login page is displayed.
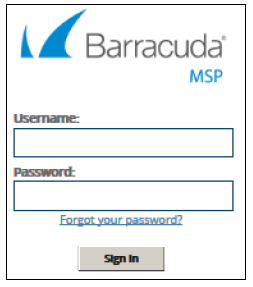
- Login to the portal.
- When satisfied, return to the Setup Customer Notification page, and click Close.
The Configure Branding page is displayed.