

Applicable Products
These instructions apply to the following products:
- Barracuda Intronis Backup - MSP
VHD/VHDX File Overview
VHD/VHDX is the virtual hard disk file type used by Microsoft’s Hyper-V hypervisor. This restore type restores a VHD/X for each volume that you select.
The agent produces the following files depending on the operating system on which it is installed:
- VHD: Windows 7, Windows 2008, Windows 2008 R2
- VHDX: Windows 8, Windows 8.1, Windows 2012, Windows 2012 R2
All virtual hard disks are recovered as dynamic disks.
Virtual hard disks take the following naming convention by default: Recovery_{machine_name}_{volume or volume group label}
Example: Recovery_LT-R9RLN75_Boot
You can restore to another system if the OS version is different; however, this only works as long as the change represents an upgrade. For instance, you can back up Windows 7 and restore on Windows 8 but not vise-versa.
You can attach the Hyper-V disks (VHD files) that are restored to an existing VM.
Physical Imaging VHD/VHDX File Restore Tabs
The following table provides a description of the page features.
| Page | Description |
|---|---|
| Select | Select at least one available volume to restore. |
| Destination | Choose where the data is restored. |
| Summary | A list of your selections is displayed. |
Restoring VHD/VHDX Files
To restore VHD/VHDX Files, perform the following steps.
- Navigate to the Computer page.
The Computer page is displayed.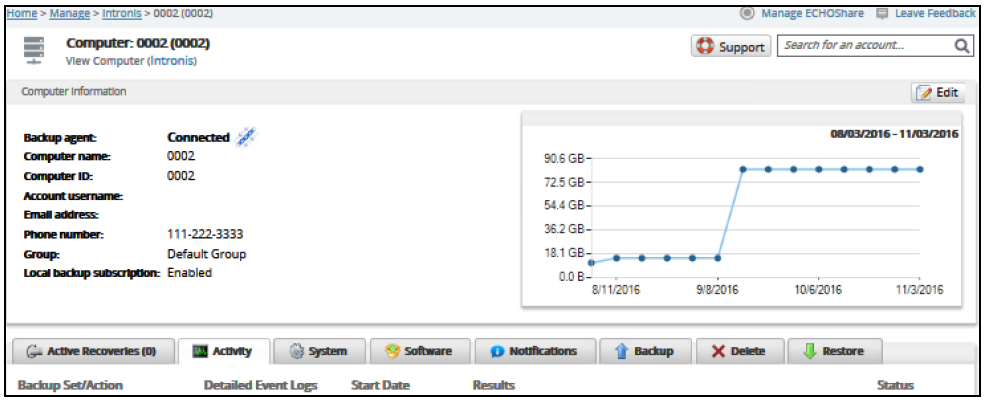
- Click the Restore tab.
The Restore Selections page is displayed.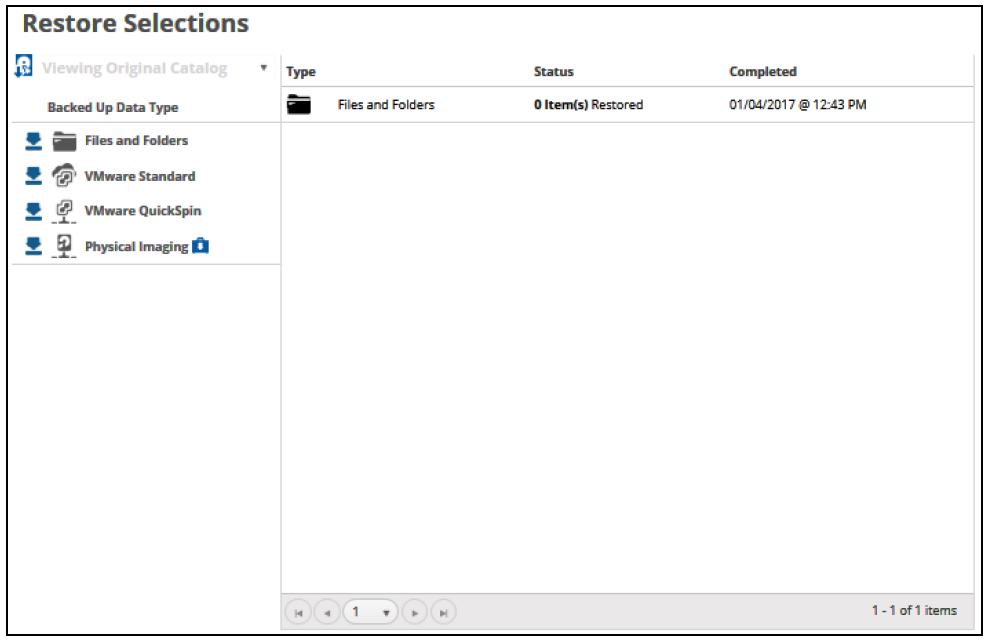
- Click the restore
 icon of the backup type you want to restore.
The Select page is displayed.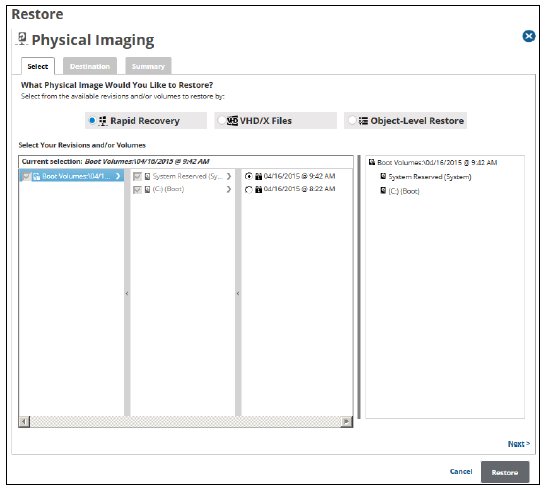
- Click the VHD/X files radio button.
The Restore VHD/X files page is displayed.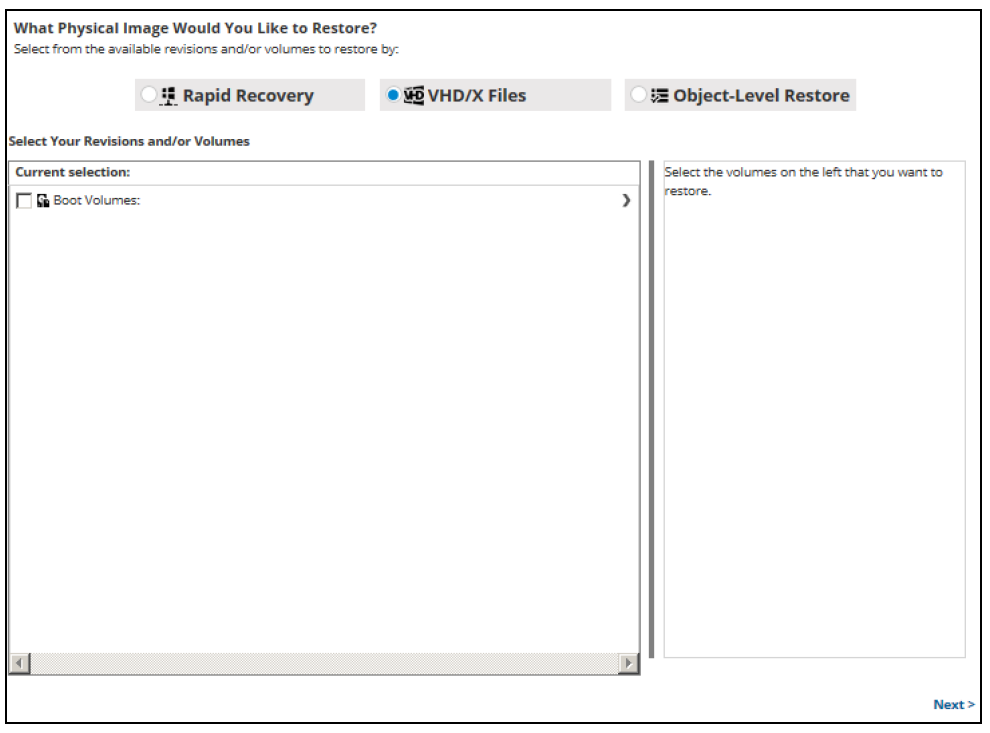
- In the Current Selection pane, select the revision and/or volumes you would like to restore.
Clicking the arrow at the right of the items displays more revisions/volumes.
The selection is displayed in the right pane. Click the remove icon to remove any selections.
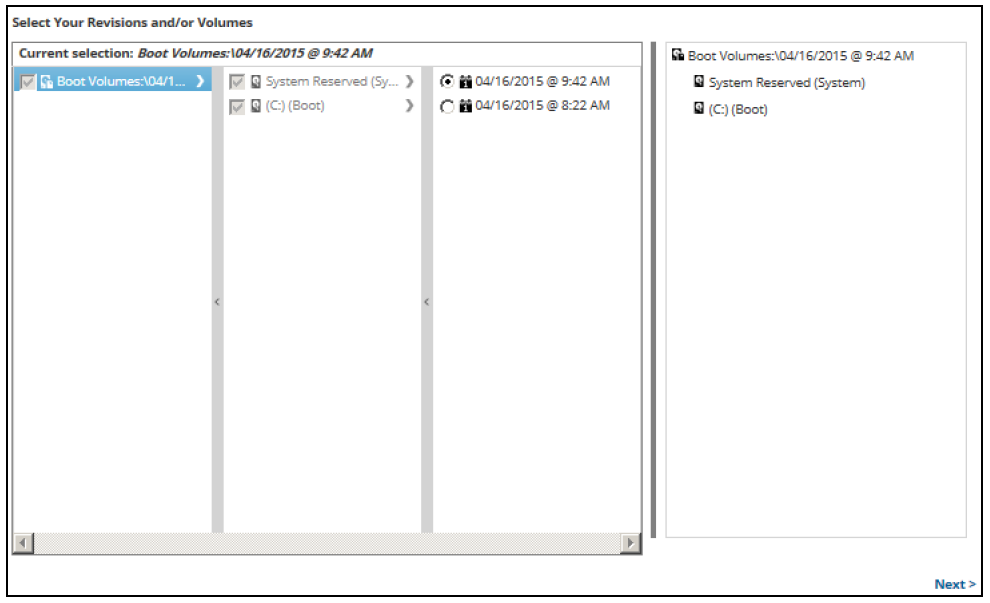
- After making your selections, click Next.
The Destination page is displayed.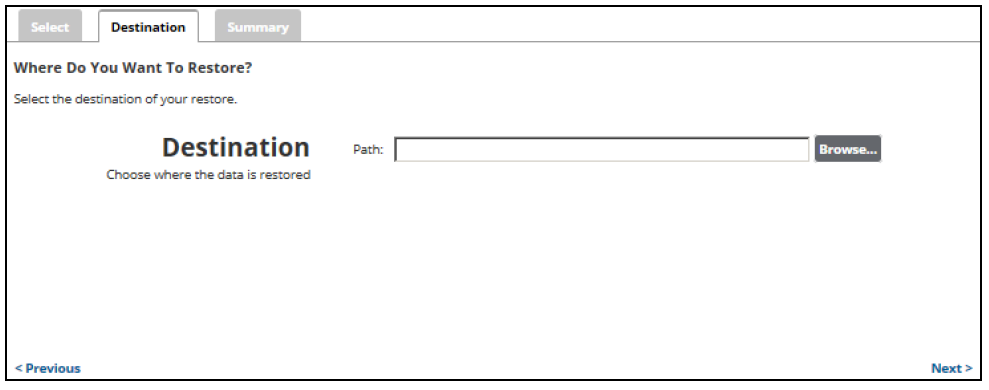
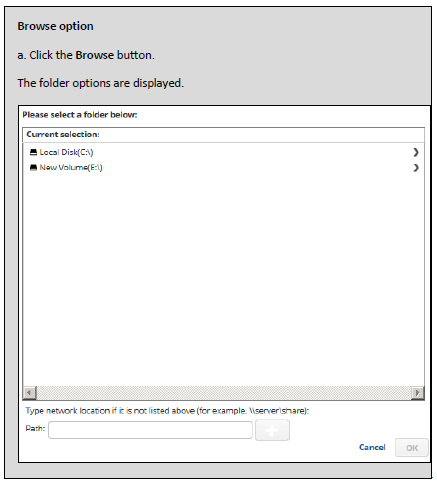
- At the Path field, type a path, or click the Browse button to select the destination of your restore.
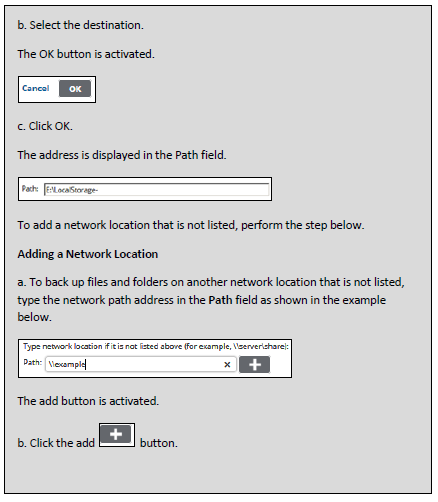
- After selecting the destination of your restore, click Next.
The Summary page is displayed.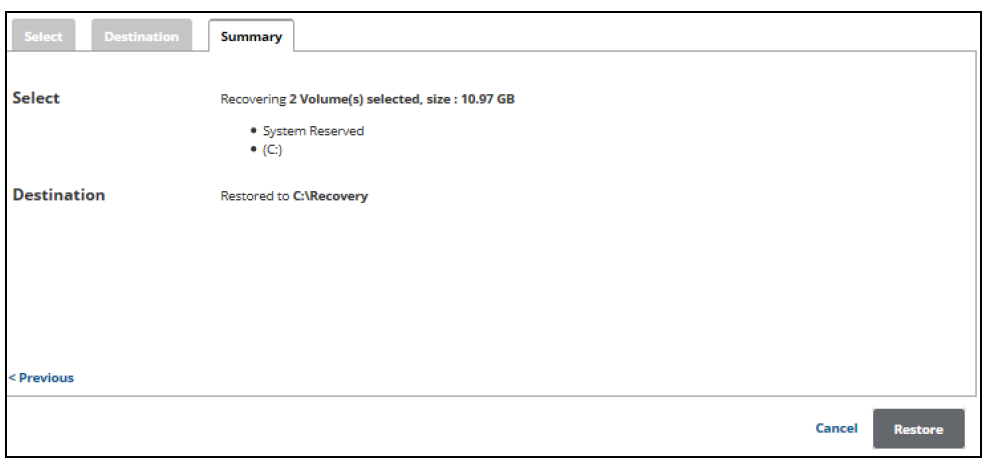
- Verify your selections, and then click the Restore button.
The confirmation pop-up is displayed.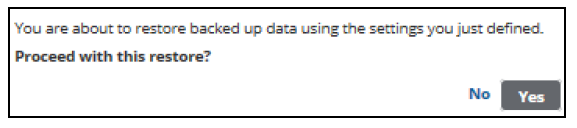
- Click Yes.
The Restore Selections page is displayed with the status.