

Applicable Products
These instructions apply to the following products:
- Barracuda Intronis Backup - MSP
Overview
VHD/X is the virtual hard disk file type used by Microsoft’s Hyper-V hypervisor. This restore type restores a VHD/X for each volume that you select.
The ECHOplatform agent produces the following files depending on the format that the user chooses:
- VHD: Windows 7, Windows 2008, Windows 2008 R2
- VHDX: Windows 8, Windows 8.1, Windows 10, Windows 2012, Windows 2012 R2, Windows 2016
All virtual hard disks are recovered as dynamic disks.
Virtual hard disks take the following naming convention by default:
Recovery_{machine_name}_{volume or volume group label}Example: Recovery_LT-R9RLN75_Boot
You can attach the Hyper-V disks (VHD files) that are restored to an existing VM.
Physical Imaging Standard VHD/X File Restore Tabs
The following table provides a description of the page features.
| Page | Description |
|---|---|
| Select | Select the volumes to restore to VHD/X files. |
| Destination | Choose what format is used to restore the data and choose where the data is restored. |
| Summary | A list of your selections is displayed |
Restore Volumes/Revisions to VHD/X Files
To restore Physical Imaging Standard volumes/revisions to VHD/X Files, perform the following steps.
- Navigate to the Computer page.
The Computer page is displayed.
- Click the Restore tab.
The Restore Selections page is displayed.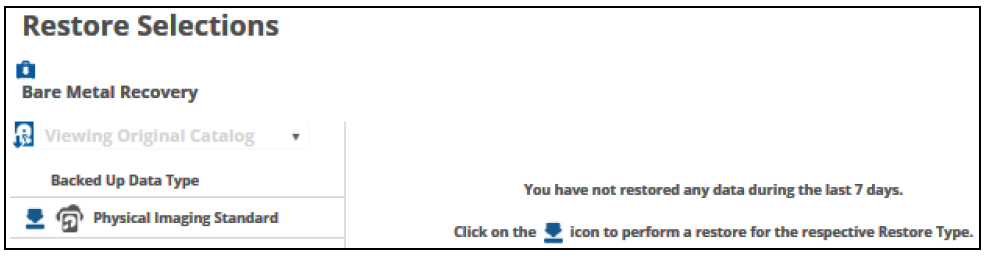
- Click the restore
 icon of the backup type you want to restore.
The Select page is displayed.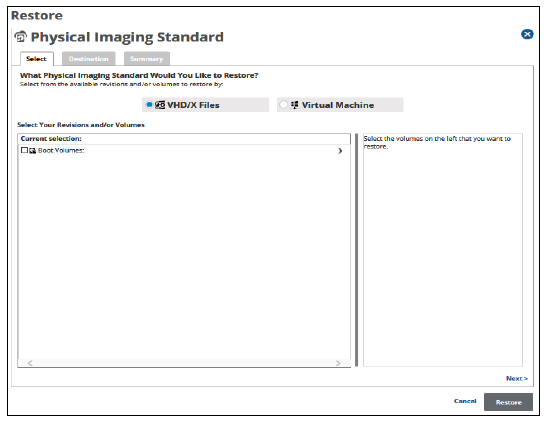
- Click the VHD/X Files radio button.
The Physical Imaging Standard revisions and volumes are displayed.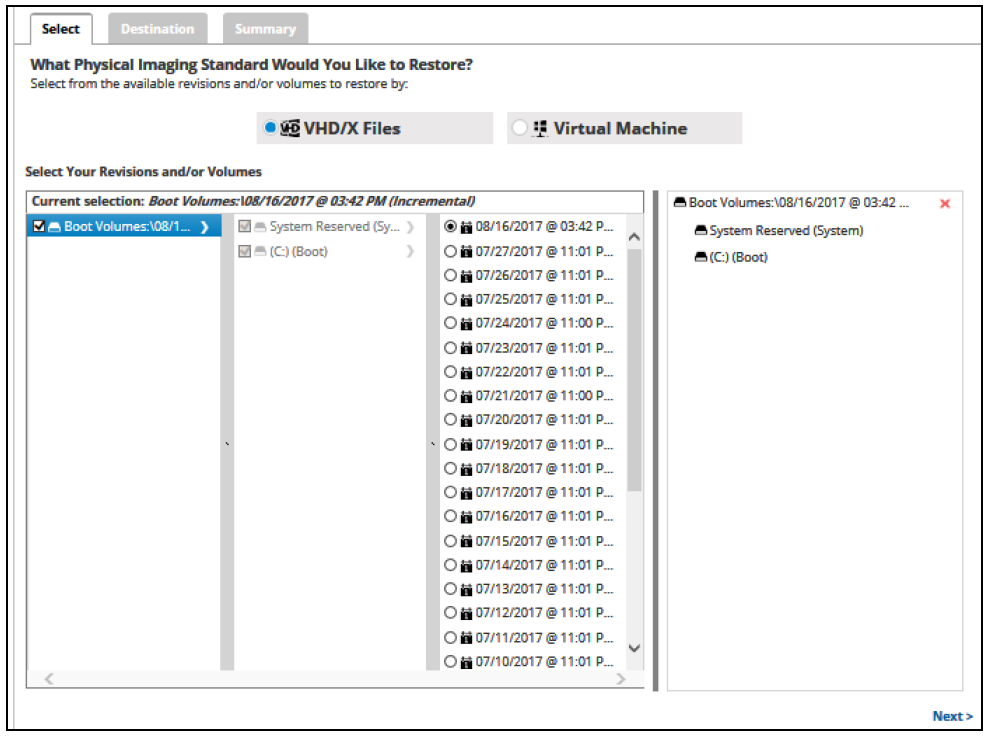
- In the Current Selection pane, select the revision and/or volumes you would like to restore.
Clicking the arrow at the right of the items displays more revisions/volumes.
The selection is displayed in the right pane. Click the remove icon to remove any selections
 - After making your selections, click Next.
The Destination page is displayed.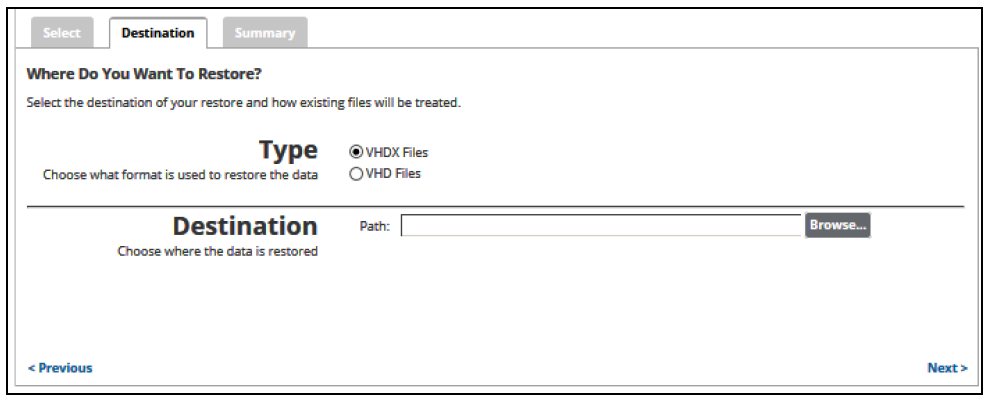
- At the Type section, select either the VHDX Files or the VHD Files radio button.
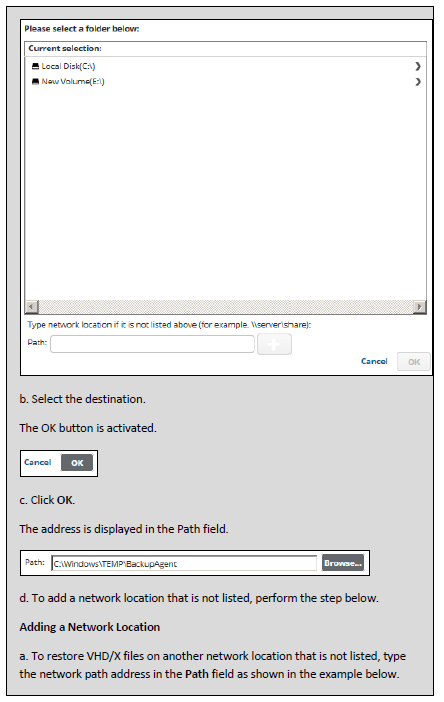
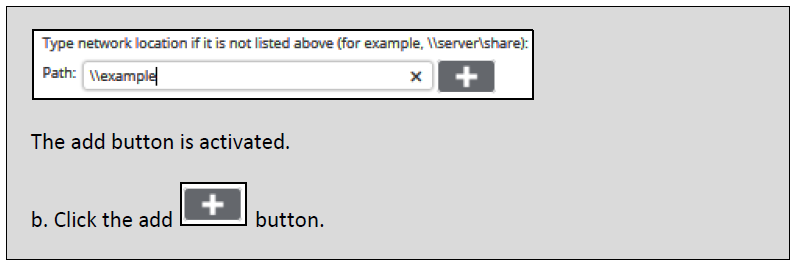
- At the Destination Path field, type a path, or click the Browse button to select the destination of your restore.
- After selecting the destination of your restore, click Next.
The Summary page is displayed.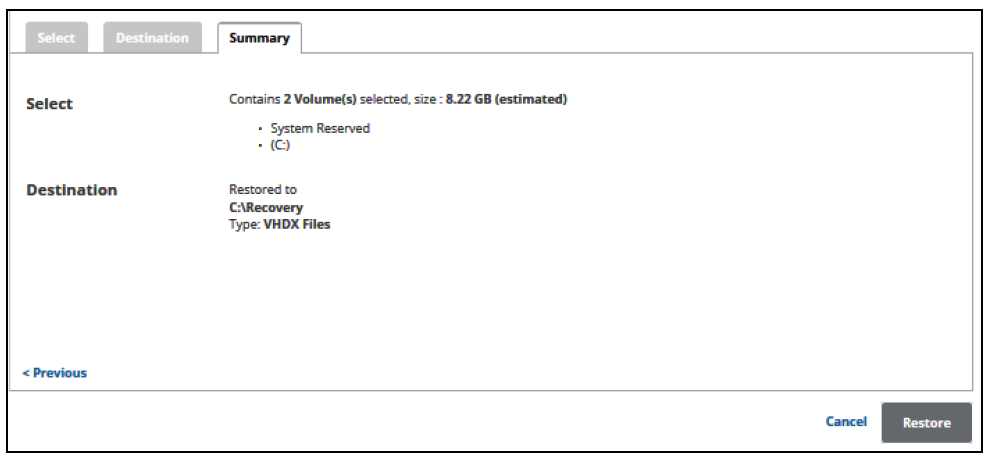
- Verify your selections, and then click the Restore button.
The confirmation pop-up is displayed.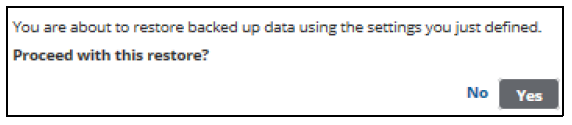
- Click Yes.
The Restore Selections page is displayed with the status.