

Manually Export Data
After installing and configuring the Backup Export Tool on your primary server, enabling it in the Barracuda Backup user interface, and configuring a media device to which to export data, perform the following steps to manually export data from a Barracuda Backup appliance:
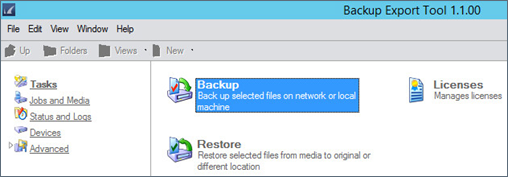
- On your primary server, open the Backup Export Tool.
- From the Tasks page, double-click Backup:

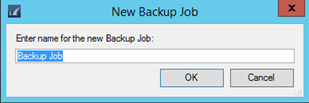
- In the New Backup Job window, enter a name to identify the backup/export job:

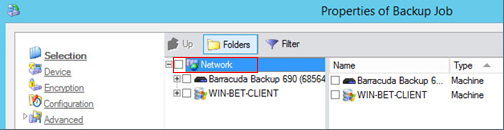
- Click OK. The Backup Job Properties window displays. All Barracuda Backup appliances connected to the Backup Export Tool client display below Network:
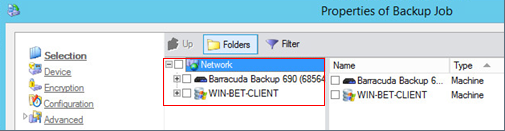
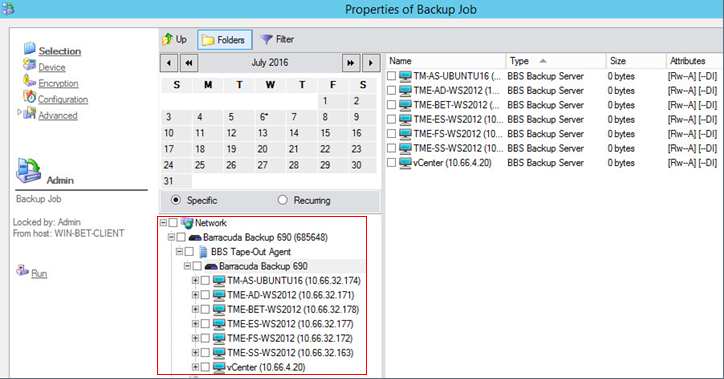
- Expand your Barracuda Backup appliance tree until you reach the backup sources currently being protected by the Barracuda Backup device:
Expand the data source containing the data you want to export. The revisions available for export are listed under Backup Agent in the tree. Note that only weekly, monthly, and yearly revisions are available for export:
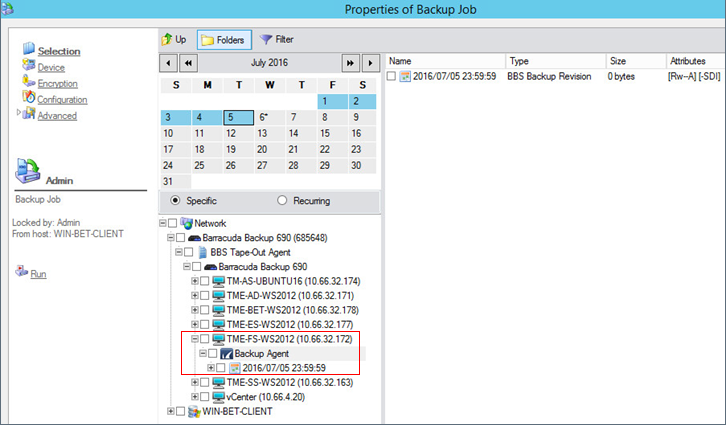
- Select the desired backup revision, and expand the revision to drill down into the folder structure. You can navigate the folder structure and any supported applications that are present, for example, Microsoft SQL, Exchange, Hyper-V:

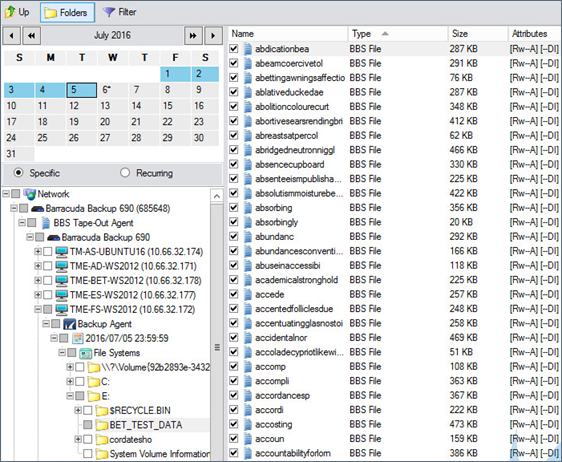
- Navigate to and select the folder(s) containing the data you want to export from the Barracuda Backup appliance. The contents of the selected folder(s) displays in the right pane:
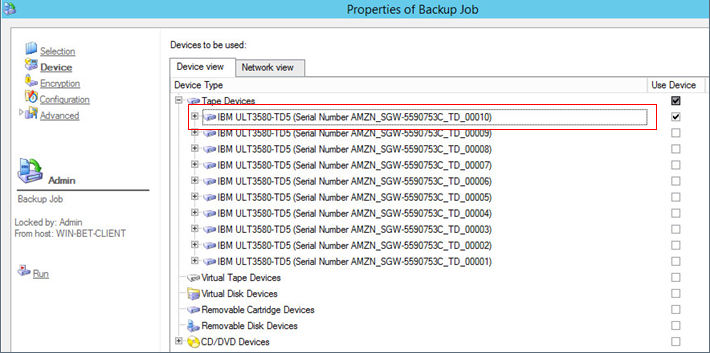
Click Device in the left pane, and then select a device to which to export the selected data:
Once you select a device, click Encryption in the left pane:
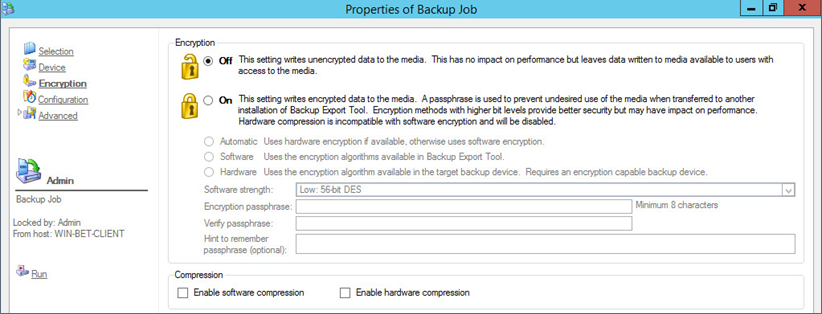
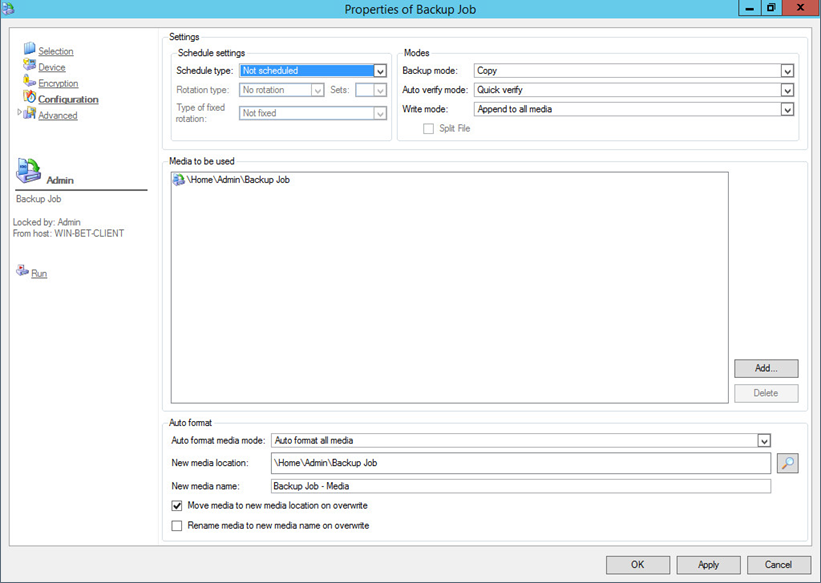
Once you select your optional encryption and compression options, click Configuration in the left pane. Use the Configuration page to specify how data is written to the selected storage device.
Once your backup options are configured, click Advanced in the left pane to access advanced options related to email alerts, log files, barcode filters, and copy policies.
- When you are done configuring options, click OK in the lower right corner to create the new backup job.
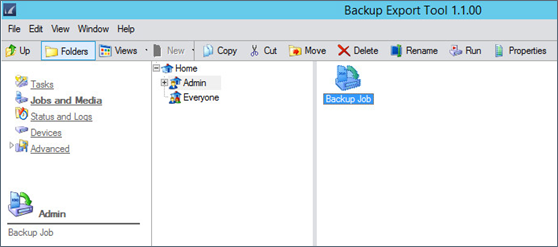
- Click Jobs and Media in the left pane. The newly created backup job should now display in the right pane:

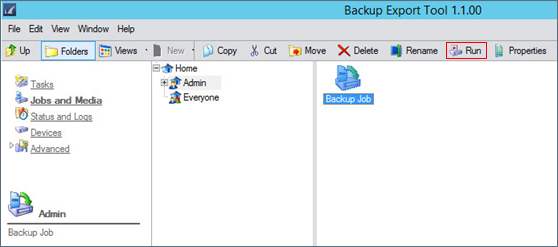
- Click on the backup job, and select Run in the toolbar or right-click the backup job and click Run to execute the data export:

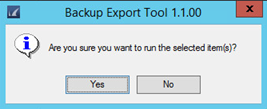
- In the confirmation dialog, click Yes to run the back job:

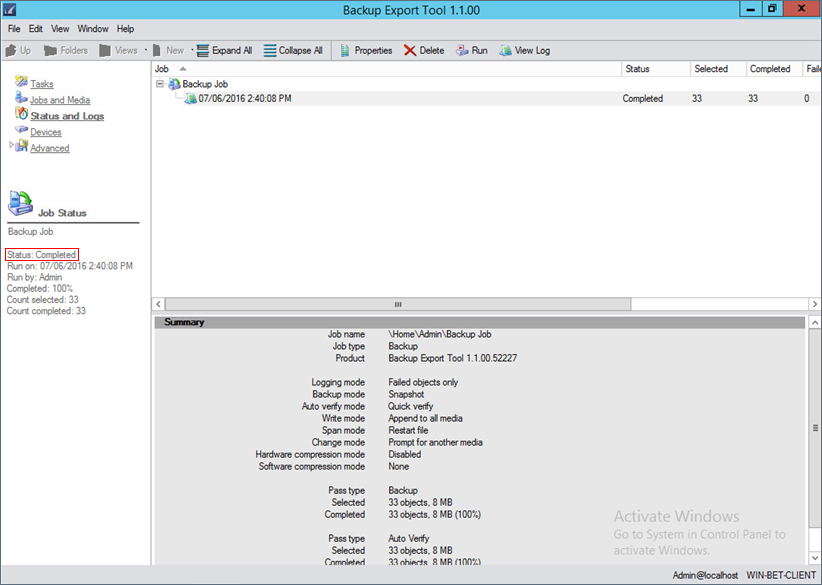
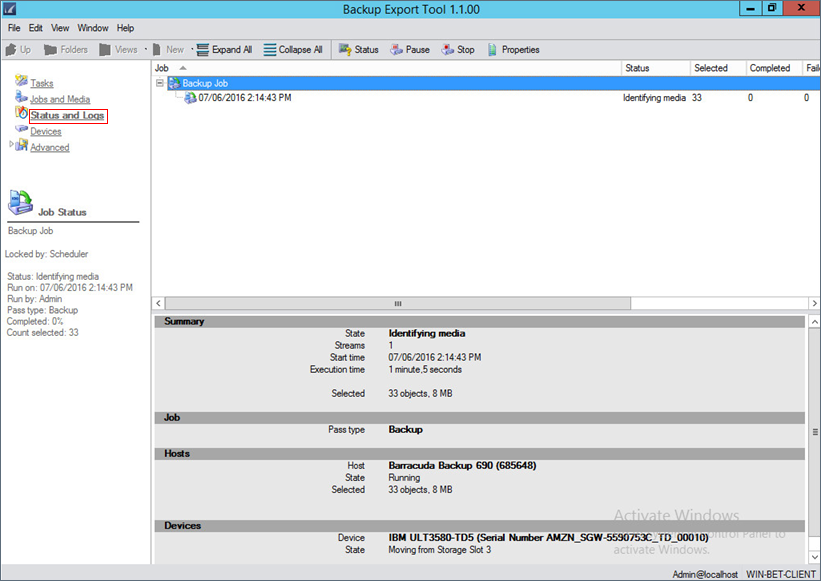
- Click Status and Logs in the left pane to view the backup/export job status:

- Allow the backup job to complete:
Schedule Automatic Data Export
After installing and configuring the Backup Export Tool on your primary server, enabling it in the Barracuda Backup user interface, and configuring a media device to which to export data, perform the following steps to automatically export data from a Barracuda Backup appliance:
- On your primary server, open the Backup Export Tool.
- From the Tasks page, double-click Backup:
- In the New Backup Job window, enter a name to identify the backup/export job:
- Click OK. The Backup Job Properties window displays. All Barracuda Backup appliances connected to the Backup Export Tool client display below Network:
- Expand the Barracuda Backup appliance tree until you reach the backup sources currently being protected by the Barracuda Backup device. Select Recurring:
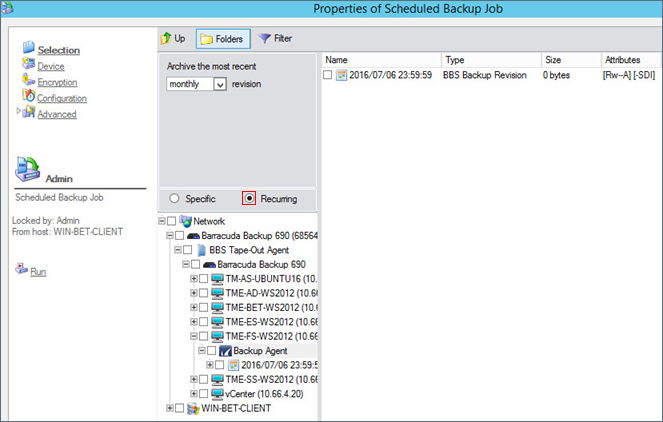
- From the Archive the most recent drop-down menu, select weekly, monthly, or yearly:
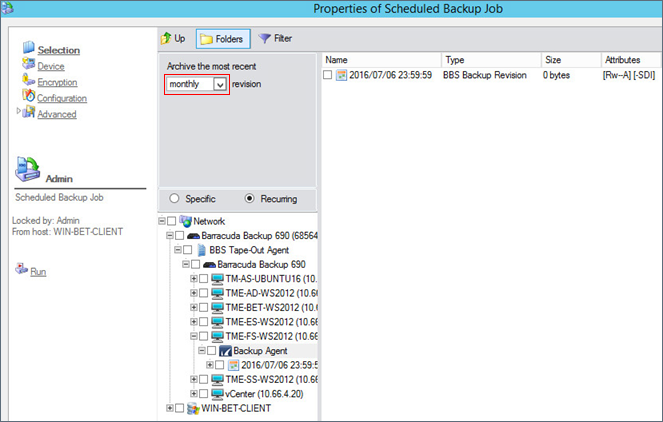
- Expand the data source containing the data you want to export. The revisions available for export are listed under Backup Agent in the tree.
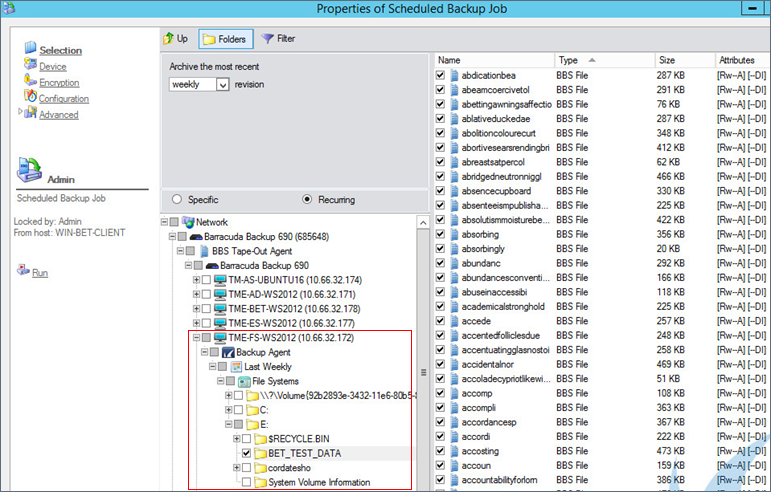
- Select the desired backup revision, and expand the tree to drill down into the folder structure. You can navigate the folder structure and any supported applications that are present, for example, Microsoft SQL, Exchange, Hyper-V.
- Navigate to and select the folder(s) containing the data you want to export from the Barracuda Backup appliance. The contents of the selected folder(s) displays in the right pane:
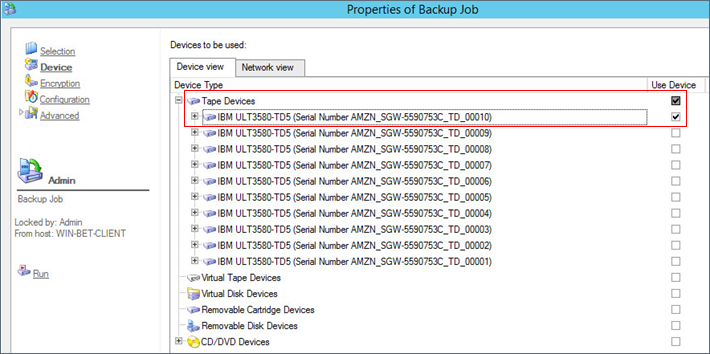
Click Device in the left pane, and then select a device to which to export the selected data:
Once you select a device, click Encryption in the left pane:
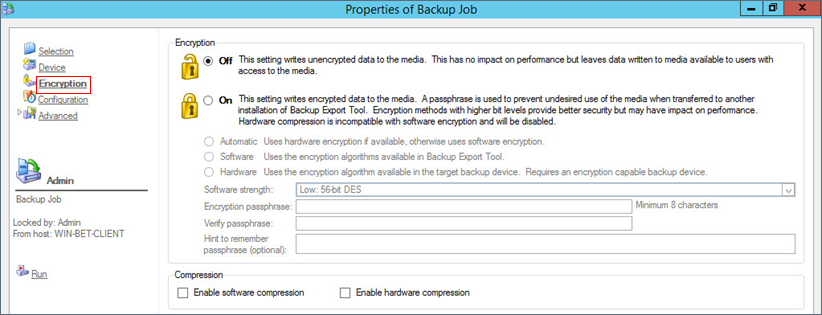
Once you select the optional encryption and compression settings, click Configuration in the left pane. Use the Configuration page to specify how data is written to the selected storage device.
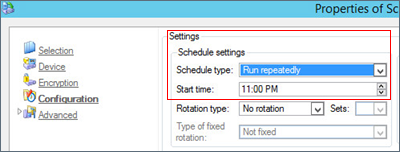
In the Schedule Settings section, select Run repeatedly as the Schedule type, and then select a Start time:
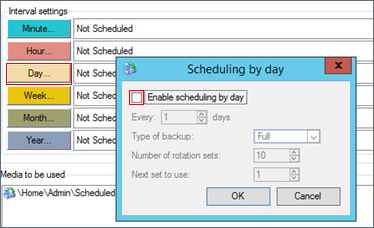
- In the Interval settings section, click Day, and clear Enable scheduling by day:
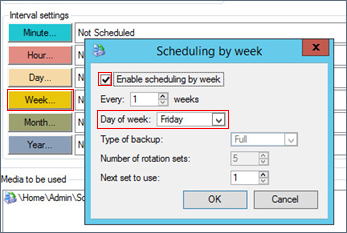
Click OK. Click Week, select Enable scheduling by week, and select the Day of week from the drop-down menu:
If you want to automatically export historical data monthly or yearly only, then choose those options under Interval settings.
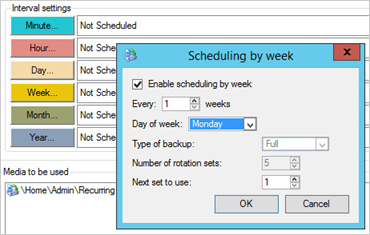
If you are running backups every day of the week with your Barracuda Backup appliance, then the weekly revision is Sunday’s backup. If you only run backups Monday through Friday, then the weekly backup falls on Friday’s backup. The Backup Export Tool should be run on the day after the weekly backup for the Barracuda Backup appliance has taken place. For example, the Barracuda Backup appliance is running backups every single day, making Sunday’s backup the weekly revision. We schedule our weekly export to run every Monday:
Monthly revisions for the Barracuda Backup appliance are created on the last day of the month, so configure data export to run on the first day of the new month. Yearly revisions for the Barracuda Backup appliance are created on the last day of the year, so configure data export to run on the first day of the new year.Click OK to save the selected scheduling.
Click Calendar in the left pane. Right-click the current day's date (highlighted), click Deselect day:
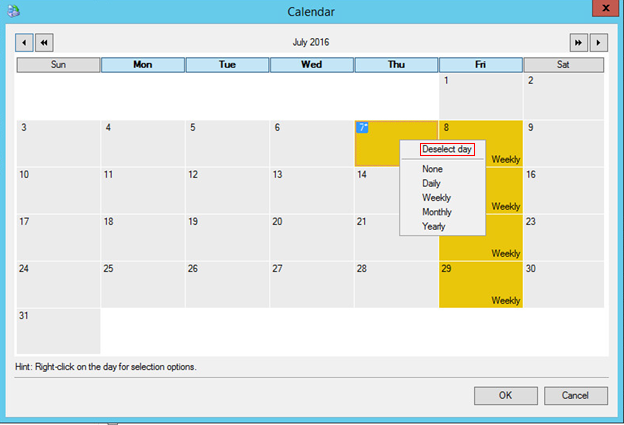
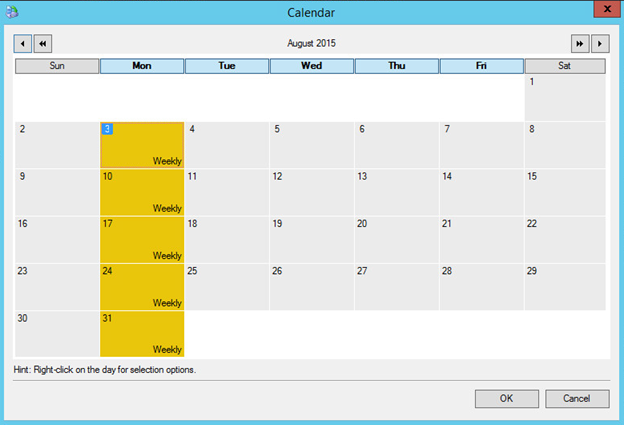
Tip: Before you click OK, click the arrows at the top right of the calendar to view the next month, and verify that the highlighted day is when you want your weekly, monthly, or yearly scheduled data export to occur:
- Click OK.
- In the Interval settings section, click Day, and clear Enable scheduling by day:
Once you have configured your backup and scheduling options, click Advanced in the left pane to access advanced options related to email alerts, log files, barcode filters, and copy policies.
- When you have configured all options in your backup job, click OK in the lower right corner to create the new backup job.
- Click Jobs and Media in the left pane. The newly created backup/export job should now display in the right pane:
- Click the backup job, and click Run in the toolbar, or right-click the backup job and click Run to execute the data export:
- Click Yes in the confirmation dialog box to run the backup/export job:
- To view the backup/export job status, click Status and Logs in the left pane:
- Allow the backup/export job to complete:
Restore Exported Data
Select files and folders to restore the same way that you select files and folders for backup/export. For a restore, you must specify which version of the file or folder you want to restore.
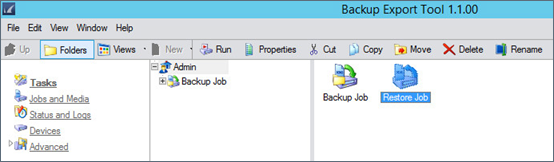
- On your primary server, open the Backup Export Tool.
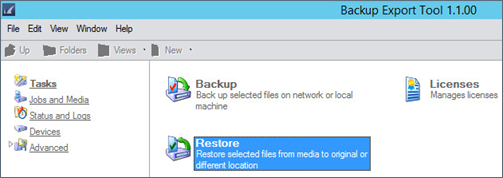
- From the Tasks page, double-click Restore:
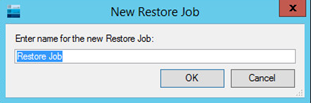
- In the New Restore Job window, enter a name to identify the restore job:
- Click OK. The Restore Job Properties window displays. All previous backup/export jobs form Barracuda Backup appliances display in the tree below Network:

- Expand the tree until you reach the previously exported data you want to recover:
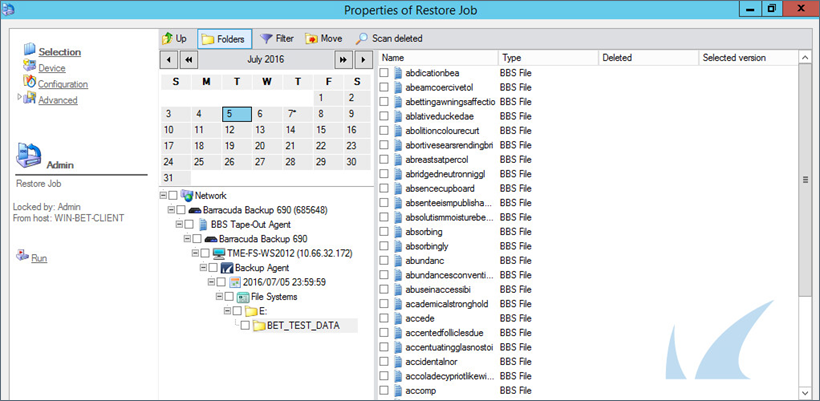
- Select either the entire folder from the tree, or select individual files in the right pane.
- Once you select the data you want to restore, the Select Destination window displays. Expand the tree under Network and locate recovery destination for your selected data. the Backup Export Tool recognizes any computers in the network where the Backup Export Tool is installed. For example, in the following image, the recovery folder RESTORE_DATA is created on the Backup Export Tool client system:
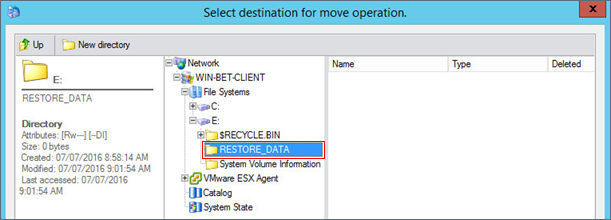
- Once you select a restore destination, click OK.
Click Device in the left pane, and choose a device from the list; this is the device you are restoring data from:
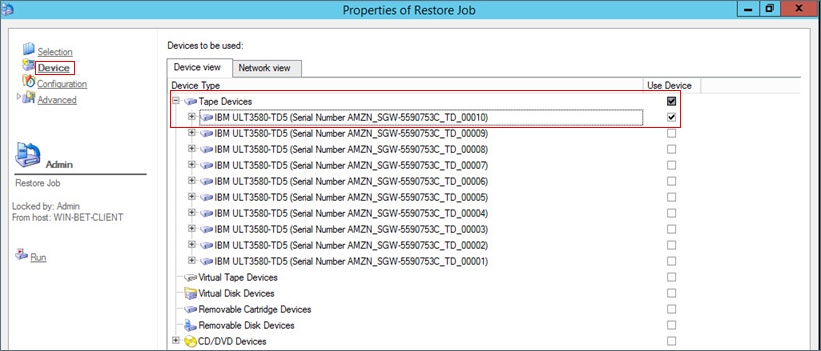
Once all configuration options are configured, click OK.
- Click Jobs and Media in the left pane; the newly created restore job should now display in the right pane:
Right-click the restore job, and click Run, or click on the restore job and click Run in the toolbar to execute the restore job.
- In the confirmation dialog, click Yes to run the backup/export job:
- Click Status and Logs in the left pane to view the restore job status:
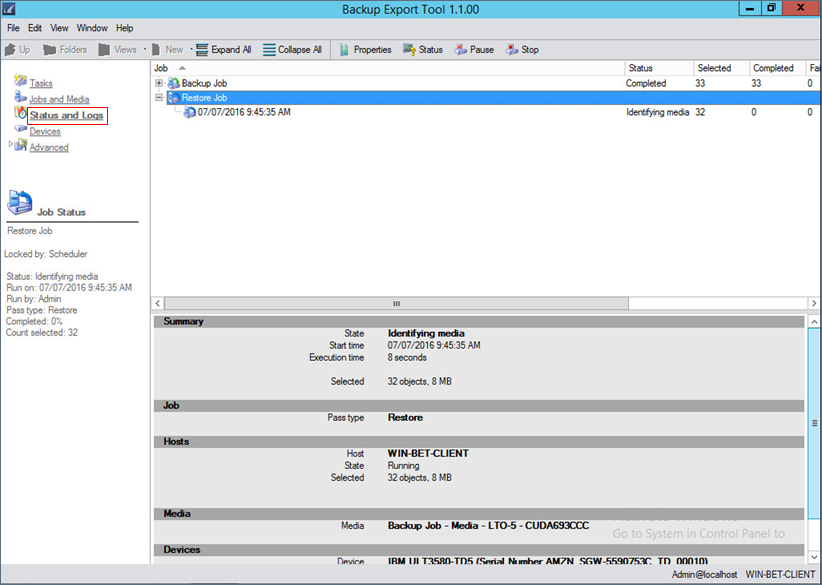
- Allow the restore job to complete. Verify the data is successfully restored.