

At some point, you may need to move the Local Vault. Perhaps the device it currently resides on is running out of room or is being decommissioned. This guide will walk you through the process of moving the Local Vault while preserving the data you have already backed up to it.
Readying the Software
The first step in the process is to stop all running actions. We don't want anything trying to retrieve data from the Local Vault while you are moving it or continuing to write data to the old Local Vault location after it's already been moved.
- Open the Backup Monitor by clicking on either the desktop or start menu shortcut.
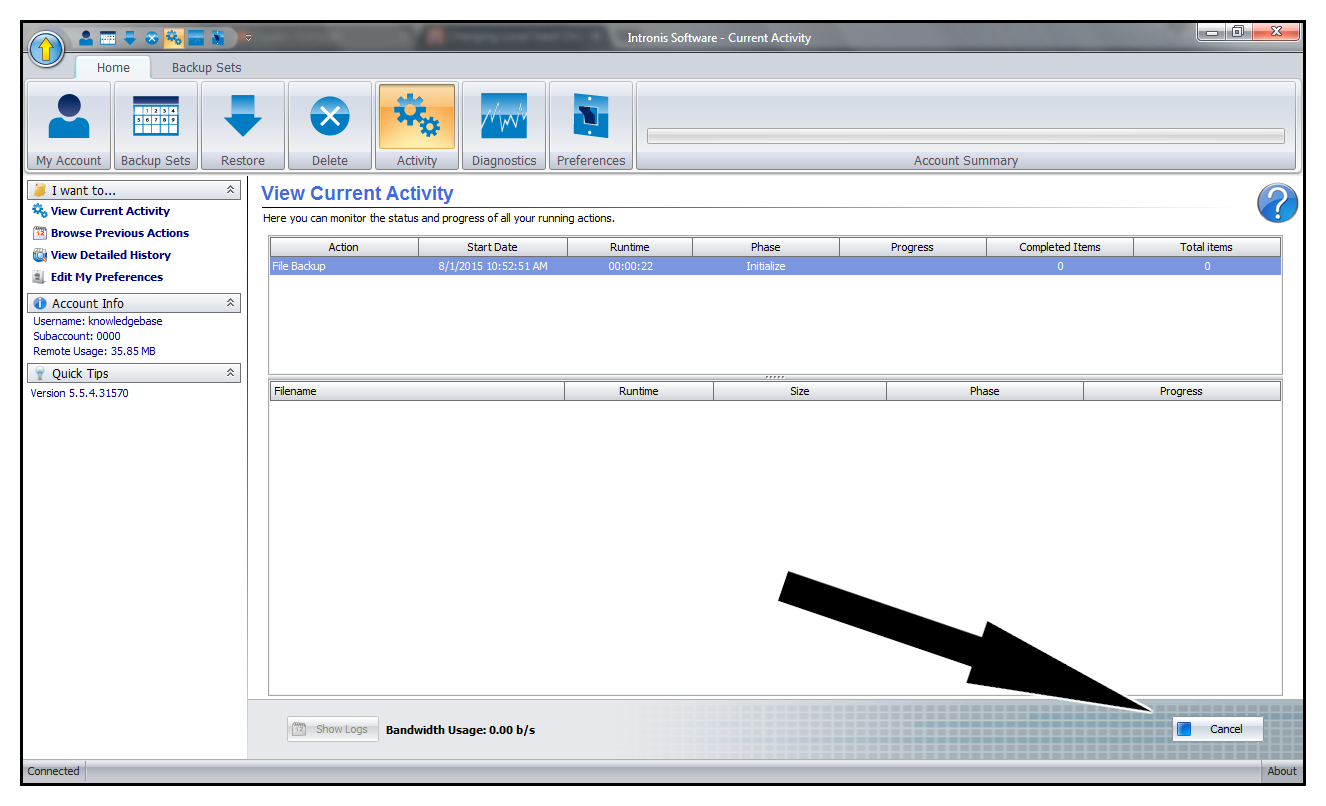
- Go to the Activity tab and then the View Current Activity link in the left-hand pane.
- Stop any running jobs, including Async Upload jobs, by clicking on the job and selecting Cancel in the bottom-right. Make sure there is nothing running before moving on.
- Double-check to make sure no backup jobs are scheduled to run while you will be moving the Local Vault. You can set your backup sets to manual to guarantee they do not run.
You are now ready to move the Local Vault.
Moving the Local Vault
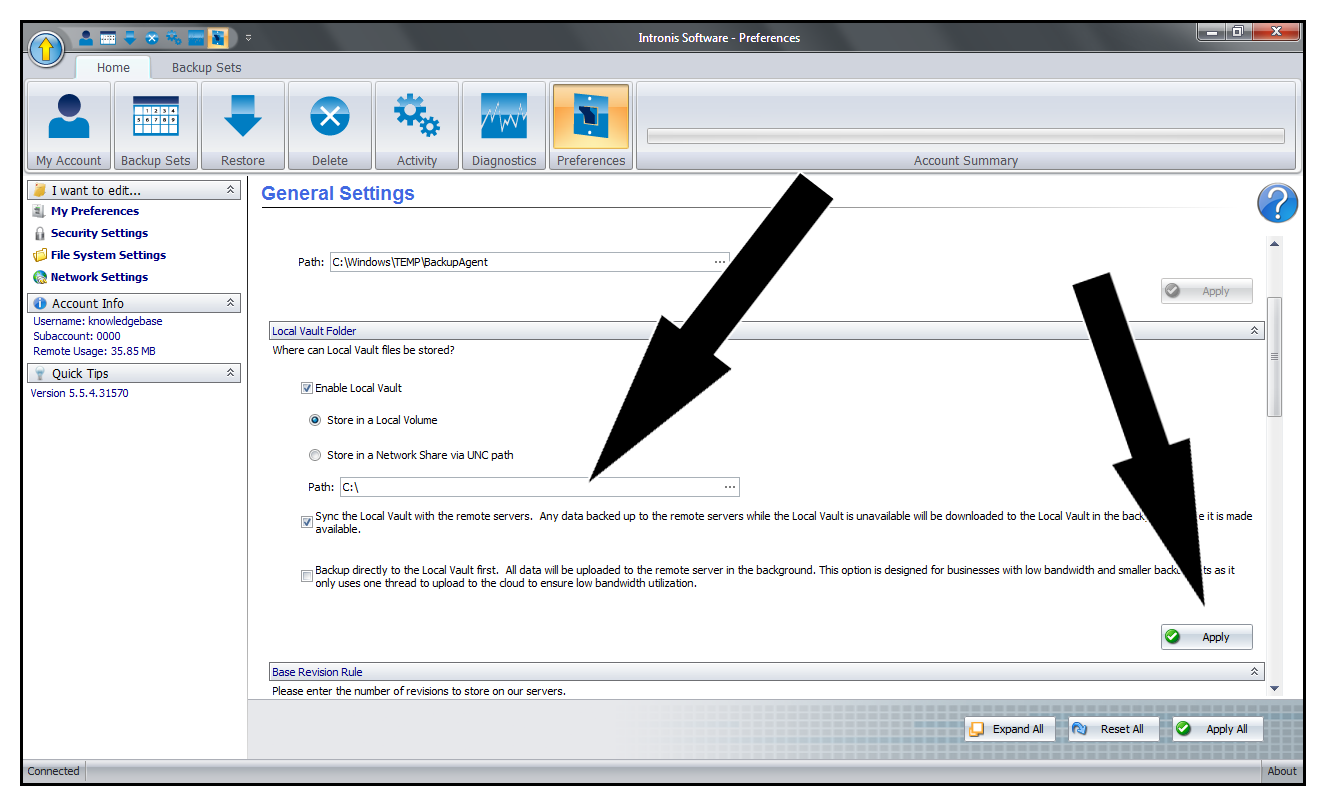
- While still in the Backup Monitor, go to the Preferences tab and scroll down to the Local Vault Folder section. If you do not see it, some job is still running. Repeat the steps from the previous section or restart the Backup Agent service.
- Change the path of the Local Vault to its new location and hit Apply.
- You should now have a Local Vault folder in the new location. Make sure it has the same name as the old Local Vault. For example, if the old one was called "LocalVault-cda51962e8e22424f2fa5f8426f5cd6a" the new Local Vault should match that.
- Copy all of the contents of the old Local Vault folder into the new Local Vault folder.
- When everything is copied over, you are done moving the Local Vault and can safely delete the old Local Vault folder.