Network shares can be backed up by the Intronis software in a similar manner as local files and folder. As long as the software can access those shares, they can be backed up.
Adding a Network Share to a Backup Set
- Log into the management portal and navigate to the computer account you want to back up the share with.
- On the Computer page, go to the Backup tab.
- Select the
 button next to Files and Folders to back up the network share with a new backup set or select the
  button to add the share to an existing backup set.
 - On the Select page, type the UNC path of the share into the Path: field at the bottom of the window.
- If no credentials are required to access the share, the share shows up in the left-hand pane.
- If credentials are required to access the share, you are prompted to enter them. If confirmed, the share shows in the left-hand pane.
- When the share becomes available, select what you want to back up from the share. Continue creating the backup set if you need to, otherwise click Update Backup Set to save your changes.
Common Problems
If you receive a message when trying to add the share which says Unable to Connect to Share there may be an issue with the syntax of the share path or the username and password you are using to connect to the share.
- First, confirm you have the proper username and password to access the share. Keep in mind that if you are using domain credentials, the username will need to be in the form of domain\username to register properly.
- Next, confirm you can navigate to the share and access information on it using the UNC path in Windows Explorer. With this step, you may find you can access the share using the path format (\\computer name\share name) in Explorer but the software may require the (\\host IP address\share name) format to access the share. Try both before going to step 3.
- If none of the above help, try running the Backup Agent service as the user from step 1. Instructions for doing this are here.
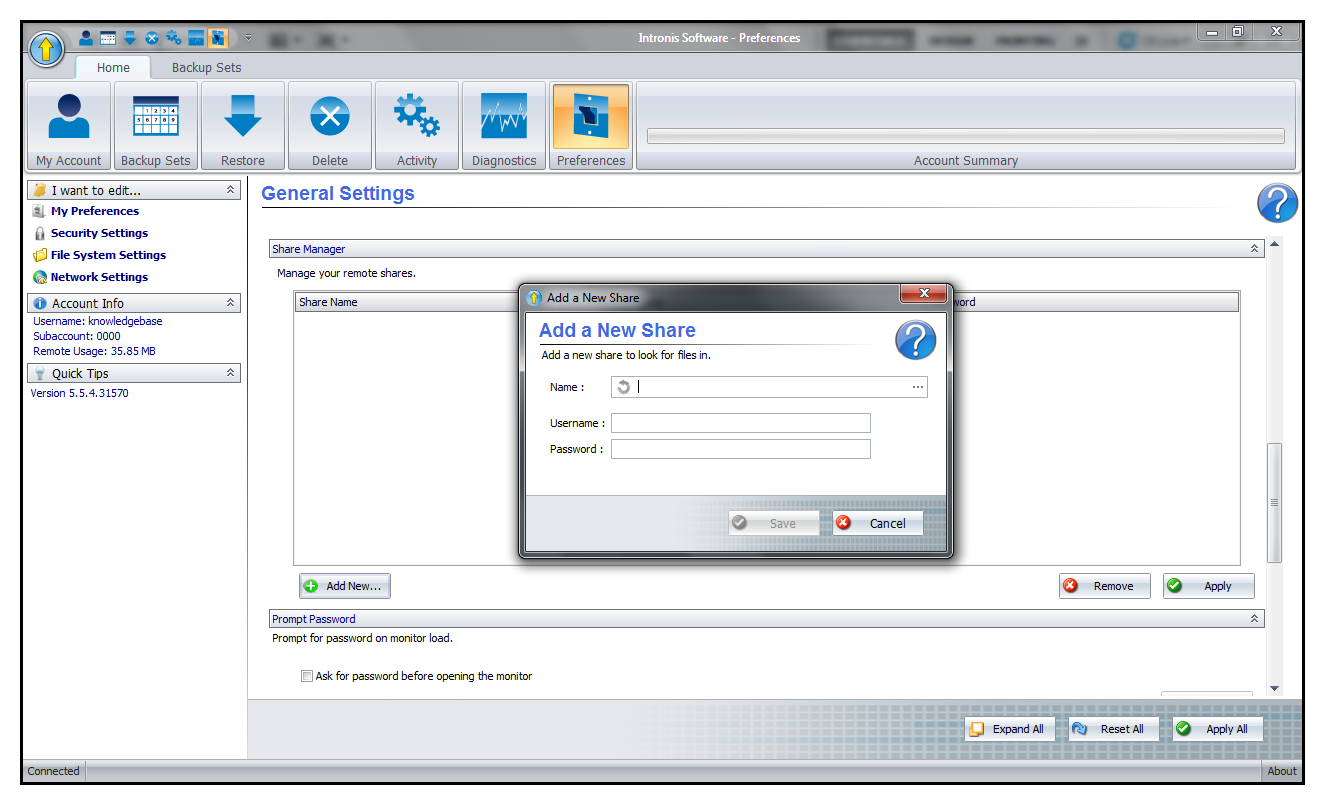
- Finally, you can try adding the share to the Share Manager in the software. To do this, open the software and go to the Preferences tab. Scroll down until you get to the Share Manager section and hit Add New... to open the Add a New Share window. After you have added the share here, try adding it to the backup set from before.

- If after trying steps 1-4 and you are still unable to add the share, please contact Support (1-800-569-0155 option 1 or support@intronis.com).
