

To perform the following steps.
Repeat these steps for each MSP user logging into ECHOplatform.
Do not use the default partner credentials used for the initial sign in.
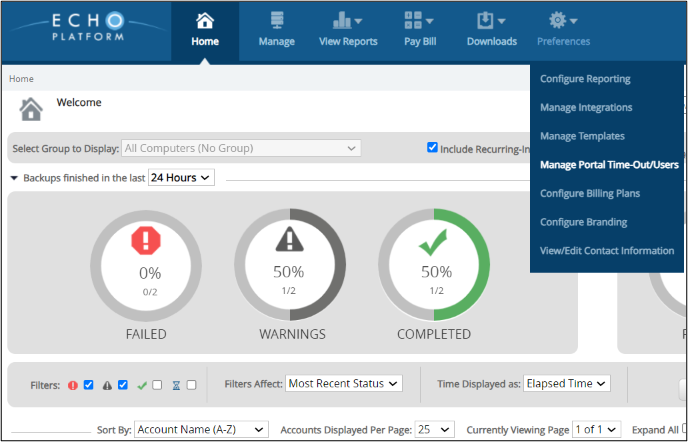
- At the ECHOplatform ribbon, click Preferences, Manage Portal Time-Out/Users from the Preferences drop-down menu.
The Manage Portal Time-Out/Users page is displayed.
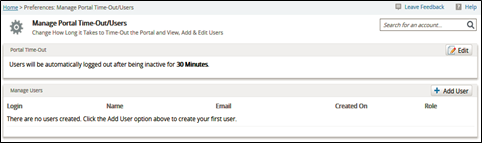
- Click the Add User button.
The Portal Time-Out field is displayed.
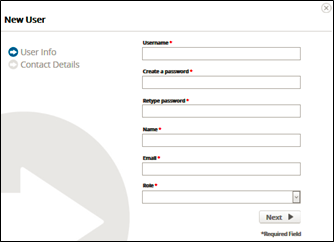
- Complete the fields.
- Type a unique Username.
If a username is already in use, the following notice is displayed.

- Type a password.
The following password requirements are displayed.

- Type the Name and Email address in the relevant fields.
If you are using Barracuda Cloud Control, and you already have an account then the email address and password need to match the Barracuda login. Select a role from the Role drop-down list.

The roles are:Role
Permissions
Admin
- Access to all features of the ECHOplatform portal
- Full privileges to Barracuda Cloud Control.
- The user can Single-sign-On into Barracuda Cloud Control.
- The user can activate Barracuda Backup Appliances
- The user can provision and activate Barracuda Essential Services
Tech
- Access to the ECHOplatform portal management section and backup related reporting
- Full privileges to Barracuda Cloud Control except for search ability in Archiver
- The user can Single-Sign-On into Barracuda Cloud Control.
- The user cannot activate Barracuda Backup Appliances
- The user cannot provision and activate Barracuda Essential Services
Tech (cannot delete)
- Access to the ECHOplatform portal management section and backup related reporting, but cannot delete
- Access to Barracuda Cloud Control
- The user cannot activate Barracuda Backup Appliances
- The user cannot provision and activate Barracuda Essential Service
Finance
- Access to the ECHOplatform portal billing section and billing related reporting.
- No access to Barracuda Cloud Control
- The user cannot activate Barracuda Backup Appliances
- The user cannot provision and activate Barracuda Essential Service
4. When complete, click Next.
The Contact Details page is displayed with pre-filled fields.
5. Click Submit.
The new user is displayed.
- Type a unique Username.