

To restore Physical Imaging Standard to a Hyper-V Virtual Machine, perform the following steps.
- Navigate to the Computer page. See Navigating to the Computer Page.
The Computer page is displayed.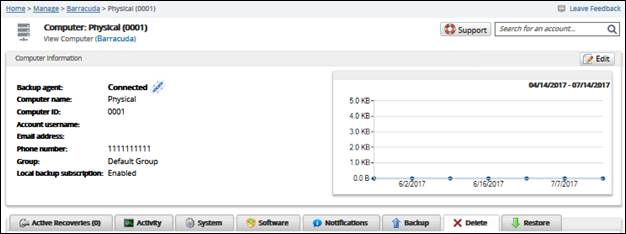
- Click the Restore tab.
The Restore Selections page is displayed.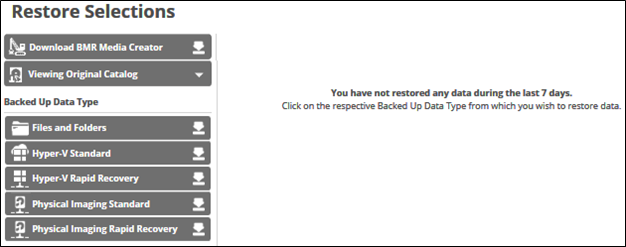
- Click Physical Imaging Standard.
The Select page is displayed.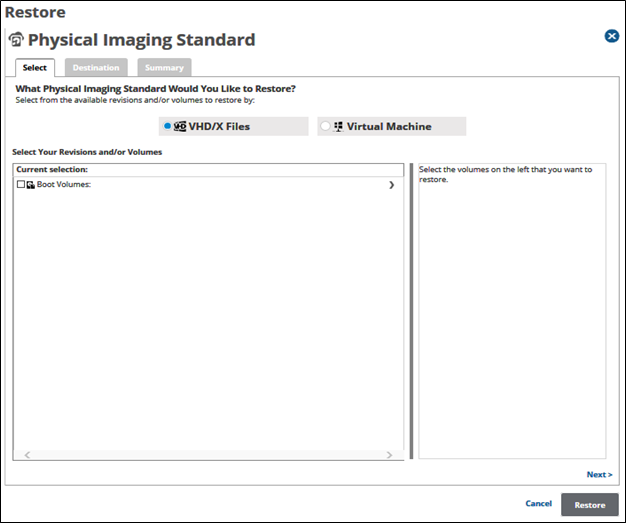
Click the Virtual Machine button.
The revisions and volumes are displayed.

- In the Current Selection pane, select the volumes and revisions to be restored.
Clicking the arrow at the right of the items displays more files and folders.
The selection is displayed in the far right pane. Click the remove icon to remove any selections.
 After making your selections, click Next.
The Destination page is displayed.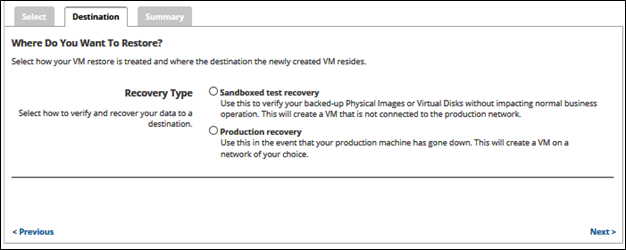
- Select a Restore type radio button.
- If you select Sandboxed test recovery: The recovery VMs created start on their own separate VLAN to avoid conflicts with the production VMs.
If you select Production recovery: A new VM is created in Hyper-V with the network you selected.
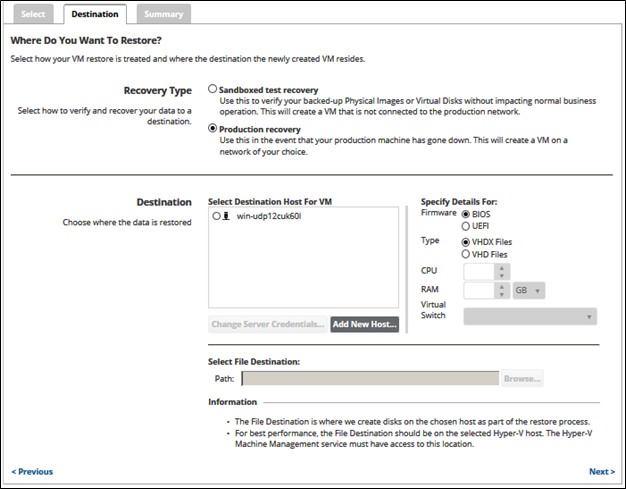
On the Destination panel, select the radio button for the desired destination host.
Add New Host- If you need to add a new destination host, click the Add New Host button.
The Server IP Address pop-up is displayed.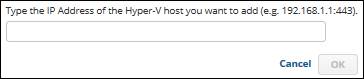
- Type the IP address of the Hyper-V host, and then click OK.
The sign-in pop-up is displayed.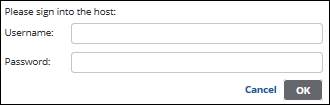
- Sign in, and then click OK.
The Select File Destination path field is activated.
 Browse option
- Click the Browse button.
The folder options are displayed.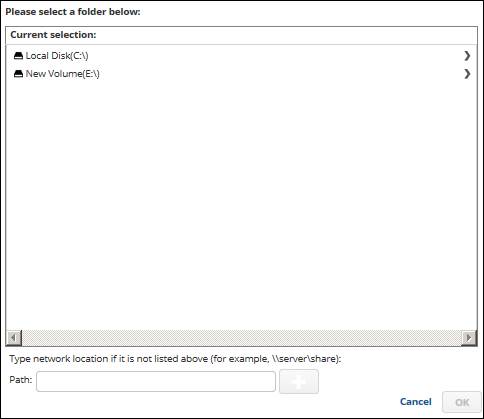
- Select the destination.
The OK button is activated.
- Click OK.
The address is displayed in the Path field.
To add a network location that is not listed, perform the step below.
Adding a Network Location
- To back up files and folders on another network location that is not listed, type the network path address in the Path field as shown in the example below.

- The add button is activated.
- Click the add
 button.
- If you need to add a new destination host, click the Add New Host button.
- In the Select File Destination Path field, type or browse to the destination of your restore.
- In the Specify Details for Firmware pane, select BIOS or UEFI radio button.
- If you selected BIOS, in Specify Details for Type, select VHDX Files or VHD Files radio button.
- If you selected UEFI, the VHDX Files radio automatically button is selected.
- Select the CPU and the RAM size.
- If you selected the Production Recovery option, select the Virtual Switch.
- After making your selections, click Next.
The Summary page is displayed.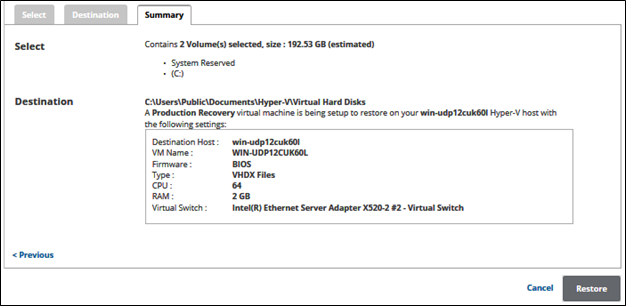
- Verify your selections, and then click Restore.
The confirmation pop-up is displayed.
- Click Yes.
The Restore Selections page is displayed with the status.