

To restore at the Object-level, perform the following steps.
- Navigate to the Computer page. See Navigating to the Computer Page for instructions.
The Computer page is displayed.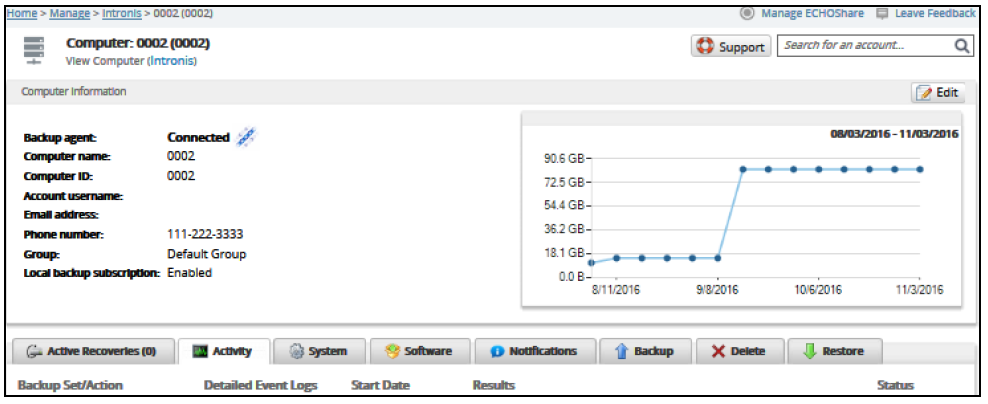
- Click the Restore tab.
The Restore Selections page is displayed.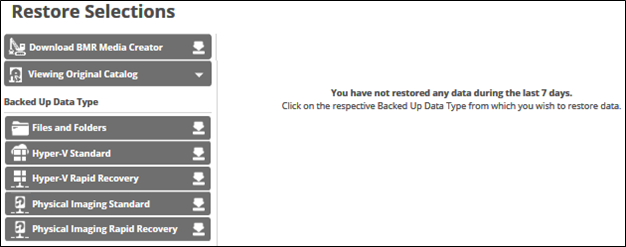
- In the Backup Type pane, click Physical Imaging Rapid Recovery.
The Select page is displayed.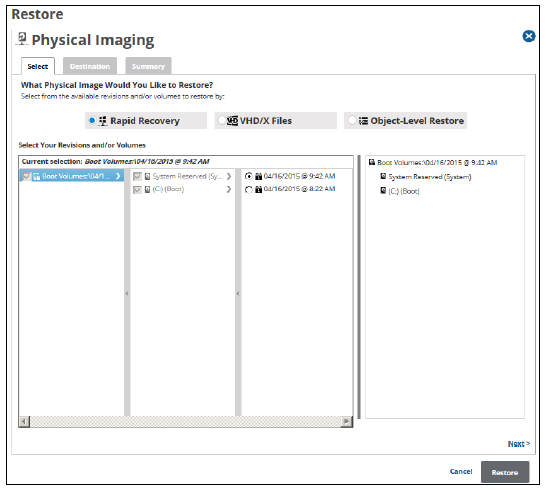
- Select the Object-level Restore radio button.
The Object-level selection options are displayed.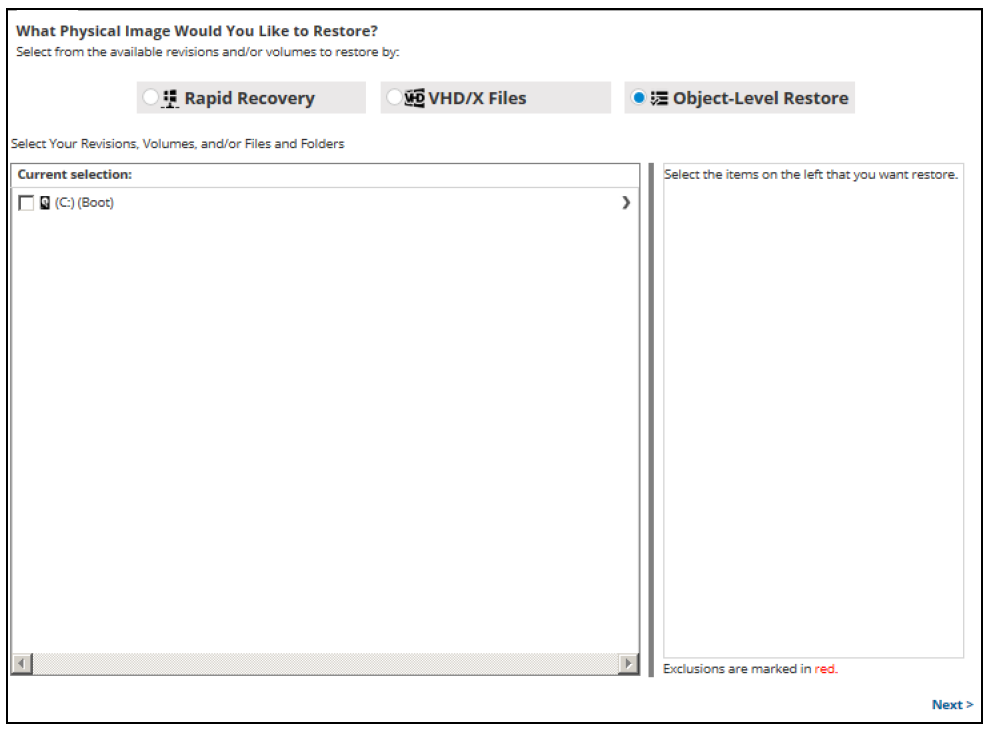
- In the Current Selection pane, select the revisions/volumes to be restored.
Clicking the arrow at the right of the items displays more revisions/volumes.
The selection is displayed in the far right pane. Click the remove icon to remove any selections.
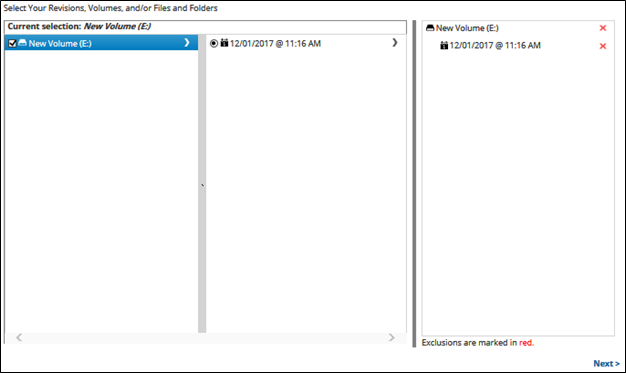
- Click Next.
The Destination page is displayed.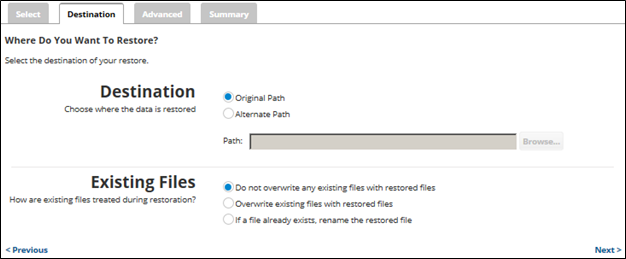
- At the Destination section, to select the original destination path, click the Original Path radio button.
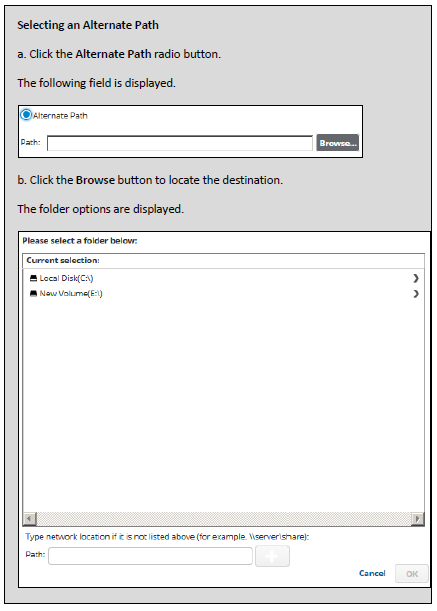
- To select an alternate path, click the Alternate Path radio button, and then browse to the destination.

- At the Existing Files section, select one of the following radio buttons regarding the restoration of existing files:
- Do not overwrite any existing files with restored files
- Overwrite existing files with restored files
- If a file already exists, rename the restored file
- After making your selections, click Next.
The Advanced page is displayed.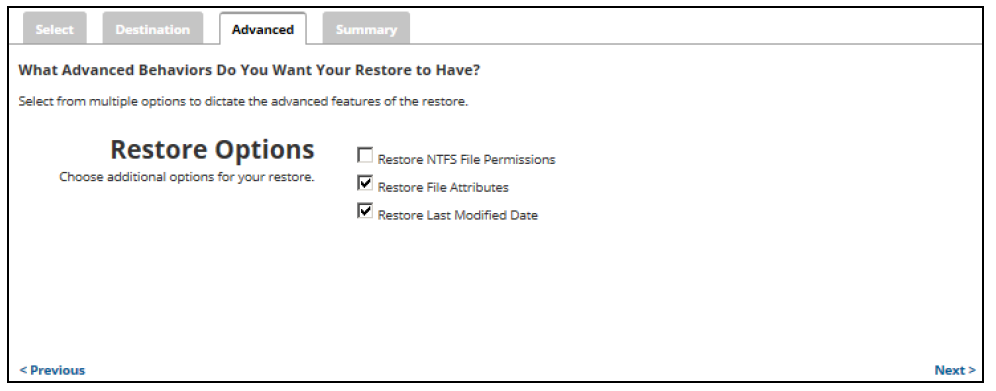
- Optionally, select the following options to specify the advanced features of the restore:
- Restore NTFS File Permissions
- Restore File Attributes
- Restore Last Modified Date
- Click Next.
The Summary page is displayed.
- Verify your selections, and then click the Restore button.
The confirmation pop-up is displayed.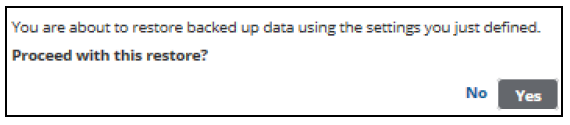
- Click Yes.
The Restore Selections page is displayed with the status.