

If you have determined an initial seed is necessary for one or more of you clients' machines, follow these steps to perform an initial seed.
Setting Up an Initial Seed
First, to run an initial seed you will need to have the Backup Agent installed and set up as the computer account you intend to seed. Secondly, you will need to have a USB drive, preferably USB 3.0, you can put the initial seed on. This drive should not be one used to store any Local Vaults. Format the USB drive as an NTFS drive. When you start an initial seed from the Echo portal, the Backup Agent will create a folder tree on the seed drive with this structure:
Drive Letter:\Intronis\Client Account Username\Computer ID
An example of what this would look like for the client account "knowledgebase" and computer ID "0001" would be:
F:\Intronis\knowledgebase\0001
Using this folder structure organizes the initial seed data and allows you to have multiple initial seeds on the same USB drive. When performing an initial seed, you can have the Local Vault enabled, this will not interfere with the initial seed.
When you have prepared for the initial seed, contact Support (1-800-569-0155 x1 x1 or support@barracudamsp.com) to have the initial seed option enabled for the computer accounts you want to seed.
Running an Initial Seed
- Log into the management portal and go to the computer account you want to seed.
- Go to the Backup tab and click on the Play button to start a backup. If Intronis Support has enabled the initial seed option, you should see this prompt when you start the backup job:
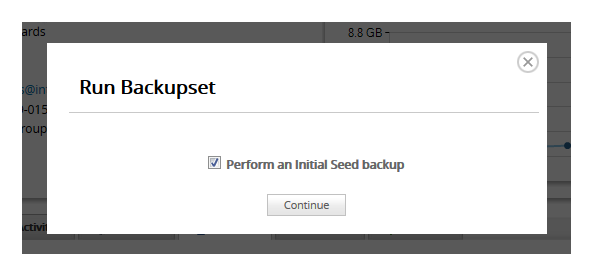
- Check the box for Perform an Initial Seed backup and hit Continue.
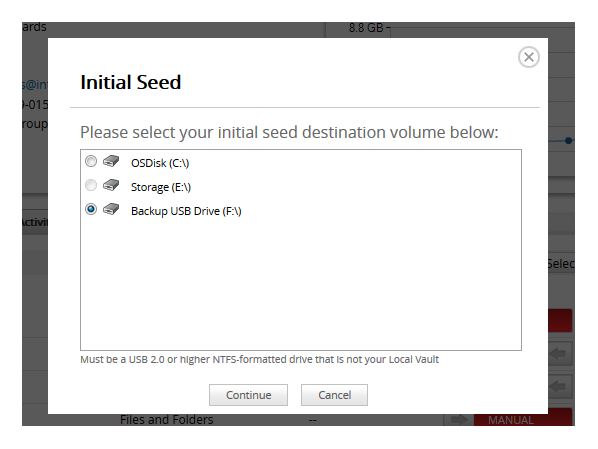
- Next, you will be asked which drive you want to put the initial seed on. Choose the USB drive you prepared earlier and click Continue. Mapped network drives are not accepted as suitable initial seed drives.
- The initial seed backup will start and should begin writing files to the USB drive.
After an Initial Seed Has Completed
After the seed has been completed, you may resume normal, automatic backups – only the changes to your data will be pushed up to our server while the seed is en route to our servers. It is important to note that until we receive the initial seed data and it is uploaded to our servers you will not be able to perform restores of that data. In an effort to ensure data integrity please make sure all drives arrive within 30 days of completion of the seed.
Once the local backup is completed, follow the instructions in the Initial Drive Seed Form to ship us the drive.
Is there a charge for this service?
The initial seed drive service comes free of charge, you only need to pay to ship the drive to us. All drives are returned by UPS Ground Shipping at our expense.
My backups failed, can I delete the data from the initial seed drive?
Please do not delete data from the seed drive without consulting Support. In most cases, if you restart the Backup Agent after a Failed or Warning backup and the data from the previous initial seed backup remains on the drive, it is probably legitimate backup data.
Special Note
Should the initial seed backup end or fail for any reason (system shutdown, agent disconnection, etc.), the seed will not auto-resume processing to the drive. The automatic backups will continue to the cloud as normal. If you want the seed to continue, you must manually kick off the initial seed backup once more.