

This article includes the following sections:
- Overview
- Restoring VMware QuickSpin at the Object Level
Overview
At the Object-level, you can browse all the files of the VMs that you backed up and select individual files from those VMs to restore. This feature allows you to recover individual files and folders from a local backup directly through the management portal. You are essentially restoring files and folders out of the recovery VM instead of powering up the recovery VM.
Restoring VMware QuickSpin at the Object Level
To restore a VMware QuickSpin at the Object Level, perform the following steps.
- Navigate to the Computer page. See Navigating to the Computer Page for instructions.
The Computer page is displayed.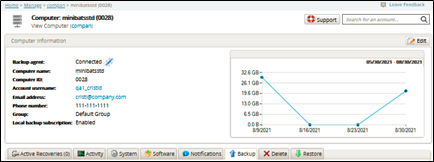
Click the Restore tab.
The Restore Selections page is displayed.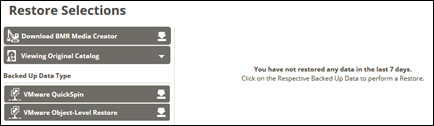
Click the restore icon
 of the backup type you want to restore.
The Select page is displayed.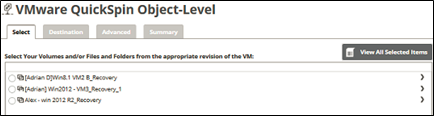
Select the VM with the revisions to be restored.
Your selection is displayed.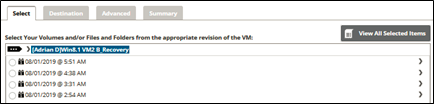
Notes:
You can select from multiple disks and volumes.
The home icon returns you to the VM level.
Clicking the arrow
 at the right of the selection displays the next level of detail. You can continue navigating to the next level of detail until the right arrow is no longer displayed.
Click the hard disk revision from which you want to restore.
Your selection is displayed.
Click the right arrow of the hard disk to navigate to the volumes you wish to restore.
Your selection is displayed.
Click the volume check box with the revision you wish to restore.
Your selection is displayed.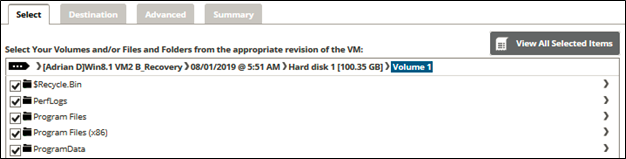
Click the folders to that you wish to exclude from the restore.
The folders you do not wish to restore are displayed with red text.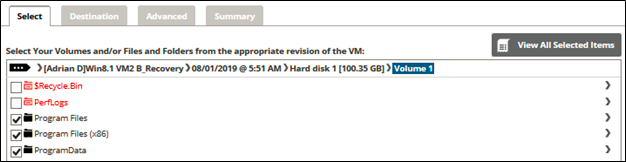
When you have completed your selections, click the View All Selected Items button to verify your selections and exclusions you wish to restore.
Your selection is displayed.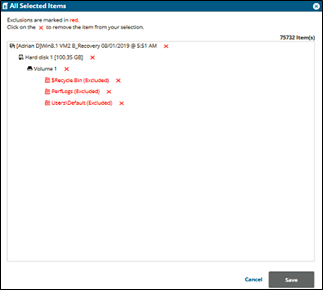
Click the remove icon
 to remove any selections.
Note: Exclusions from the restore are marked in red.Click Save.
Click the Destination tab.
The Destination page is displayed.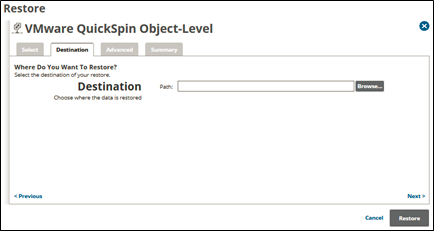
At the Path field, type or browse to the destination of the restore. See Browsing to a Folder and Adding a Network Location.
After making your selection, click Next.
The Advanced page is displayed.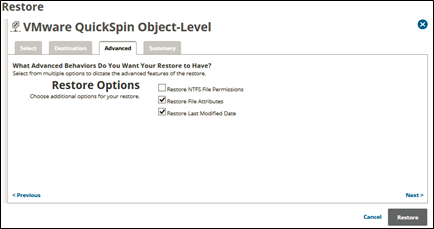
Optionally, select from the following options to specify the advanced features of the restore:
Restore NTFS File Permissions
Restore File Attributes
Restore Last Modified Date
Click Next.
The Summary page is displayed.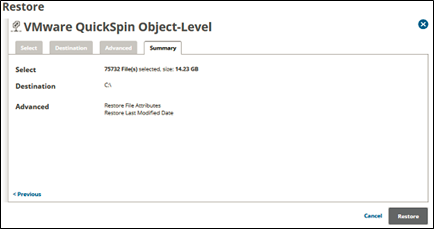
Verify your selections, and then click the Restore button.
The confirmation pop-up is displayed.
Click Yes.
When the restore is complete, the Restore Selections page is displayed with the latest restore.