

Download and Import the VHD Image
- See How to Deploy CloudGen Access on a Virtual Appliance and click the link for VHD to download the latest .
vhdfile into theC:\Downloadsfolder on your local machine. Copy and paste this.vhdfile to yourC:\Users\Public\Documents\Hyper-V\Virtual hard disksfolder. - Log into your Windows Server client.
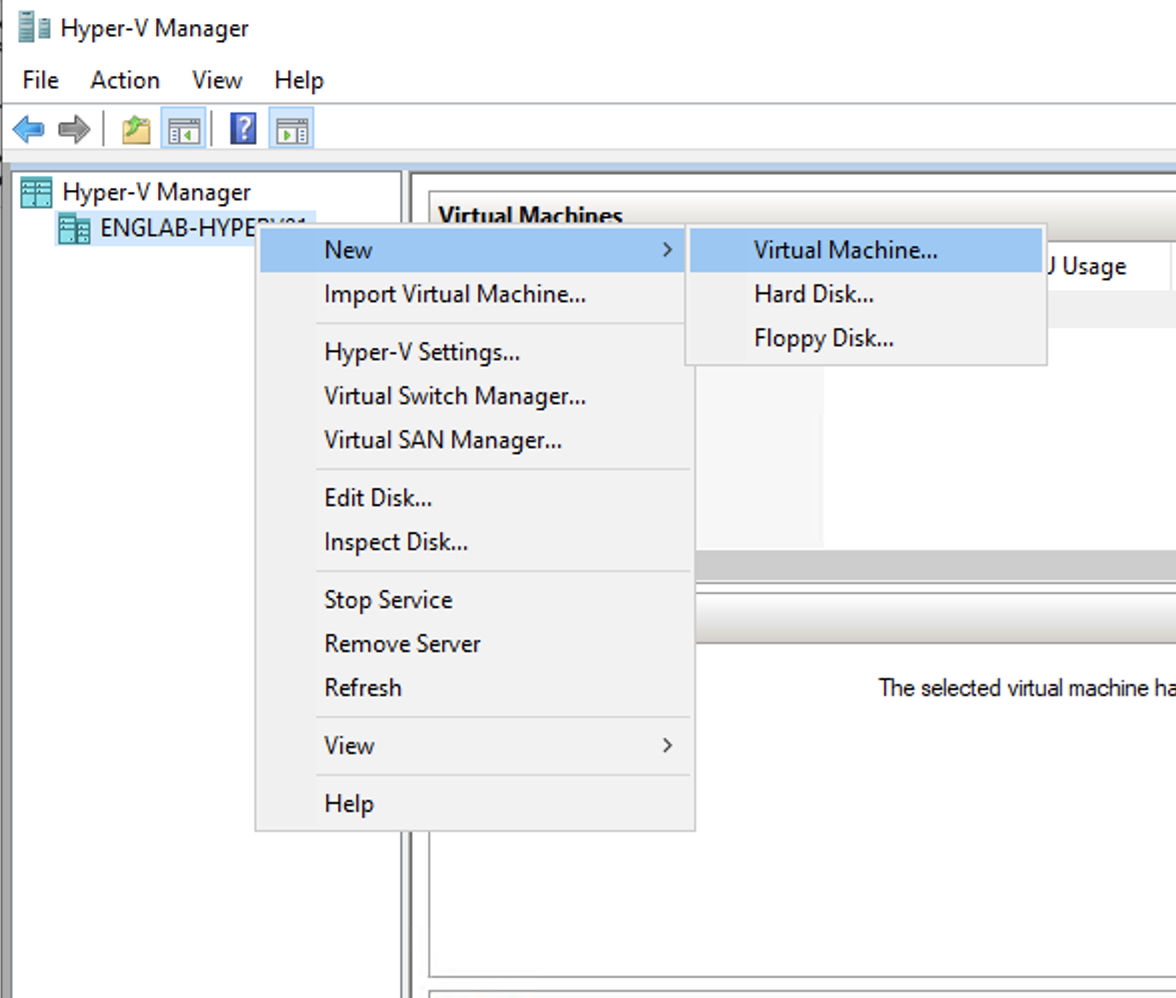
- Launch Hyper-V Manager. Highlight your VM Host`server from left-hand menu. Select the Host, right-click, and select New > Virtual Machine.
- Click Next and give the machine a name, such as, for example: 'Vx connector appliance on Hyper-V' in the new screen. Click Next.
- In the next screen, select default Generation1 and click Next. Choose the default 1024MB Startup Memory and click Next.
- Choose your Connection and click Next.
- Choose the default radio button Use an existing virtual hard disk. Click Browse and select
C:\Users\Public\Documents\Hyper-V\Virtual hard disks\zts-virtual-appliance-main.vhd
from the defaultC:\Users\Public\Documents\Hyper-V\Virtual Hard Disks\directory, Size default 127GB. Click Next. - On the screen titled Completing the new Virtual Machine Wizard, click Finish.
- Select the virtual machine, right-click, and select Connect and Start OR select Start.
- See How to Get Started With CloudGen Access Vx to configure the network, proxy, and SSH.