

There are certain situations in which you may be asked to create a crash dump to aid in the resolution of your technical concern. To create a crash dump, follow the steps below:
- Download and install the Debug Diagnostic Tool v2 based on your operating system.
- Launch the DebugDiag 2.0 Collection from the Start Menu.
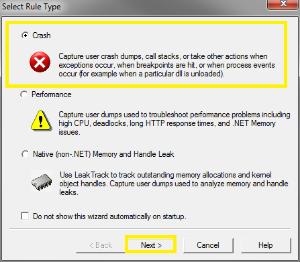
- Select Crash and click Next.
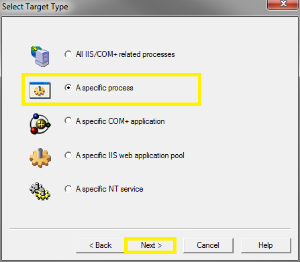
Select A specific process and click Next.
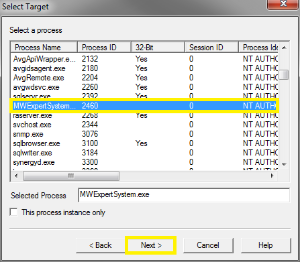
Select the process from the list and click Next.
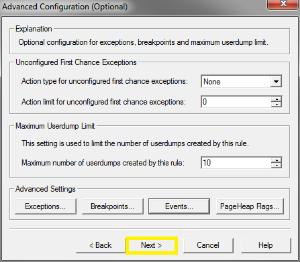
- Click Next.
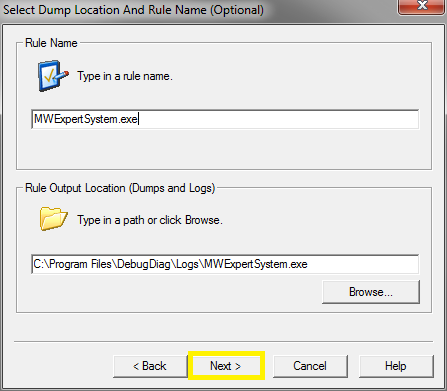
Change the rule name to MWExpertSystem and select a location to save the dump file.
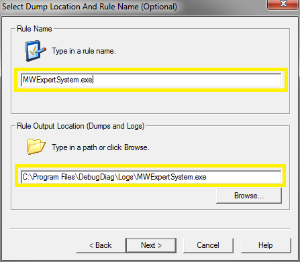
Click Next.
- Ensure Activate the rule now is selected and click Finish.

- Restart the MWExpertSystem Service.
- When the application crashes, the Debug Diagnostic Tool should create the dump files in the following folder:
C:\Program Files\DebugDiag\Logs.