

In order to monitor Macintosh computers running Apple OS X using the default Barracuda RMM policy module, the operating system must be configured to use SNMP. Even if you are not monitoring the operating system itself, if there are any SNMP?enabled applications being monitored on the device, the operating system must also be SNMP?enabled.
To configure SNMP on Apple Os devices, log in with Administrative rights and complete the following steps:
- Launch a terminal window and issue the following command (you will be prompted to enter your password):
sudo /usr/bin/snmpconf –i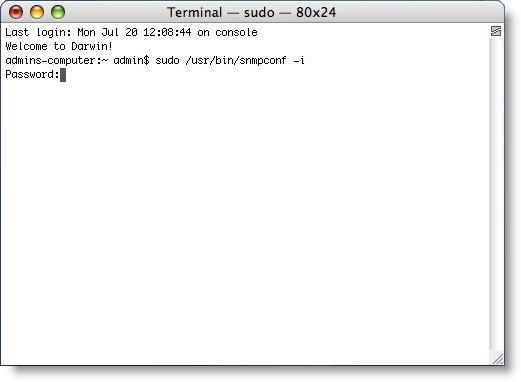
Using the argument?iensures that the file is overwritten with the new settings you are about to choose. Taking a backup of the files before proceeding is prudent. - The system presents you with a list of the installed configuration files. Select the first file presented, which should be ./snmp.conf.
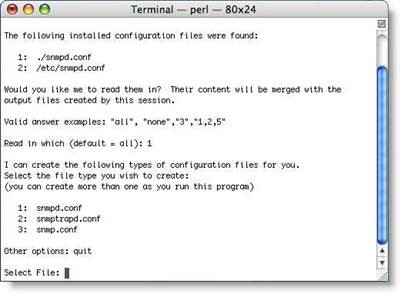
- The configuration utility requires that you make selections by choosing the number representing your choice.
The system offers you a choice of what file to create. The default Barracuda RMM policy module for Apple Macs does not require configuration of SNMP traps, so select snmpd.conf to configure the daemon for SNMP. - You are now asked which sections of the snmpd.conf file you wish to work with. First, select Access Control Setup.
- Select an SNMPv1/SNMPv2c read?only access community name.
- Enter the community string matching the one that you have configured your Onsite Manager to use. By default, Onsite Manager reads the public community, so this is an acceptable choice under most circumstances.
- When prompted, enter the IP address of the Onsite Manager as the network address to accept this community name.

- Enter finished and click return to go back to the top?level menu. Next, configure the information that Onsite Manager reads as part of device discovery. Choose System Information Setup.
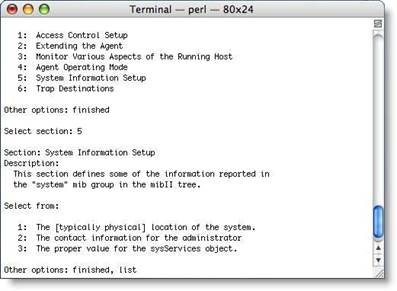
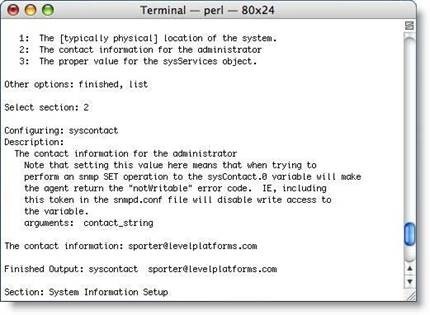
- Select The [typically physical] location of the system.
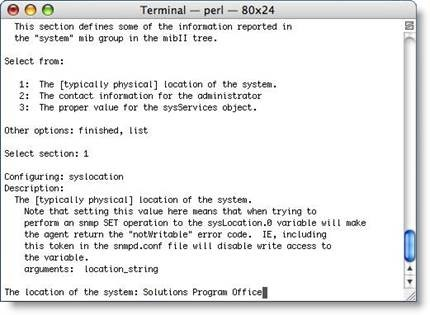
This information is captured as the TextOID sysLocation.0. - Select the contact information for the administrator and type an appropriate contact value.
- Enter finished and hit return. Repeat and then type
quitand hit return. You are prompted with a note that the file exists. Typeoverwriteand hit return.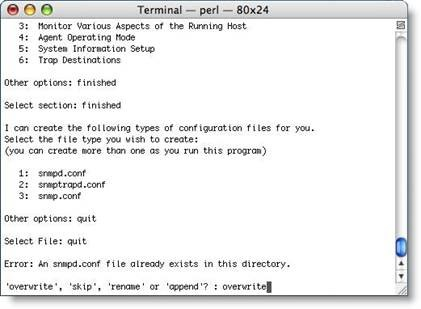
To add a community string to the network scan for a site, follow the steps below:
- In Service Center, click Configuration, then click Site Management.
- Click the site for which you want to edit the scan settings.
- Click the Network Discovery tab.
- In the Network Scan (Local Network) section, click Modify.
- In the SNMP V1/V2 Community Strings section, click Add.
- Type the community string in the Community String Name text box.
Community strings are case?sensitive. For example, Public and public would be separate communities of SNMP devices. - Optionally, type a description in the Description text box.
- Click Save.