

Barracuda SecureEdge allows administrators to enroll users/groups with their respective devices. The Barracuda SecureEdge Zero Trust Network Access (ZTNA) Agent uses certificate authentication to connect to and establish a TINA tunnel against either a gateway or a nominated static WAN on a site box. The Barracuda SecureEdge Agent allows users or groups of users to connect to different resource types including custom apps or public endpoints such as SaaS services. After a user/group is enrolled, an enrollment link is sent to the user for downloading and installing the Barracuda SecureEdge Agent. In addition, users can now enroll devices without requiring an enrollment link. For every new account you get five user trials for SecureEdge Access. With mass enrollment, you can do the following:
- You can enroll a group of users
- You can enroll a group of users when some of the users are already enrolled
- You can enroll multiple groups and users at the same time
- You can enroll groups/users without an email being sent to the users
- You can launch the SecureEdge Access Agent and log in either with or without enrollment link

Before You Begin
- Subscribe to the Barracuda Networks for (SaaS) SecureEdge Access service. For more information on the product activation procedure, see How to Activate the Edge Service and SecureEdge Access Using an Activation Key.
Create a Barracuda Cloud Control account. For more information, see Create a Barracuda Cloud Control Account.
- After completing the activation process for your product, verify your subscription on the Barracuda SecureEdge Manager via the Profile > Subscriptions page.
Step 1. Users/Groups Enrollment
- Go to https://se.barracudanetworks.com/ and log in with your existing Barracuda Cloud Control account.
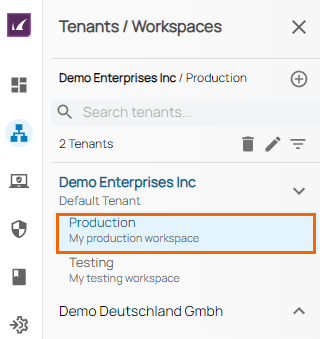
- In the left menu, click the Tenants/Workspaces icon.
- From the drop-down menu, select the workspace you want to enroll in.
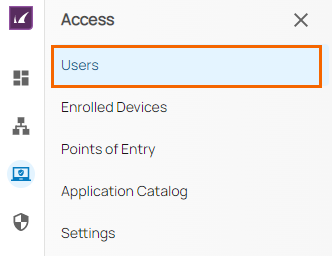
- In the left menu, click Access and select Users.
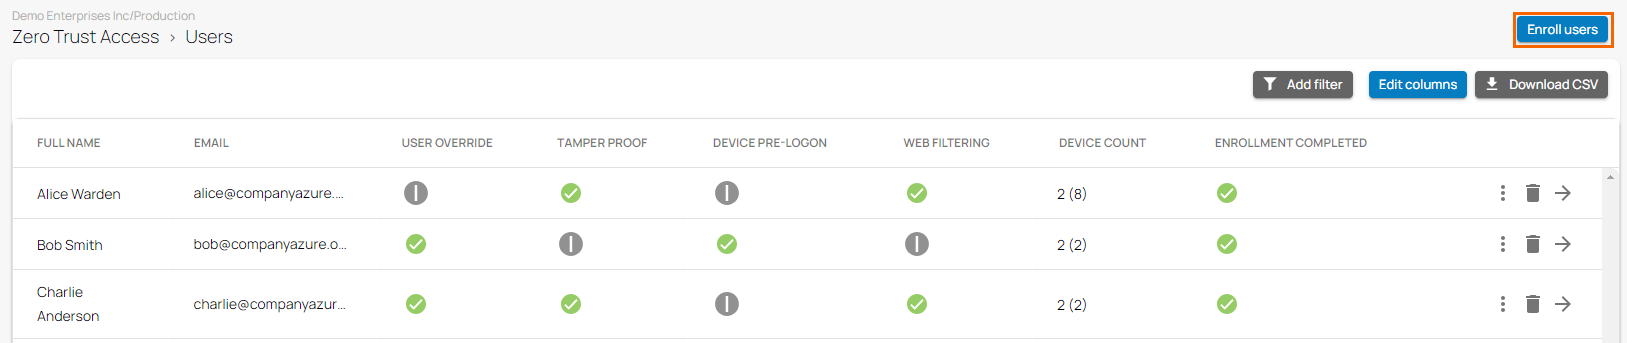
The Users page opens. To enroll a new user, click Enroll users.
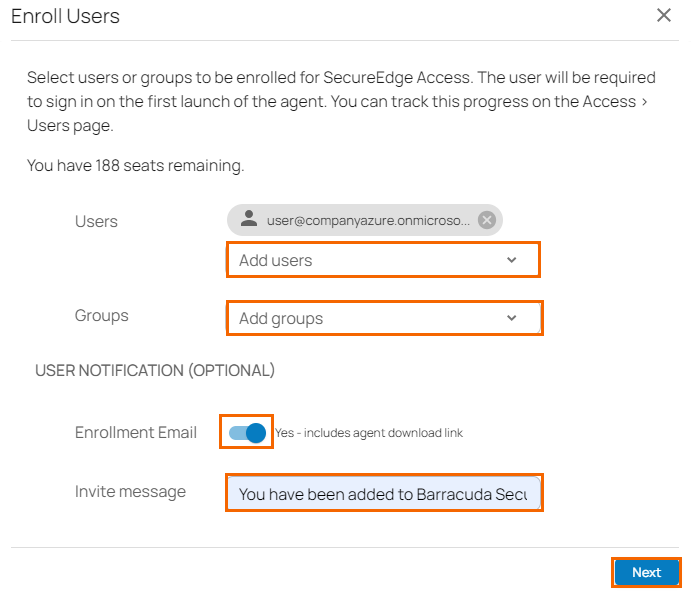
- The Enroll Users window opens. For Secure Edge Access, you must first verify the availability of seats to your SecureEdge Access account and then add users or groups accordingly.
- Specify the values for the following:
- Users – Add a valid user email address from the drop-down menu.
Groups – Select groups from the drop-down menu.
In the USER NOTIFICATION (OPTIONAL) section, specify the value for the following:
- Enrollment Email – Click to enable/disable.
- If Enrollment Email is enabled, the SecureEdge Access Agent enrollment link is provided to the selected users or groups, and the Invite Message field is enabled.
- Invite Message – Enter an email subject.
- If Enrollment Email disabled, the SecureEdge Access Agent enrollment link is not provided, and the Invite Message field is disabled. For example, in this case, Enrollment Email is disabled.

- If Enrollment Email is enabled, the SecureEdge Access Agent enrollment link is provided to the selected users or groups, and the Invite Message field is enabled.
- Enrollment Email – Click to enable/disable.
- Click Enroll.
- The Enroll Users page opens. For mass enrollment, verify the number of enrolled users in a specific group. For example, in this case, the Group Engineering has a total of 13 members and 3 of them are already enrolled.
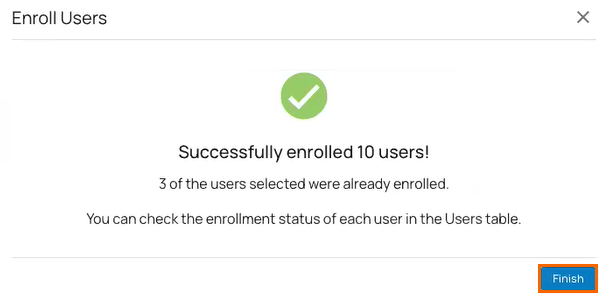
- Click Finish.
After completing the enrollment process, the selected users or groups will be in the pending enrollment state on the Users page. The admin then installs the SecureEdge Access Agent on the user devices, such as laptop and mobile. As soon as the user launches the SecureEdge Access Agent, a prompt appears requiring the user email address. After pressing Continue, the user is re-directed to log in with their existing Barracuda Cloud Control account. User credentials are verified and authenticated, and the SecureEdge Access Agent is enrolled.
(Optional) User Notification
You can enable a user notification for a specific user/group:
- In the Enroll Users window, click to enable Enrollment Email and specify the following:
- Invite Message – Enter an email subject. Note: if Enrollment Email is disabled, you will not receive any SecureEdge Access Agent enrollment link, and the Invite Message field is disabled.
- Invite Message – Enter an email subject. Note: if Enrollment Email is disabled, you will not receive any SecureEdge Access Agent enrollment link, and the Invite Message field is disabled.
- Click Next. You will get a confirmation message on the Enroll Users page.
Click Send.
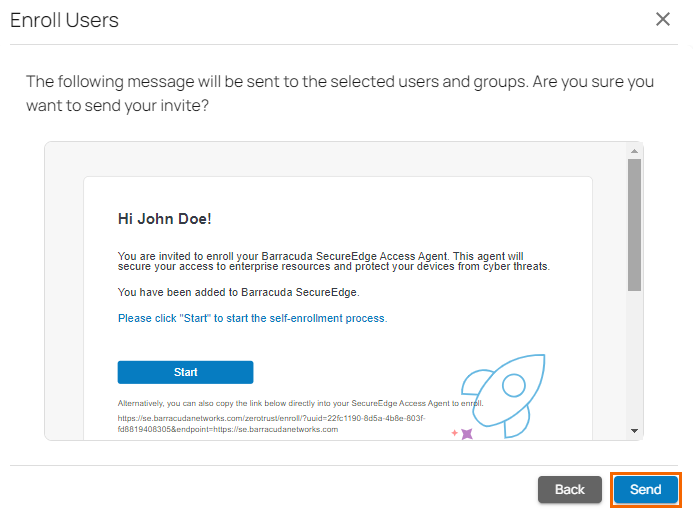
The enrollment link is sent to the user via email.Click Finish.
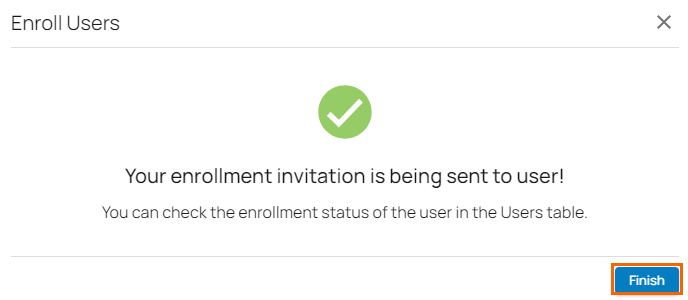
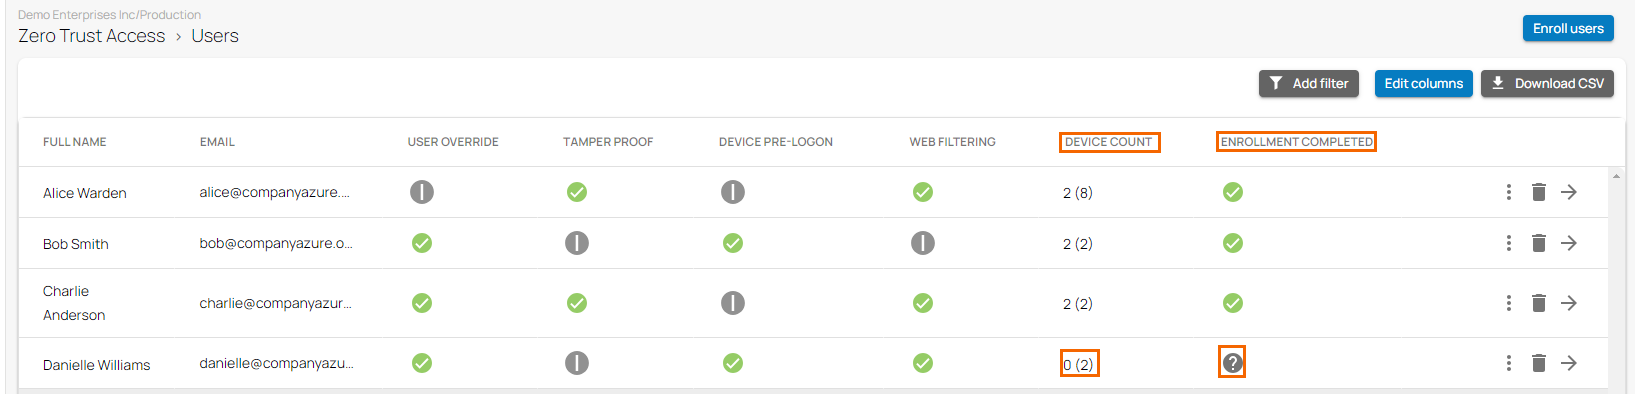
After configuration is complete, you will see that a new user has been enrolled with DEVICE COUNT = 0 and the ENROLLMENT COMPLETED status as pending (you will see a question mark). You are now ready to proceed with Step 2.
(Optional) Copy the Link or Resend the Invitation
If you must resend the enrollment invitation or link, proceed with the following steps:
- On the Users page, click the icon of three vertical dots to either copy the enrollment link or resend invitation.
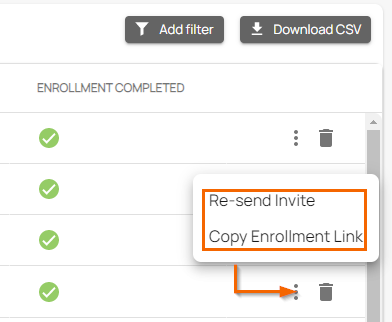
- You have two options:
- Copy Enrollment Link – To copy the enrollment link, select Copy Enrollment Link and send it to user.
- Re-Send Invite – To resend the enrollment invitation to the same user, select Re-send Invite.
Step 2. Connect a Barracuda SecureEdge Agent
Install the Barracuda SecureEdge Agent.
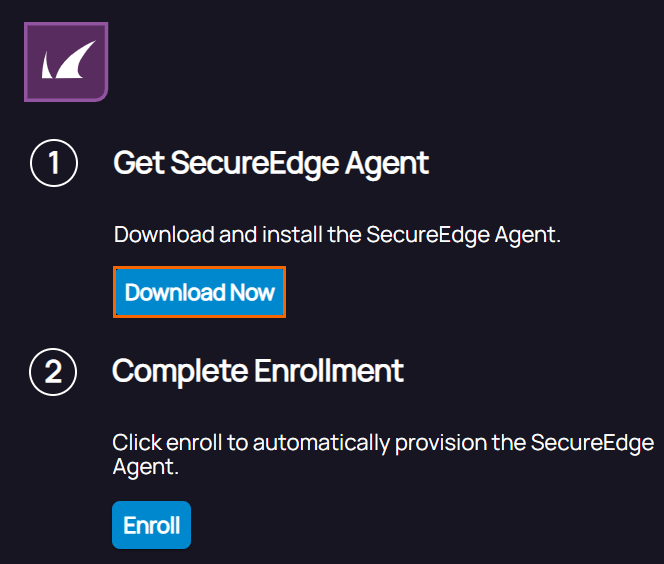
- Open the link for enrollment retrieved in Step 1 and download the SecureEdge Agent from the Windows App Store.
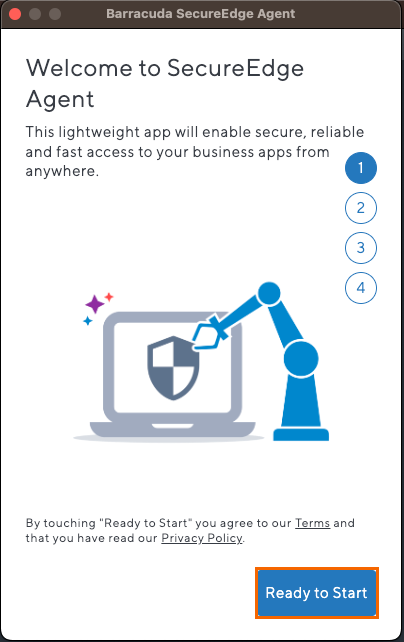
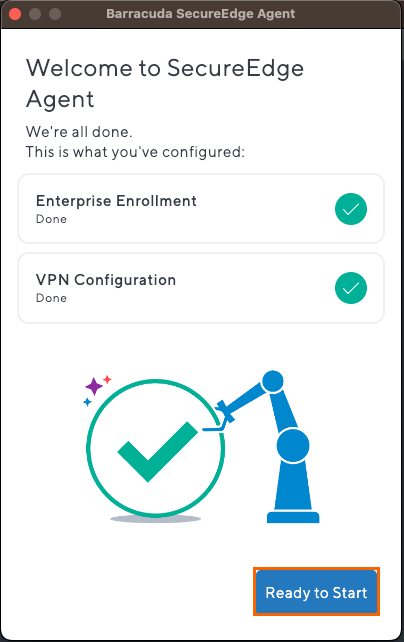
The Barracuda SecureEdge Agent displays, and the Welcome to SecureEdge Agent page opens. - Click Ready to Start.
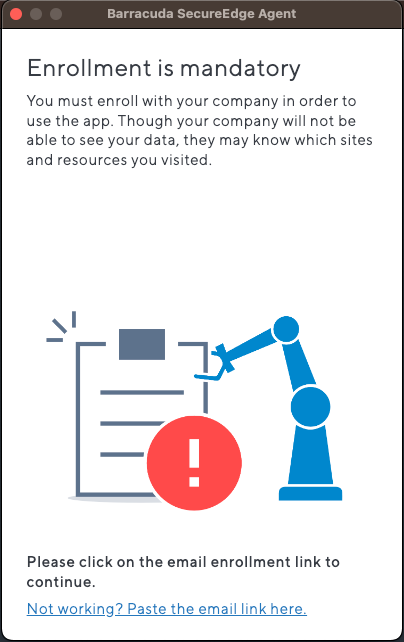
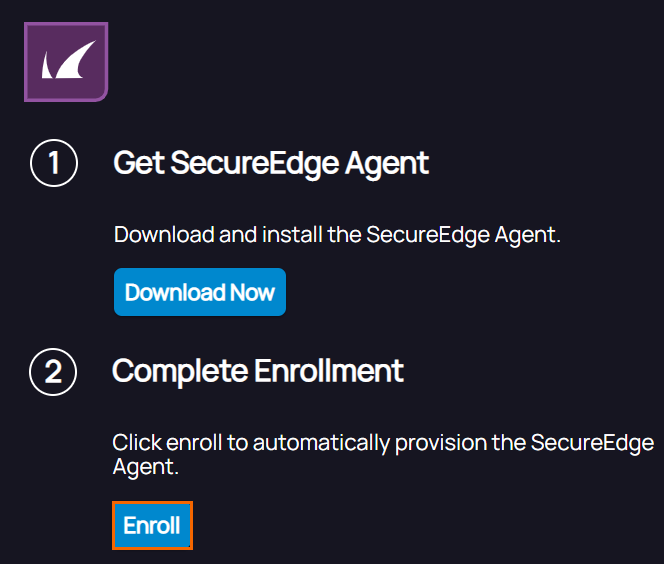
- On the next page, click on the email enrollment link to continue.
- To complete enrollment process, click Enroll.
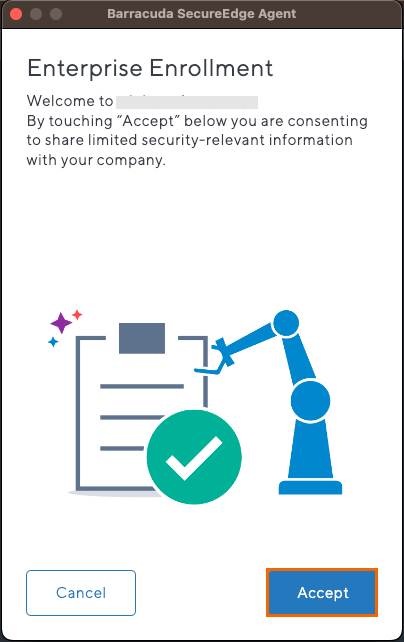
The Barracuda SecureEdge Agent displays, and the Enterprise Enrollment page opens. - Click Accept.
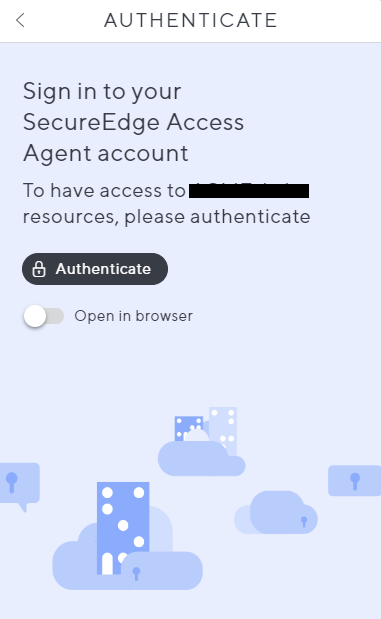
- The AUTHENTICATE page opens. Click Authenticate to verify your user identity.
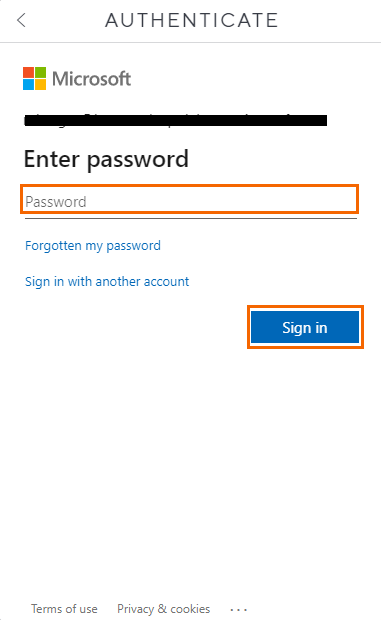
- Authenticate with your identity provider. Enter the password and click Sign in.
The Welcome to SecureEdge Agent page opens. - Verify Enterprise Enrollment status and click Ready to Start.
- The device protection is enabled automatically.
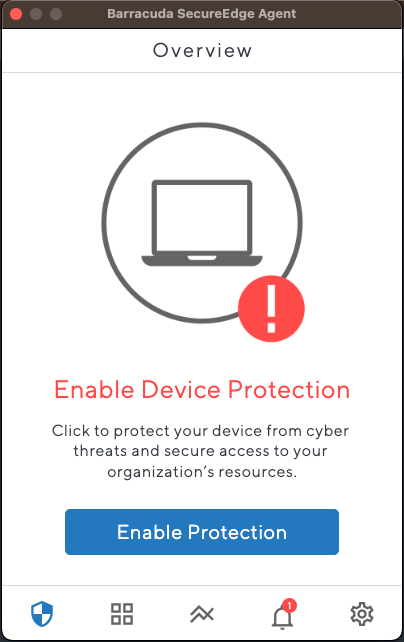
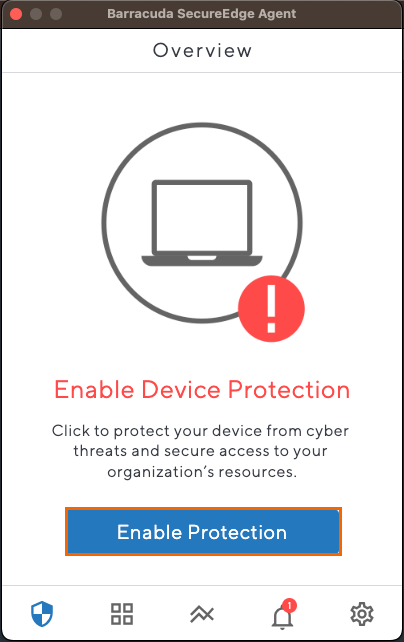
- At the bottom of the navigation bar, click the Barracuda SecureEdge Agent icon. The Overview page opens and shows the status of your device.
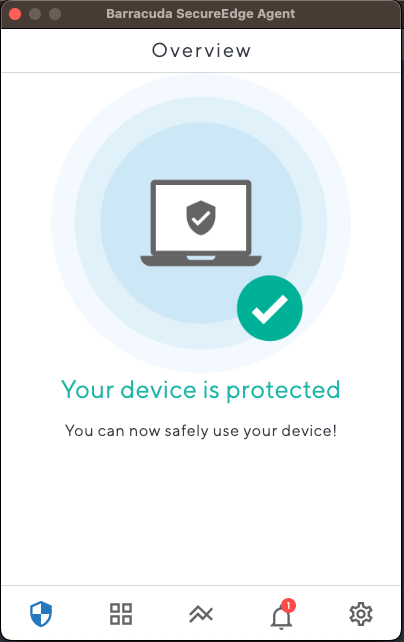
- After completing the enrollment procedure, your device is protected. On the Users page, you can see the status of the field names, e.g., DEVICE COUNT =1 and ENROLLMENT COMPLETED.

Remove an Enrolled User
- In the left menu, click the Access icon, and select Users.
- Click on the trash can icon next to the user you want to remove.

- The Unenroll User window opens.
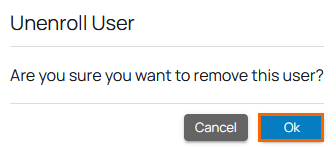
Click OK to confirm.
(Optional) Enable/Disable Device Protection
- At the bottom of the navigation bar, open the Barracuda SecureEdge Agent icon. For more information, see Barracuda SecureEdge Agent.
- In the Overview window, click Enable Protection.
- Your device protection is enabled.
- To disable device protection, click the Settings icon.
- The Settings page opens. Disable Protection Enabled.
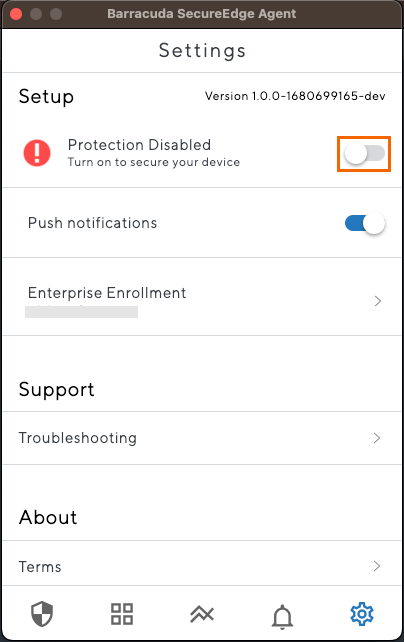
- Your device protection has been successfully disabled.