The Barracuda Content Shield Agent for macOS supports High Sierra 10.13.4, Mojave 10.14.6, Catalina, and Big Sur. For endpoint computers that use Firefox, Barracuda Content Shield Agent requires Firefox 68.0 or later.
The Barracuda Content Shield Agent for macOS includes the Web Filtering Component (WFC), which applies policies you create on the Advanced Filtering page to endpoint web traffic. The agent is installed manually on endpoint machines as described below. For endpoint computers that use Firefox, Barracuda Content Shield Agent requires Firefox 68.0 or later.
Installation
- From the endpoint machine, log into your Barracuda Content Shield account.
- Go to the Downloads page. You will need to download two files from this page in order to perform the BCS installation, and Barracuda Networks recommends saving both files in the same folder/location on your computer (though the browser will probably store both files in the Downloads folder).
- First, click Account Configuration File to download the key file. Click Save File if you are prompted by your browser to do so. This file is named
bcs.key, and the installer wizard will prompt you to locate this file during the installation process. Next, click Download for the macOS Agent installer. Click Save File if you are prompted by your browser to do so. The file is named
BarracudaContentShieldSetup-[version].dmg.
Open theBarracudaContentShieldSetup-[version].dmgfile, which loads a popup with theBarracuda Content Shield Installer.pkgand the WFC Uninstaller. Run theBarracuda Content Shield Installer.pkg. If you are running macOS Big Sur, you will first be prompted to click Allow for the installer to verify that the software can be installed. Accept the license agreement, and follow the prompts in the wizard to install.- On the Account Settings screen of the wizard, click Select account file to browse for the
bcs.keyfile.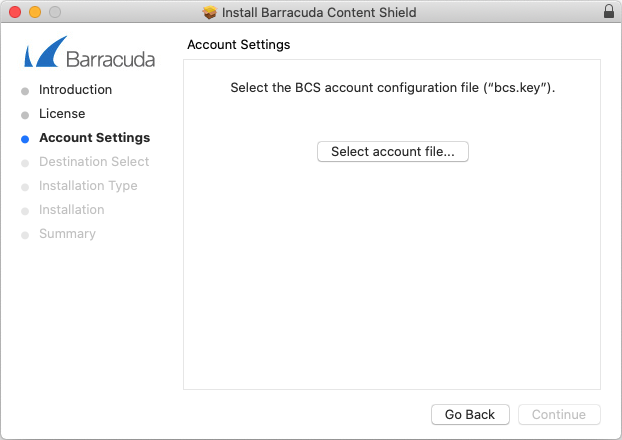
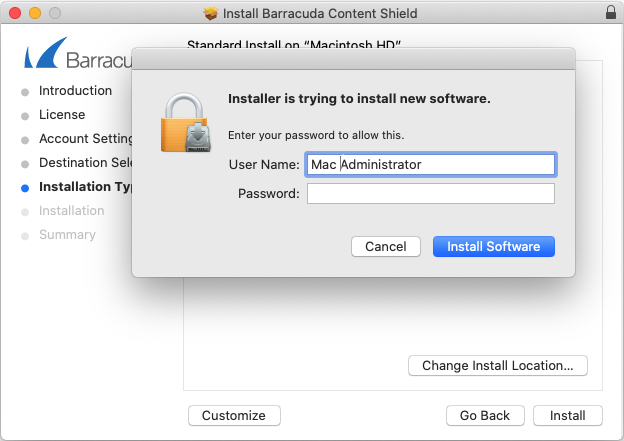
- Click Continue, then click Install. You will be prompted for the Mac administrator password.
Proceed based on your macOS version:
If you are running High Sierra 10.13.4, Mojave 10.14.6, or Catalina: The Barracuda Content Shield Agent installation is now complete. Skip to Step 12 below.
If you are running Big Sur: You will be prompted to approve additional configuration changes. Continue to Step 8.
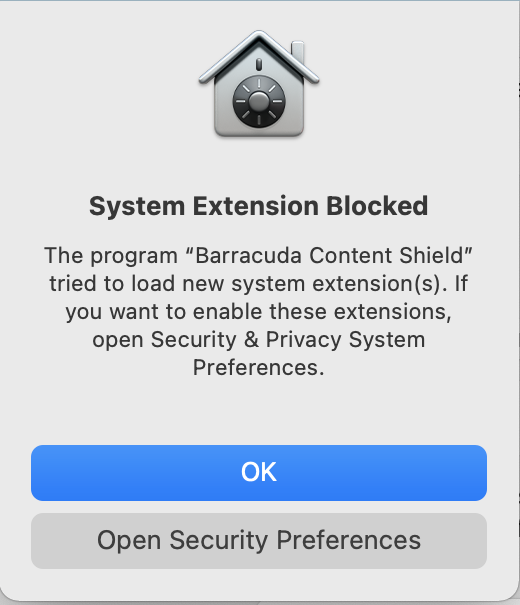
For Big Sur installations, the Barracuda Content Shield installer registers a system extension, which the system blocks until an administrator approves it. Click Open Security Preferences to open the Security & Privacy panel.
Note that the installer does not complete until you either approve the extension or dismiss the dialog. If you dismiss the dialog, the install will succeed, but the proxy application will be launched automatically and prompt you to finish configuring the software.
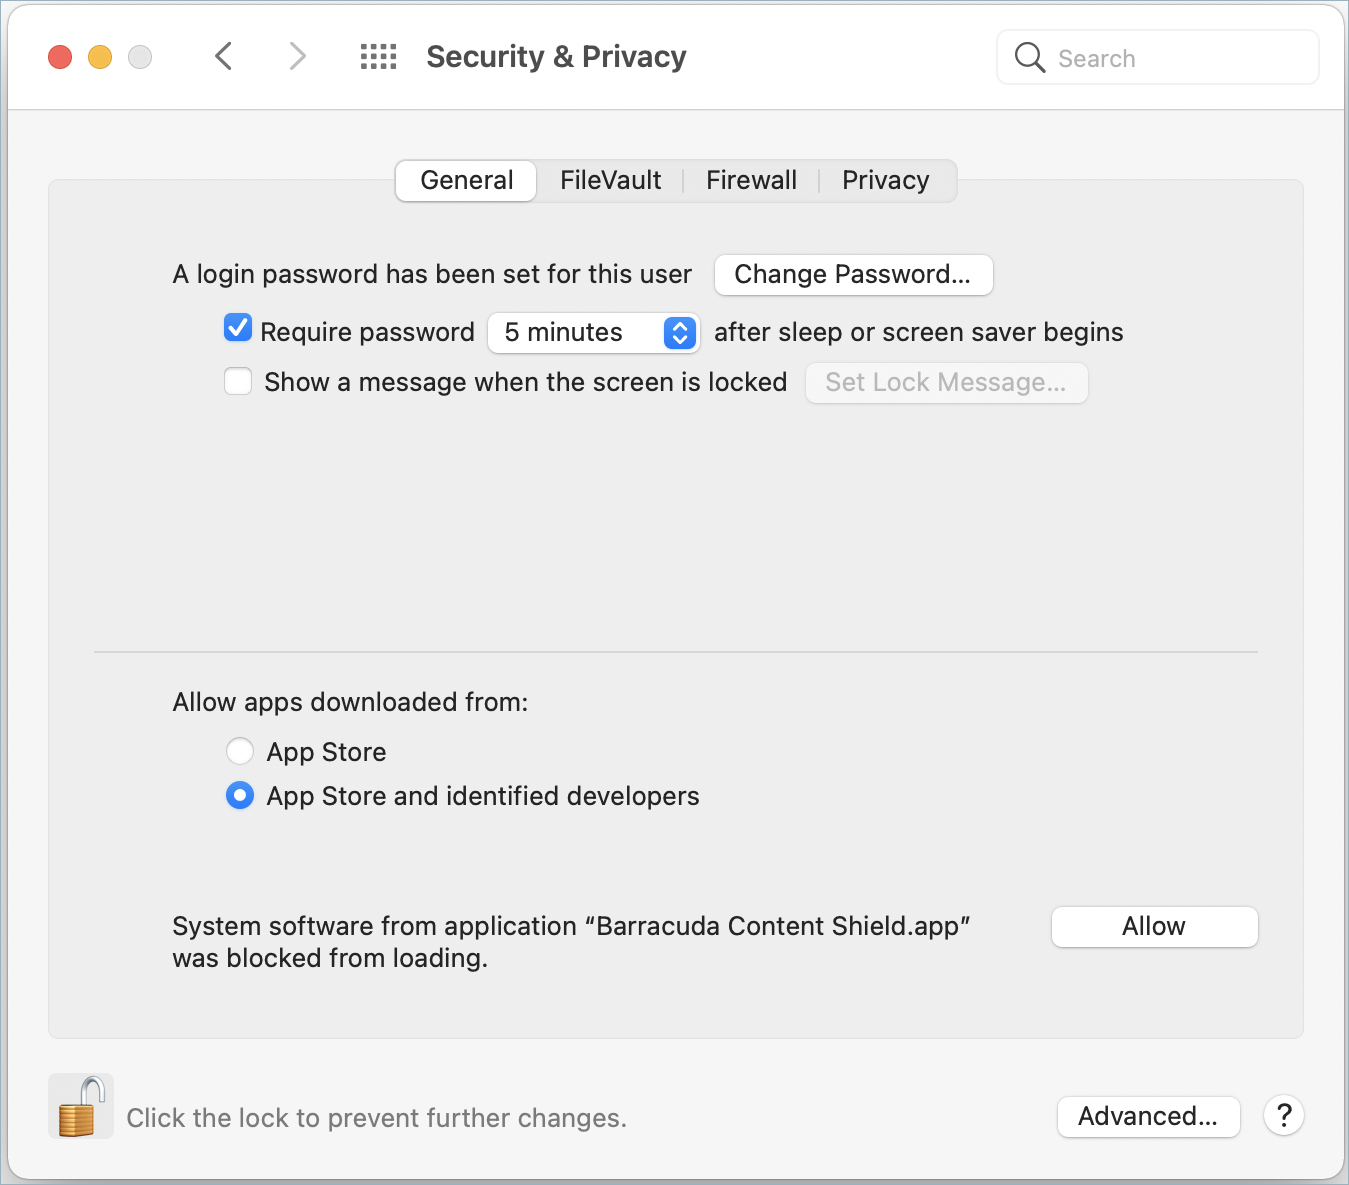
In the Security & Privacy panel shown below, you must click the lock button in the lower left and then enter an administrator password.
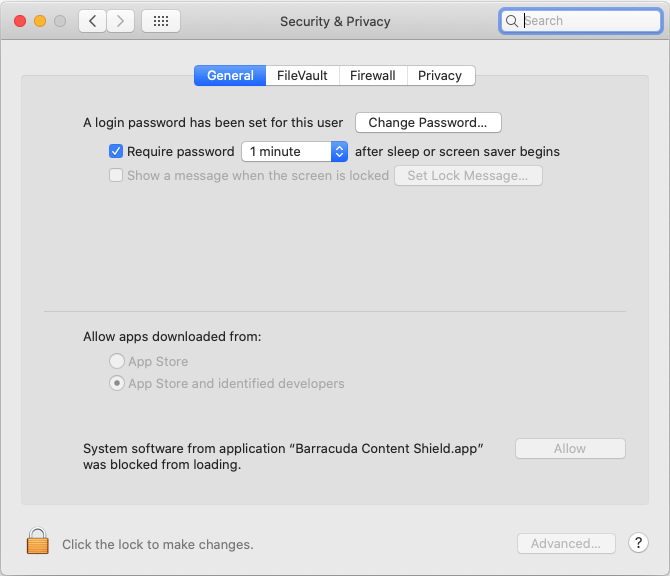
After unlocking the Security & Privacy panel, the Allow button is enabled and the software can be approved. Once allowed, the message will disappear and the system knows that BCS is trusted.
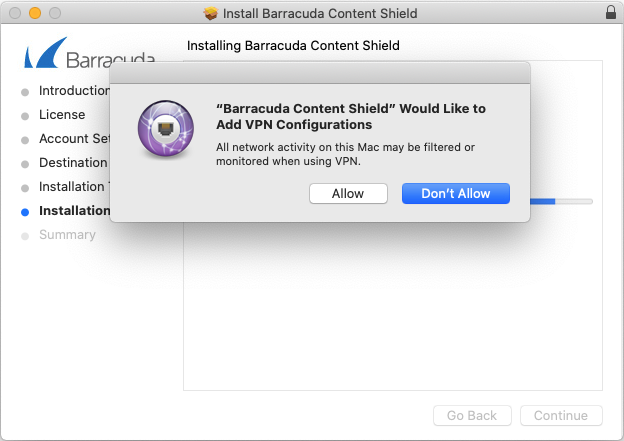
Next you will be prompted to add a VPN network configuration. Click Allow to finish the installation.
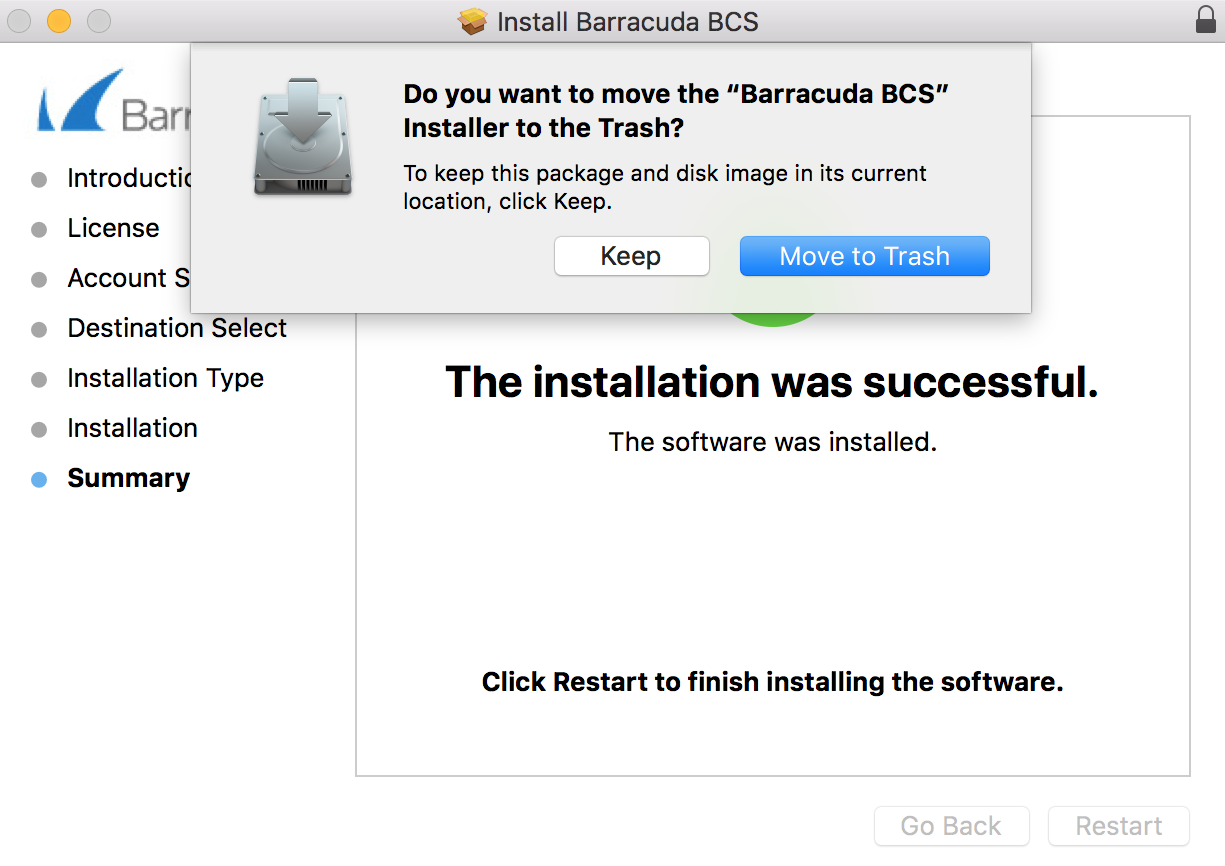
The final installer window displays. If you did not complete configuration of the proxy extension and network, you must finish those steps before the Barracuda Content Shield agent becomes active. Launch the proxy application and complete configuration as described in the next section.

Proxy Application Prompts
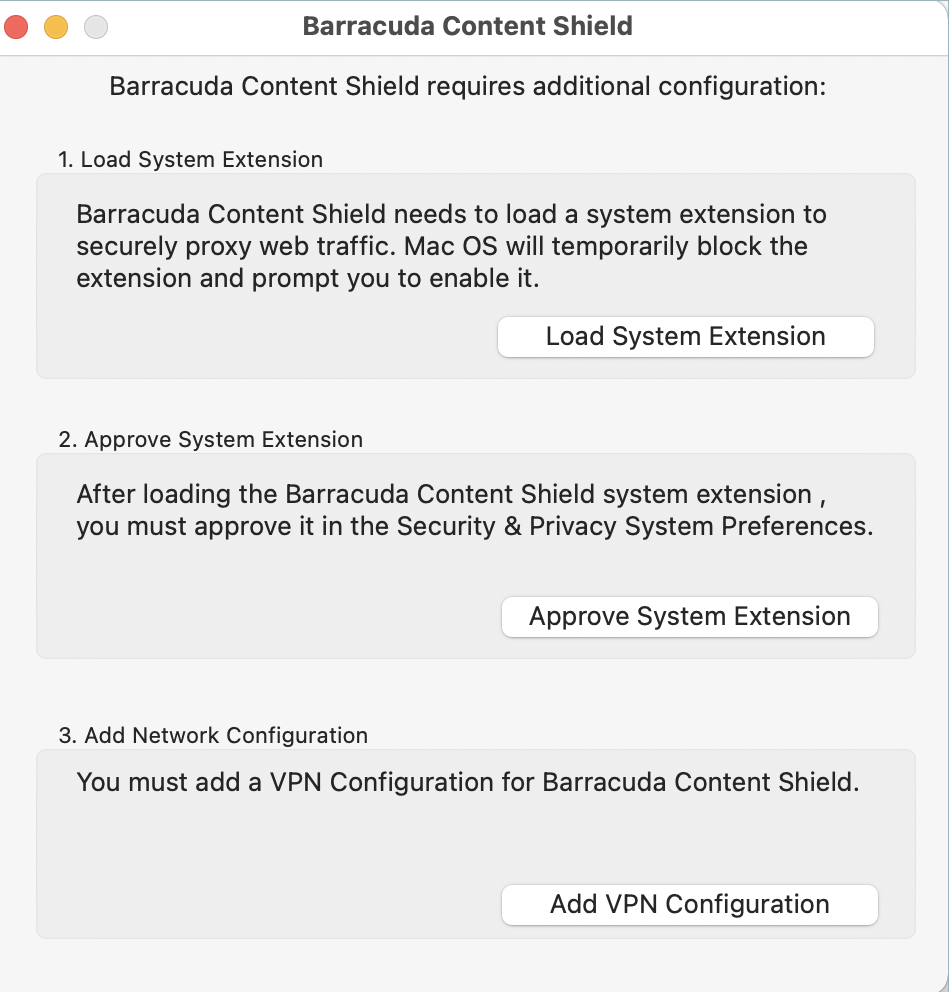
If you do not complete the configuration during the install, you can launch the Barracuda Content Shield.app that has been installed and follow the prompts to finish the process at any time. When launched the first time, the proxy application shows the current status and a number of steps that must be completed to finishing configuring the BCS agent.
The screenshot below shows what you will see if nothing has been configured. If the software is completely configured, then each step will be checked and the buttons dimmed.
To finish the configuration:
Click Load System Extension to register the system within the application bundle.
The proxy application tries to load (register) the proxy extension, and the system blocks the attempt. You are prompted to manually allow the extension. Click Open Security Preferences to open the appropriate panel. If, instead, you click OK, you must click Approve System Extension to complete the next step.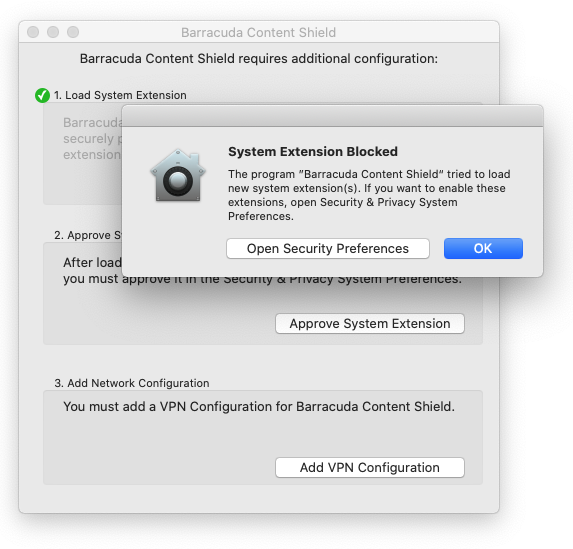
From the Security & Privacy panel, you must first click the unlock button. You are then prompted to enter administrator credentials so you can change the system settings. Note the system message at the bottom of the Security & Privacy panel.
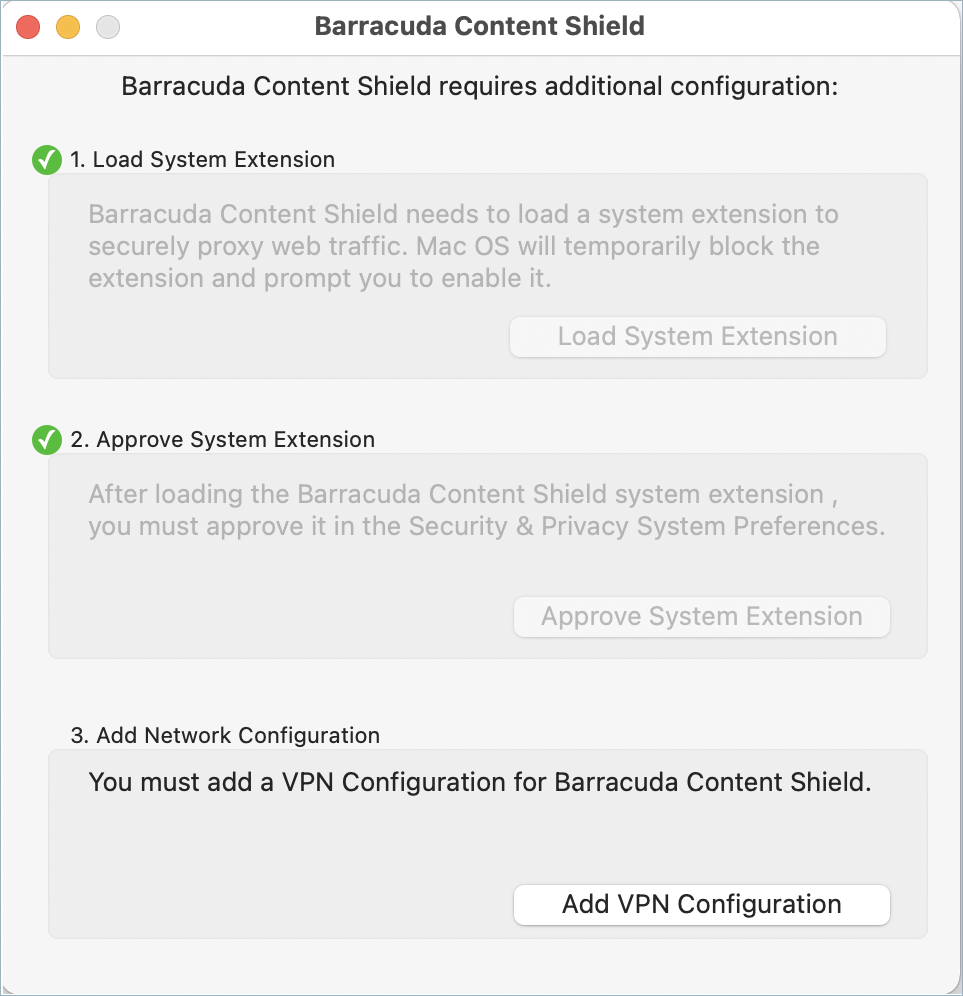
- Once unlocked, click Allow to complete this step of the approval process.
- Returning to the Barracuda Content Shield application, you must click Add VPN configuration.
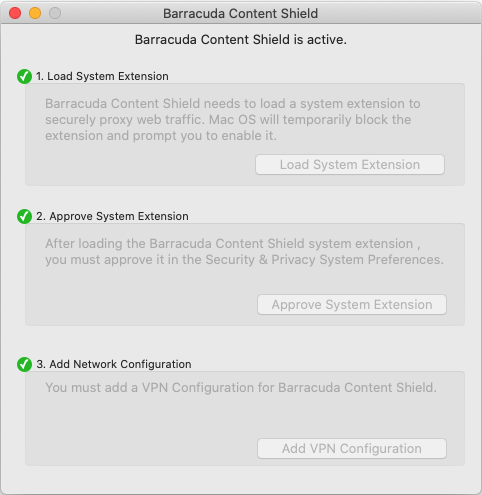
You will be prompted with a dialog to add this configuration, and must click Allow to complete this step. The new network configuration then appears in the Network panel of the System Preferences, and is called Barracuda Content Shield.
After each task completes, the corresponding step is checked and dimmed out as shown below. The software is now configured and active. Next, quit the Barracuda Content Shield application.
Note that the proxy application does not need to be running in order for BCS to perform traffic filtering. The launch agent and the proxy extension are automatically launched at startup, and run silently in the background.
Verify that the BCS Web Filtering Component (WFC) is Running
To verify that the BCS WFC is installed and running, you can launch the Mac Activity Monitor and search for wca_proxy. Ensure that you are viewing All Processes; otherwise, the agent process will not be displayed.

Uninstalling the Agent
- Open the
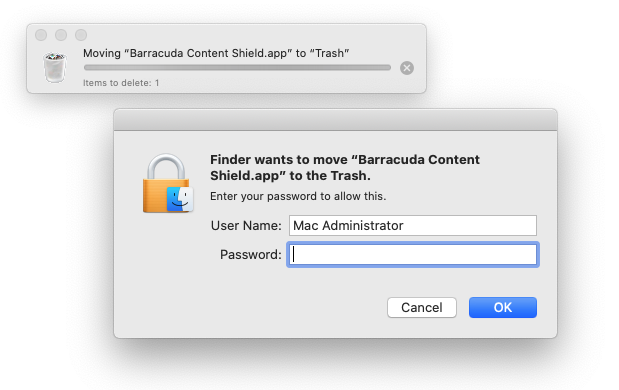
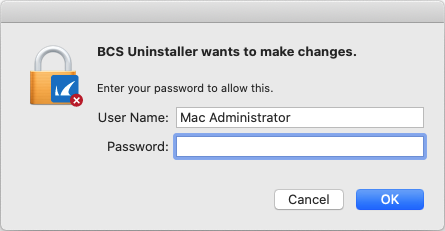
BarracudaContentShieldSetup-[version].dmgfile, and then double click on the WFC Uninstaller. You will be prompted for the Mac admin password. Clicking cancel will abort the uninstall process entirely and jump to the last screen. - Next, the uninstaller will try to remove the proxy application. This operation may be blocked by the system, because of the hosted system extension, and you need to again enter a password to continue.
Finally, the uninstaller needs to remove the rest of the BCS components, such as the launch agent. Clicking Cancel aborts the uninstall process.
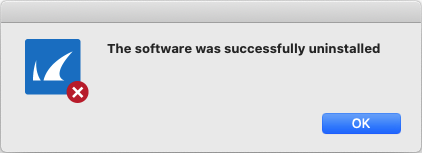
- If the uninstaller completes, you will see this dialog:
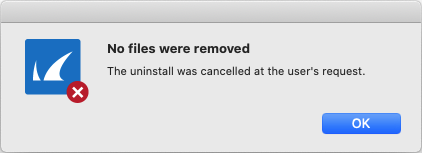
If you clicked Cancel, you will see this dialog: