


This article refers to the Barracuda Backup firmware version 6.4.05 or newer, VMware and the vSphere Data Recovery API, supported versions of Microsoft Hyper-V, and Amazon Web Services (AWS).
This article assumes you have replicated data to AWS.
Restore VMware or Hyper-V Backups to Amazon Web Services Video
Videolink:
https://campus.barracuda.com/
Restore VMware or Hyper-V Backups to Amazon Web Services
Use the steps in this section to restore either a VMware or Hyper-V backup.
- Log in to the Barracuda Backup web interface, and go to the Restore > Restore Browser page.
- Expand the VMware data source or the Hyper-V data source in the left pane, and continue to navigate until you find the VM you want to restore.
- Click on the VM, and click View all revisions up to at the top of the page:
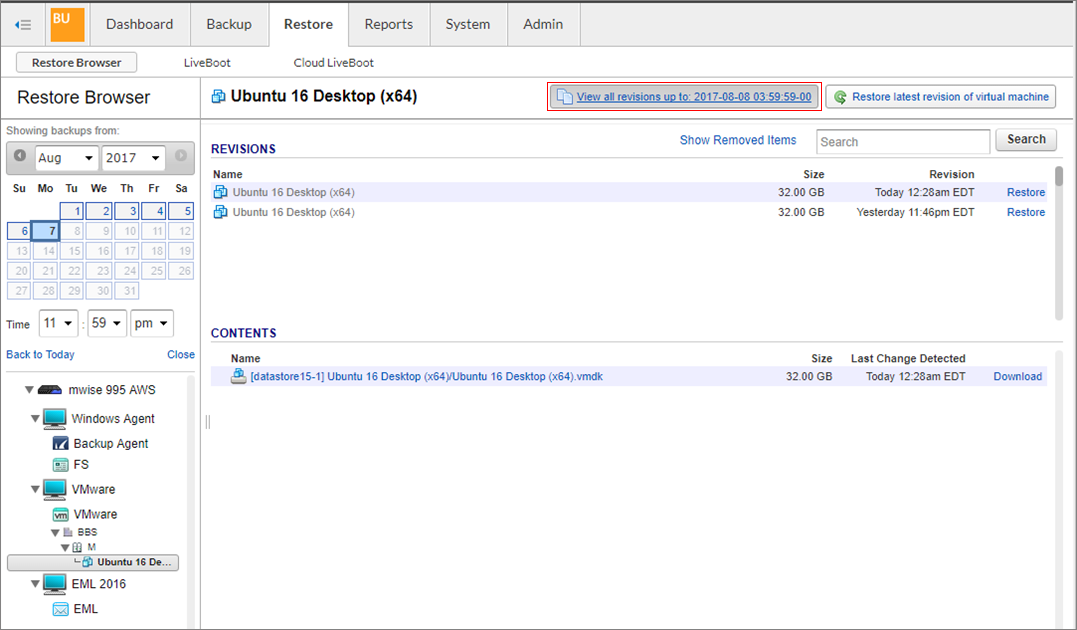
- All available revisions display. Click Restore to the right of the revision you want to restore.
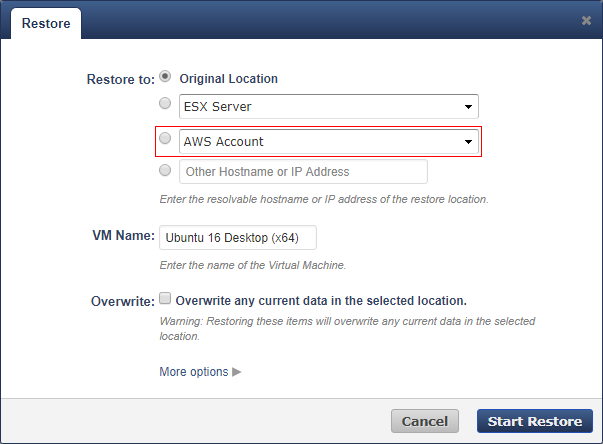
- In the Restore dialog box, in the Restore to section, select AWS Account, and select the AWS account to restore to from the drop-down menu:
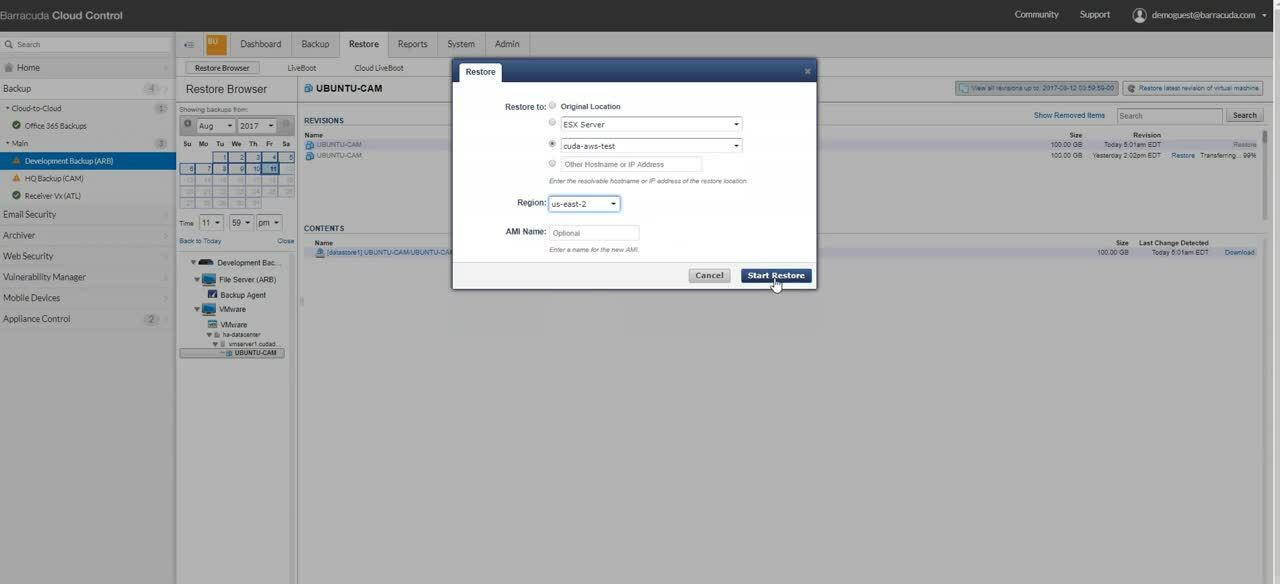
- Specify the AWS Region, and enter a name to identify the AMI in the AMI Name field:
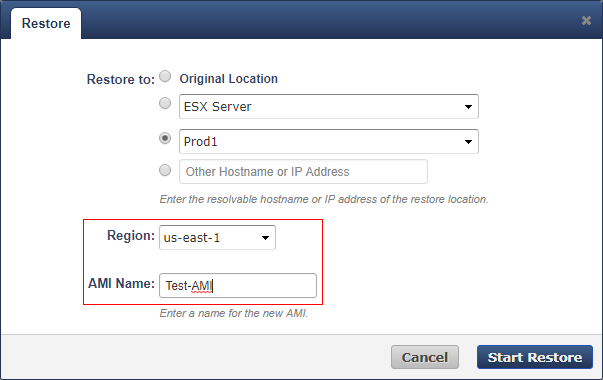
Click Start Restore. Go to the Reports > Restore page to monitor the progress of the restore:

- Once the AMI is created, it is accessible from within AWS and can be launched as an EC2 instance:
