

Step 1. Restore the Database
Use the following steps to restore the database:
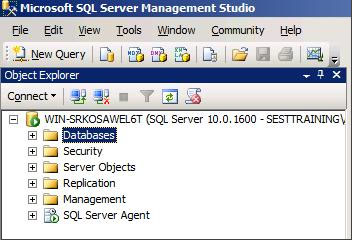
- Open Microsoft SQL Server Management Studio, and navigate to Databases:
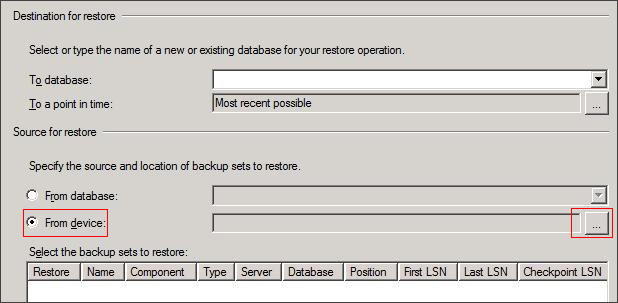
- Right-click Databases, and click Restore Database. In the Source for restore section, select From Device, and click the browse button:
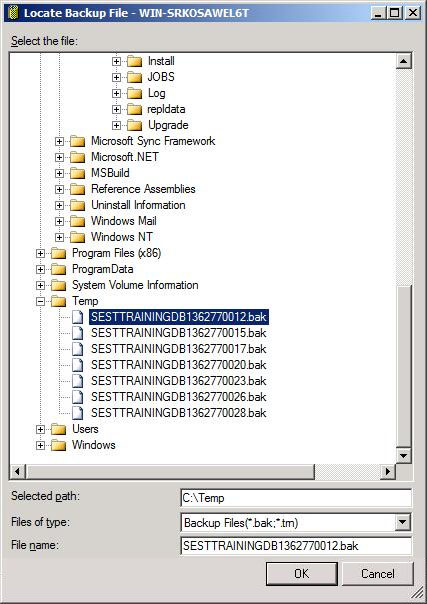
- Click Add in the Specify Backup window. Browse to the location of your recently restored flat files. Choose the Full backup file which should be the first backup file in the list:
- Click OK; the Specify Backup window displays:
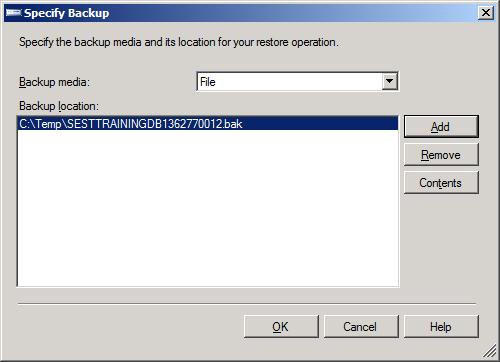
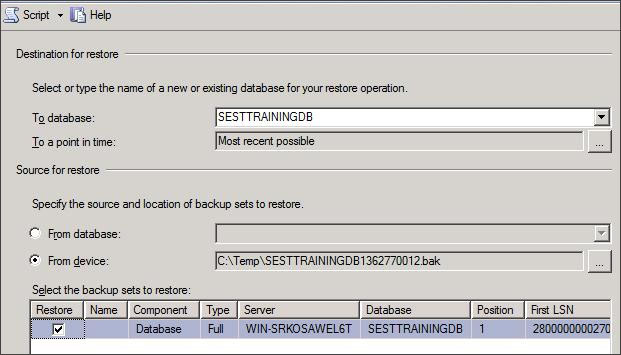
- Click OK. In the Destination for restore section, select the database to which you wish to restore, and in the Select the backup sets to restore section, select the backup file you selected above in step 3:
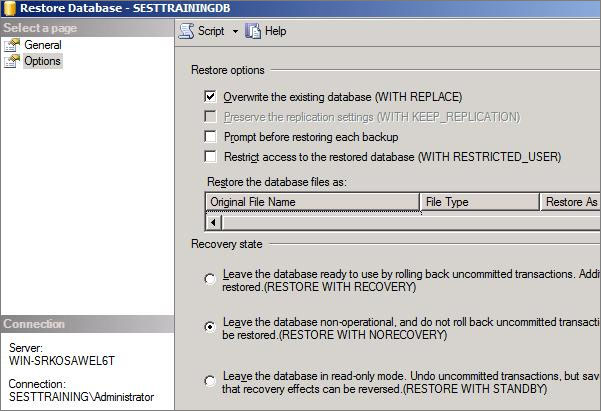
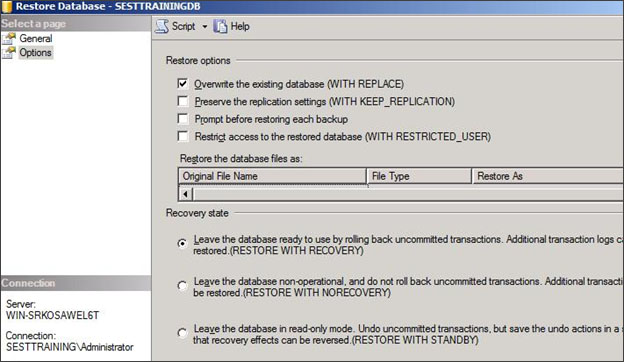
- In the left pane, click Options, and select the following:
- In the Restore options section, select Overwrite the existing database (WITH REPLACE), and leave the other options unselected.
- In the Recovery state section, select Leave the database non-operational, and do not roll back uncommited transactions. Additional transaction logs can be restored. (RESTORE WITH NORECOVERY):
- Click OK to perform the restore.
- Complete these steps for each incremental backup file, including the .tm file, until you reach the incremental file containing the point-in-time file to which you wish to restore.
- A "Restoring" message displays; you can now proceed with the next section, Step 2. Restoring to a Point-in-Time.
Step 2. Restore to a Point-in-Time
Use the following steps to restore the last incremental file containing the point-in-time:
- In Microsoft SQL Server Management Studio, right-click Databases, and click Restore Database.
- In the Source for restore section, select From Device, and click the browse button.
- Click Add in the Specify Backup window. Browse to the location of your recently restored flat files, select the incremental backup file containing the point-in-time to restore to, and click OK.
- Click OK in the Specify Backup window. In the Select the backup sets to restore section, check the backup file you added in the previous step.
- In the Destination for restore section, select the database to which to restore:
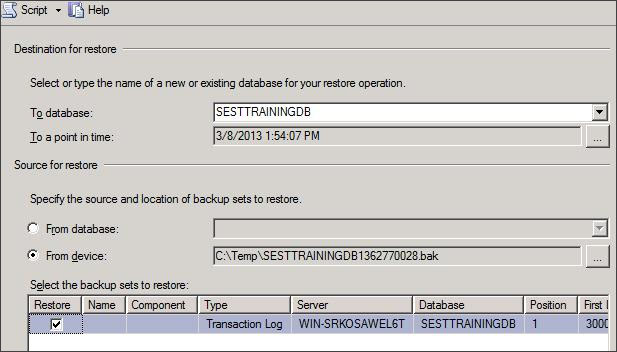
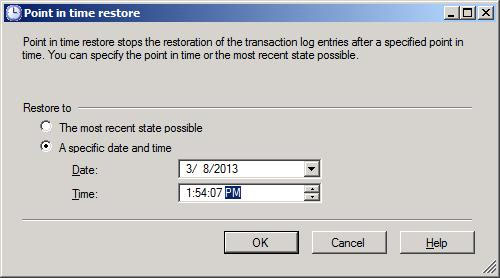
- In the Destination for restore section, click the browse button following To a point in time; the Point in time restore window displays.
- Select a specific date and time, and choose the date and time to which to restore:
- Click OK. In the left pane, click Options, and make the following selections:
- In the Restore options section, select Overwrite the existing database, and leave the other options unselected.
- In the Recovery state section, select Leave the database ready to use by rolling back uncommitted transactions. Additional transaction logs can be restored. (RESTORE WITH RECOVERY):
- Click OK to perform the restore. the restored database should display with only the changes up to the specified point-in-time.