

Virtual machines (VMs) deployed through Azure Gallery prior to mid February, 2015 do not support Disk Expansion. If you deployed prior to this time period and want to expand the disk, you must re-deploy the VM using the latest VM image available in Azure Gallery.
Microsoft Azure is a public cloud service, with instances that use one virtual network interface with a dynamic IP address per virtual appliance. The Barracuda Email Security Gateway can be deployed as a virtual appliance in the Microsoft Azure cloud to protect your email server from spam, virus, spoofing, phishing and spyware attacks. Outbound filtering and encryption options also prevent confidential or sensitive information from being purposely or inadvertently leaked outside the organization.
Licensing Options
The Barracuda Email Security Gateway is available on Microsoft Azure with the Bring Your Own License (BYOL) and Hourly / Metered options.
Bring Your Own License (BYOL)
With the Bring Your Own License (BYOL) option, you are required to get the Barracuda Email Security Gateway license token, either by:
- Providing the required information for a free evaluation at https://www.barracuda.com/purchase/evaluation OR
- Purchasing online at https://www.barracuda.com/purchase.
With this license option, there will be no Barracuda Email Security Gateway Software charges, but Microsoft Azure usage charges on Microsoft will be applicable. You can either begin with the free evaluation OR purchase the Barracuda Email Security Gateway license directly after deploying the VM or when accessing the VM web interface for the first time.
BYOL Models and Instance Types
For BYOL, the Barracuda Email Security Gateway virtual appliance is available in three sizes on Microsoft Azure. The following table lists each size level with their corresponding instance type, number of active email users, cores, and memory allocated to each instance type. You'll select the Instance Type in the next step in How to Deploy the Barracuda Email Security Gateway on Microsoft Azure. If you want to increase the performance of a license that you have already purchased, you can buy additional cores from Barracuda and reconfigure for a larger instance type.
Supported Instance Type in Microsoft Azure | Active Email Users | Cores | Memory |
|---|---|---|---|
| Level 3 - (D1) | 3,000 - 10,000 | 1 | 3.5 GB |
| Level 4 - (D2) | 8,000 - 22,000 | 2 | 7 GB |
| Level 6 - (D3) | 15,000 - 30,000 | 4 | 14 GB |
Hourly / Metered
With the Hourly/Metered licensing option, you complete the purchase or evaluation of the Barracuda Email Security Gateway entirely within the Microsoft Azure gallery. After the instance is launched, it is provisioned automatically. You are charged hourly for both the Barracuda Spam Software and Microsoft Azure usage on Microsoft.
Hourly / Metered Model and Instance Types
For more information on supported instance types, Default CPU, Default Memory and Hourly pricing, refer to Barracuda Email Security Gateway Pricing Details.
If you want to increase the performance of an existing VM, configure it with a larger instance type on Microsoft Azure and you will be charged accordingly by Microsoft. The VM will automatically be reconfigured by Microsoft with the resources and capabilities of the larger instance type.
Before You Begin
If your organization does not have an Azure account, go to the Microsoft Azure purchase options page, and follow the onscreen instructions.
Create an Azure Virtual Network
- Log into your Microsoft Azure Management Portal.
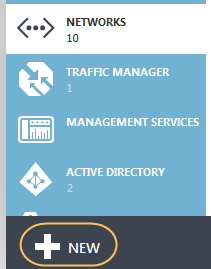
- In the left pane, click NETWORKS, and then click NEW at the bottom of the screen.
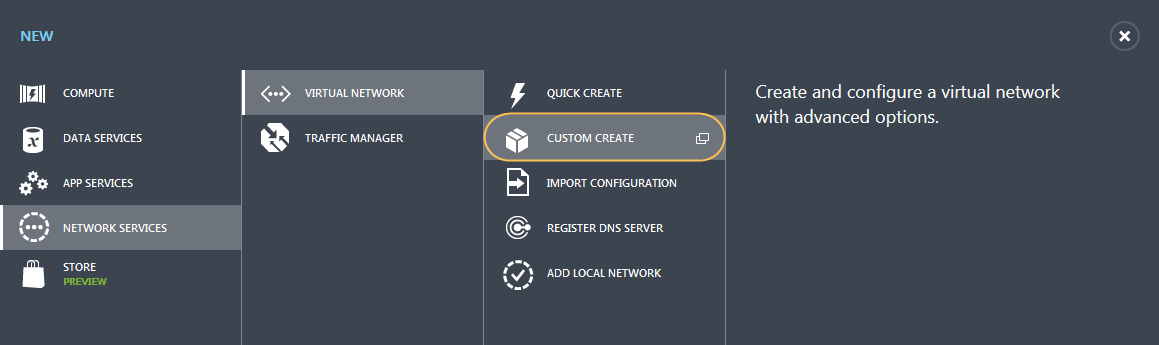
- Click NETWORK SERVICES > VIRTUAL NETWORK > CUSTOM CREATE. The CREATE A VIRTUAL NETWORK window appears.
- On the Virtual Network Details page:
- Enter a unique name in the Name field. For example, AzureVirtualNet
- Select a location from the LOCATION drop-down list. The virtual network can only be used for Azure instances in this geographic region. E.g., South Central US
- Click Next


- (Optional) On the DNS Servers and VPN Connectivity page, select or enter your DNS SERVERS.
- Click Next
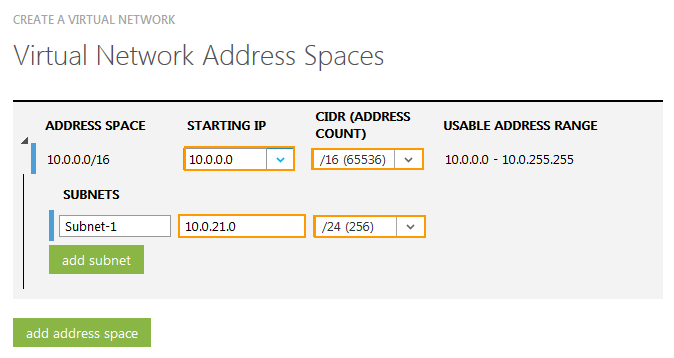
- On the Virtual Network Address Spaces page, configure the ADDRESS SPACE:
- STARTING IP – Enter the first IP address of the address space you want to use.
- CIDR – Select the subnet mask for the virtual network. The maximum number of instances for a virtual network are listed in parentheses.
- Add a SUBNET:
- STARTING IP – Enter the first IP address of the subnet.
- CIDR – Select the subnet mask for the subnet.
- Click Next
The created virtual network gets displayed in the VIRTUAL NETWORKS lists.
Next Step
Continue with How to Deploy the Barracuda Email Security Gateway in the Microsoft Azure Management Portal for instructions on installation and configuration.