

The Barracuda SSL VPN Standalone Agent is a software solution that allows users to log in and launch their SSL VPN resources directly from the system taskbar without a Java browser plugin. Download the SSL VPN Standalone Agent Installer from the Barracuda SSL VPN portal and install it for use on a client machine. The SSL VPN Standalone Agent can be installed on Windows, macOS, and Linux.
Before you begin
To allow users to download the installer for the SSL VPN Standalone Agent, edit the user policy on the ACCESS CONTROL > Policies page and enable User Self Service.

Install the Barracuda SSL VPN Standalone Agent for Windows
Step 1. Download the agent installer
- In the upper left corner switch to the Manage Account view.
- Go to the My Resources > User Downloads page.
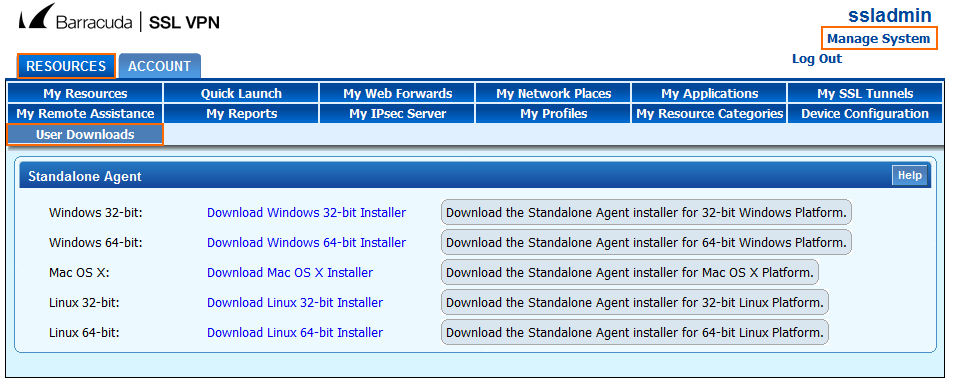
- Select the Agent Installer version that applies to the client system from the list.
- Click the link to download it.
Step 2. Install the SSL VPN Standalone Agent
- Launch the SSL VPN Standalone Agent application setup.
- When prompted, enter the host details for the Barracuda SSL VPN.

- If required, specify the proxy settings.
- Complete the setup wizard.
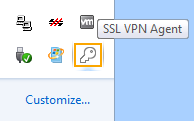
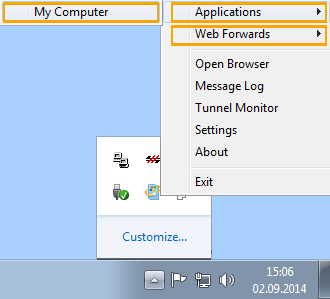
A little key icon is now added to the taskbar.
Launching the SSL VPN Standalone Agent
To access and launch the SSL VPN resources from the Windows taskbar,
- Right-click the key icon in the task bar.
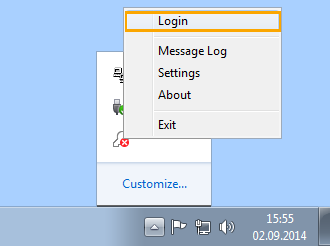
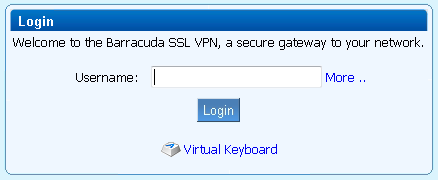
- When prompted, log into the Barracuda SSL VPN.
After logging in, you can close the browser window. - Right-click the key icon again, and launch your resources from the taskbar.
Install the Barracuda SSL VPN Standalone Agent for macOS
Download the .dmg file for macOS and install the SSL VPN Standalone Agent on your computer.
Step 1. Download the agent installer
- In the upper left corner switch to the Manage Account view.
- Go to the MyResources > User Downloads page.
- Select the Agent Installer version that applies to the client system.
- Click the link to download it.
Step 2. Install the SSL VPN Standalone Agent
- Launch the .dmg file to install the SSL VPN Standalone Agent on your computer.
- When promted, select the install location.
- Enter the host details for the Barracuda SSL VPN.
- If required, specify the proxy settings.
- Wait for the installation to be finished.
Launching the SSL VPN Standalone Agent
To access and launch the SSL VPN Standalone Agent:
- Use the .desktop file generated by the installer, or
- Start the agent from the command line with
./agentin the directory it was installed into.
Install the Barracuda SSL VPN Standalone Agent for Linux
Download the sslvpn-agent-unix-x86_64.sh file for Linux 64.bit and install the SSL VPN Standalone Agent on your computer.
Step 1. Download the agent installer
- In the upper left corner switch to the Manage Account view.
- Go to the MyResources > User Downloads page.
- Select the Agent Installer version that applies to the client system.
- Click the link to download it.
Step 2. Install the SSL VPN Standalone Agent
- Open a terminal and execute:
chmod +x sslvpn-agent-unix-x86_64.shto make the file executable. - Execute
./sslvpn-agent-unix-x86_64.sh - When asked, select the install location.
- Enter the host details for the Barracuda SSL VPN.
- If required, specify the proxy settings.
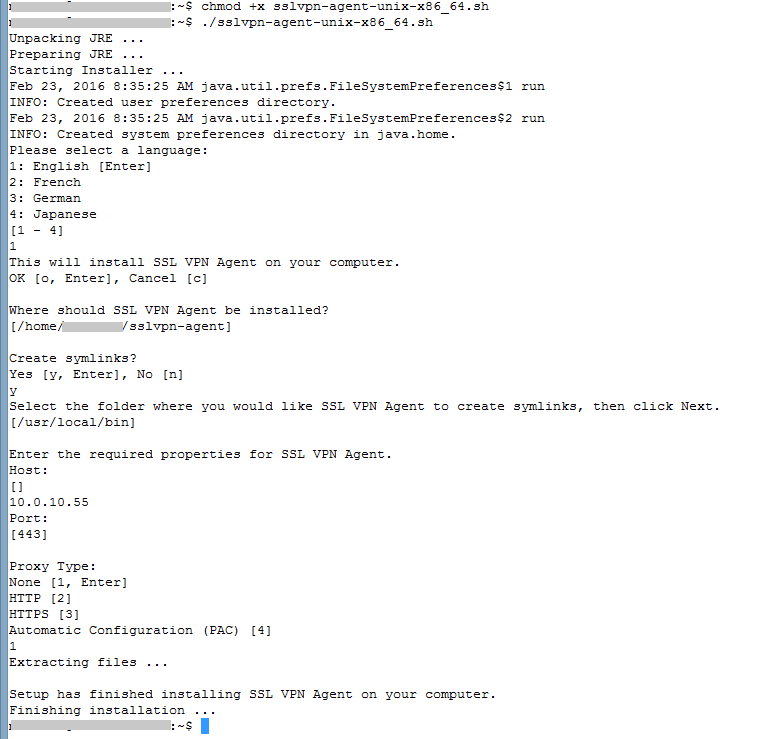
- Wait for the installation to be finished.
Launching the SSL VPN Standalone Agent
To access and launch the SSL VPN Standalone Agent
- Start the agent from the command line with
./agentin the directory it was installed into.