It seems like your browser didn't download the required fonts. Please revise your security settings and try again.
Barracuda Email Gateway Defense
formerly Email Security

Step 1 - Set Up Email Gateway Defense for Microsoft 365

  • Last updated on


Managed Service Providers (MSPs): See MSP App for information on using the MSP App and activating Barracuda Essentials.

Note that Barracuda Email Security Service and Email Gateway Defense are interchangeable in the documentation and user interface for MSPs and partners/resellers.


For each Barracuda Cloud Control account, you can have either a linked Barracuda Email Security Gateway appliance or an Email Gateway Defense subscription.

You cannot use a single Barracuda Cloud Control account for both a linked appliance and the service subscription.


This article assumes you are deploying Barracuda Networks Services for the first time. If you previously deployed another Barracuda Networks product and want to migrate to Barracuda Email Protection, contact your Barracuda Networks sales representative.

Ensure Connectivity and Redundancy

Open your firewall ports to allow the IP address ranges for LDAP connectivity based on your Barracuda Networks instance; see Email Gateway Defense IP Ranges Used for Configuration.
(Optional) Configure Microsoft 365 to block inbound email not originating from Email Gateway Defense IP address range.

Important

Email Gateway Defense connects with your network from various IP addresses, including performing LDAP lookups. To ensure that the service can connect with your network, allow traffic originating from the range of network addresses based on your Barracuda Networks instance; see Email Gateway Defense IP Ranges Used for Configuration.


Activate Email Gateway Defense

To complete the setup you must have a Barracuda Cloud Control account. If you do not already have an account, go to https://login.barracudanetworks.com/ and click Create a User. Enter your name, email address, and company name, and specify whether this is a partner account. Click Create User; for partners, be sure to read How to Add a Managed Customer Account. Follow the instructions emailed to the entered email account to create your Barracuda Cloud Control account. See Password Complexity Policies before setting up your password.
See also Partner Accounts.

  1. Go to https://login.barracudanetworks.com and log in with your Barracuda Cloud Control credentials.
  2. Navigate to Home > Admin > Email Protection.
  3. Click Start a trial. Complete the form with your information and then start the trial.
    Alternatively, if you have already purchased Email Gateway Defense, click Enter an Activation Key. You should have received an email with a product activation key. For more information, see How to Activate Products Using an Activation Key.

  4. On the Plan Details page, select the bundle for your trial and enter the number of Users who will be using Email Gateway Defense. Then click Continue.
  5. Complete your Account Details, then click Continue


    Managed Service Providers (MSPs): See Barracuda Essentials for MSPs for information on getting started with ECHOplatform and activating Barracuda Essentials.

    Note that Barracuda Email Security Service and Email Gateway Defense are interchangeable in the documentation and user interface for MSPs and partners/resellers.

    Partners see a different option on this page. Make your selection, then continue with the process below.

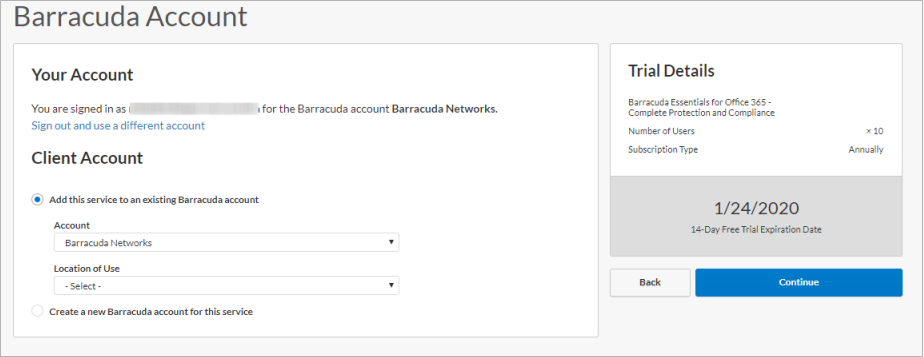
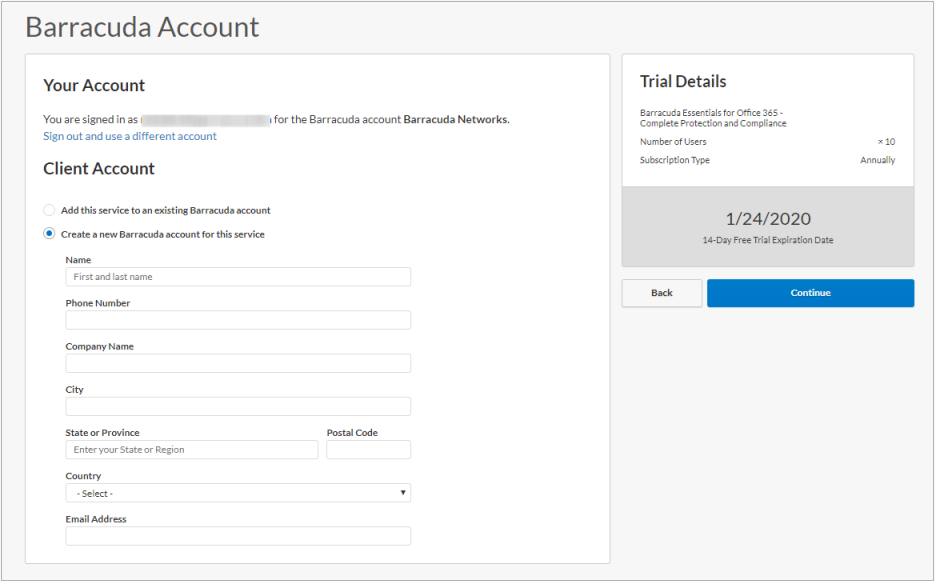
    Select from the following Client Account options, then click Continue

    1. Add this service to an existing Barracuda account – Select the desired Account from the drop-down menu, and select your location from the Location of Use drop-down menu.
      AddExistingAcct.png
    2. Create a new Barracuda account for this service – Enter the new account details.
      NewClientAcct.png
    1. In the  Billing Details (Optional) page, enter your billing information to purchase the service, or leave the Billing Information section blank to start a free 14-day evaluation. Click Continue.

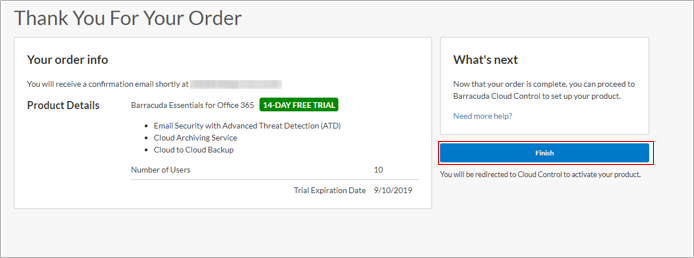
    2. Once the setup process is complete, click Finish.
      finishWizard.png

      Barracuda Cloud Control displays and your 14-day trial begins immediately.


  6. In the  Billing Details (Optional) page, enter your billing information to purchase the service, or leave the Billing Information section blank to start a free 14-day evaluation. Click Continue.

  7. Once the setup process is complete, click Finish.

    Barracuda Cloud Control displays and your 14-day trial begins immediately.

Step 2 - Configure Microsoft 365 for Inbound and Outbound Mail or Inline Deployment