

Setting up a Hyper-V virtual sensor requires several steps. Follow the procedures below:
- To download the Hyper-V ZIP
- To create a new Hyper-V virtual switch for mirroring
After you have followed these procedures, contact your Barracuda XDR representative to complete the setup.
To download the Hyper-V ZIP
- In Barracuda XDR Dashboard, click Downloads > Virtual Sensors.
- In the Step 2 box, select Hyper-V.
- Click one of the following buttons:
- Hyper-V ZIP
- Hyper-V ZIP (Large)
- Unzip the file.
To create a new Hyper-V virtual switch for mirroring
- In Hyper-V manager, in the right navigation panel, click Virtual Switch Manager.
- Click External, then click Create New Virtual Switch.
- Type an appropriate name for the switch. For example,
Virtual_Switch_Name. - Select the physical NIC you identified and designate it as the external NIC to connect.
- Click OK.
- On the Hyper-V host, as an Administrator, open a PowerShell session.
- Execute the following commands, which enable the virtual switch to receive packets from the physical mirror port:
$a = Get-VMSystemSwitchExtensionPortFeature -FeatureId 776e0ba7-94a1-41c8-8f28- 951f524251b5$a.SettingData.MonitorMode = 2add-VMSwitchExtensionPortFeature -ExternalPort -SwitchName <virtual_switch_name> - VMSwitchExtensionFeature $a, where<virtual_switch_name>is the name of the virtual switch you identified in Step 4. - In the right navigation panel, click Virtual Switch Manager.
- Click the + button next to the virtual switch you identified in Step 4.
- Click Extensions.
- Ensure Microsoft NDIS Capture is selected.
- Click OK.
To import the Hyper-V virtual machine
Complete the To download the Hyper-V Zip procedure above before continuing with this procedure.
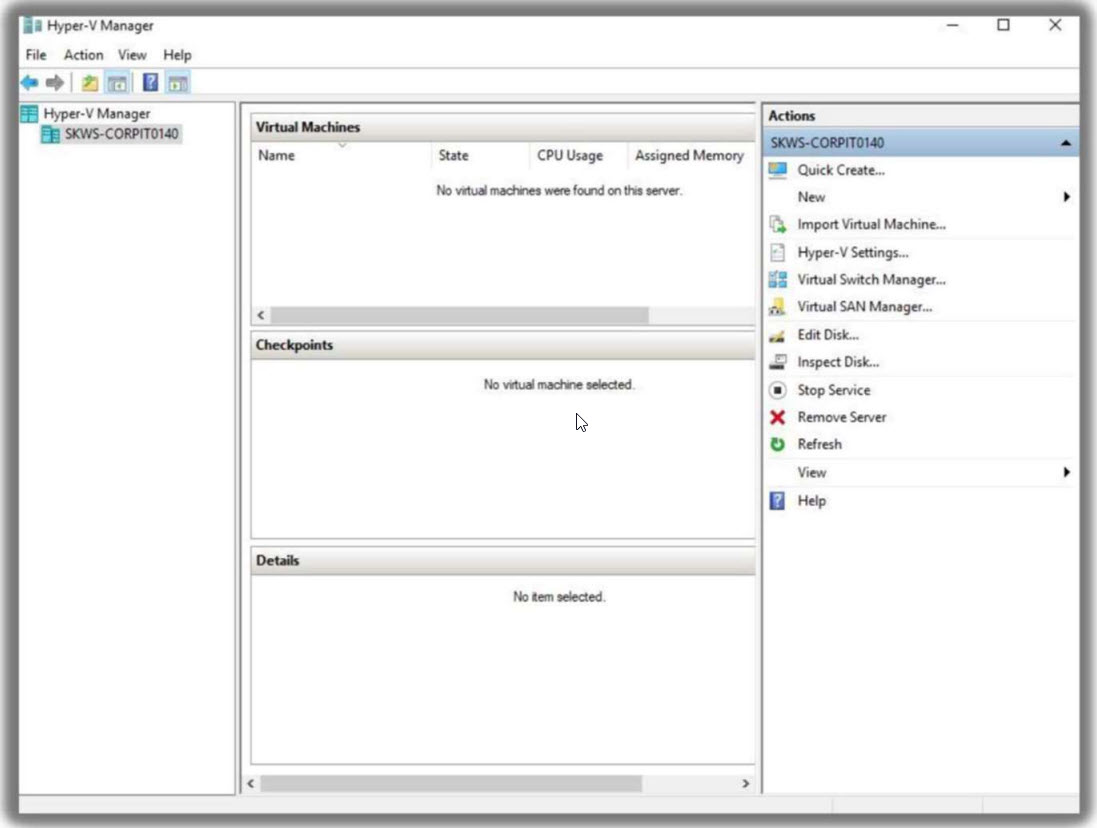
- In Hyper-V manager, in the right navigation panel, click Import Virtual Machine.
- In the Import Virtual Machine dialog, click Next.
- On the Locate Folder page, click Browse and navigate to the folder where you extracted the Hyper-V image.
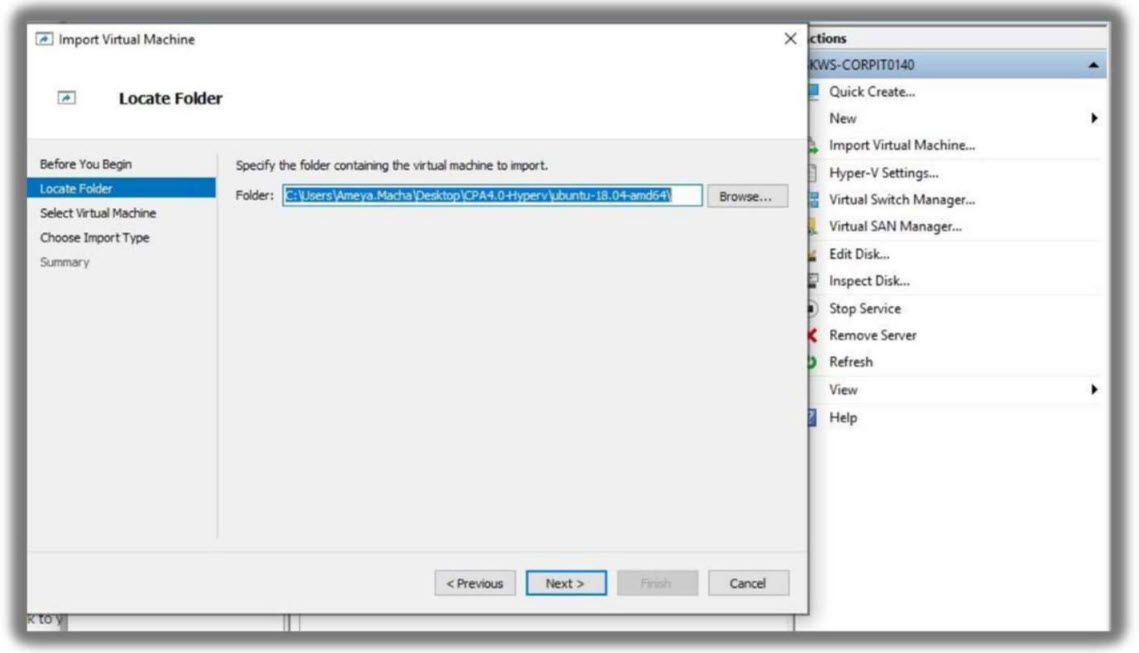
- Click Next.
- On the Import Virtual Machine page, enable Copy the virtual machine (create a new unique ID).
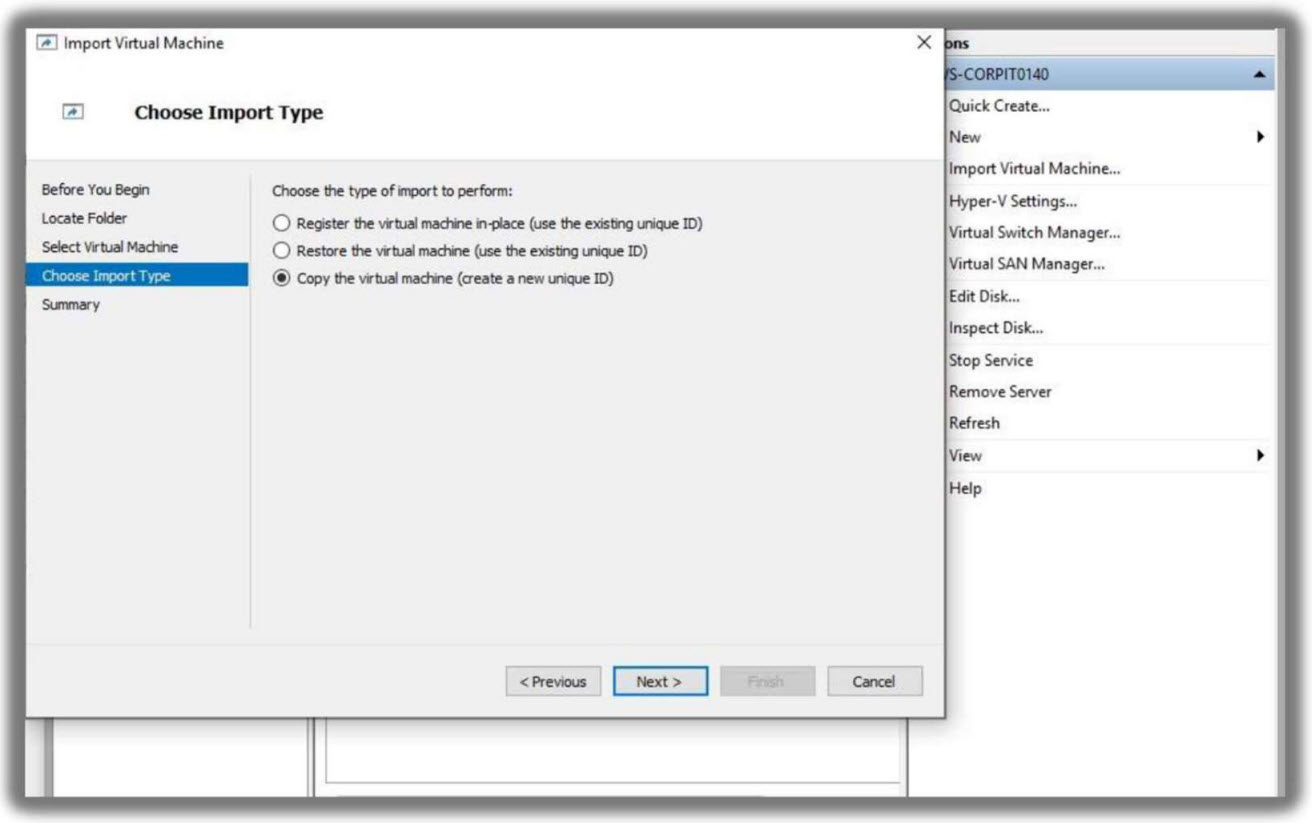
- Click Next.
- On the Connect Network page, select the v.switch you want to use.
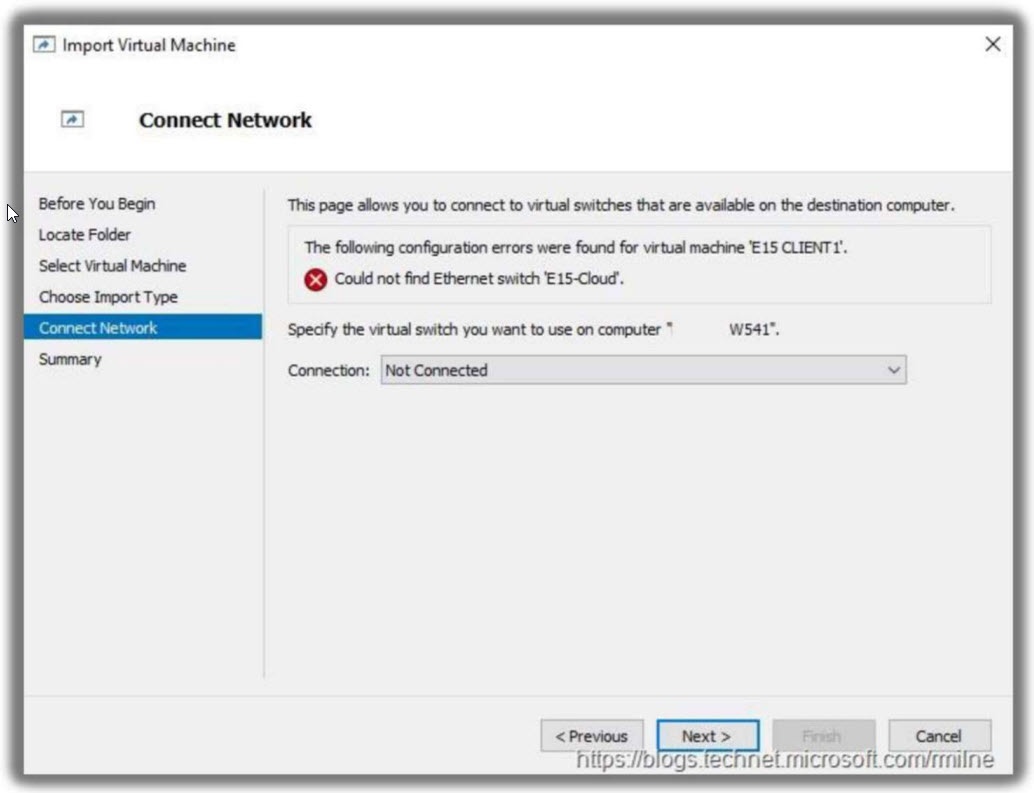
- Click Next.
- On the Choose Folders for Virtual Machine Files page, select the following paths:
- Virtual machine configuration folder
- Checkpoint store
- Smart Paging folder
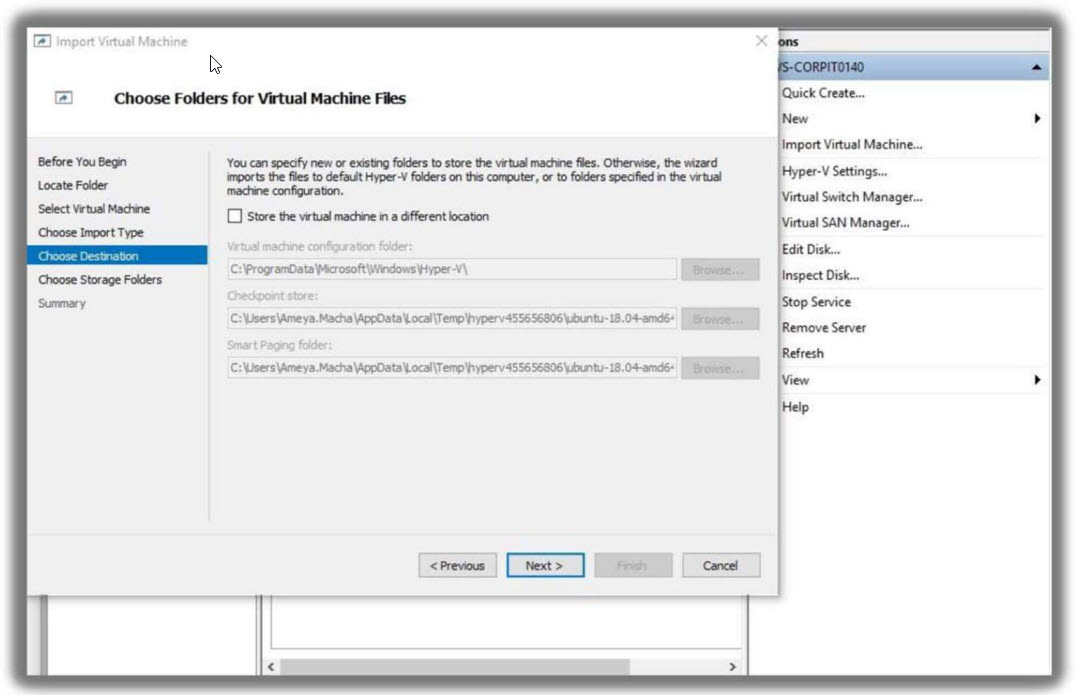
- Click Next.
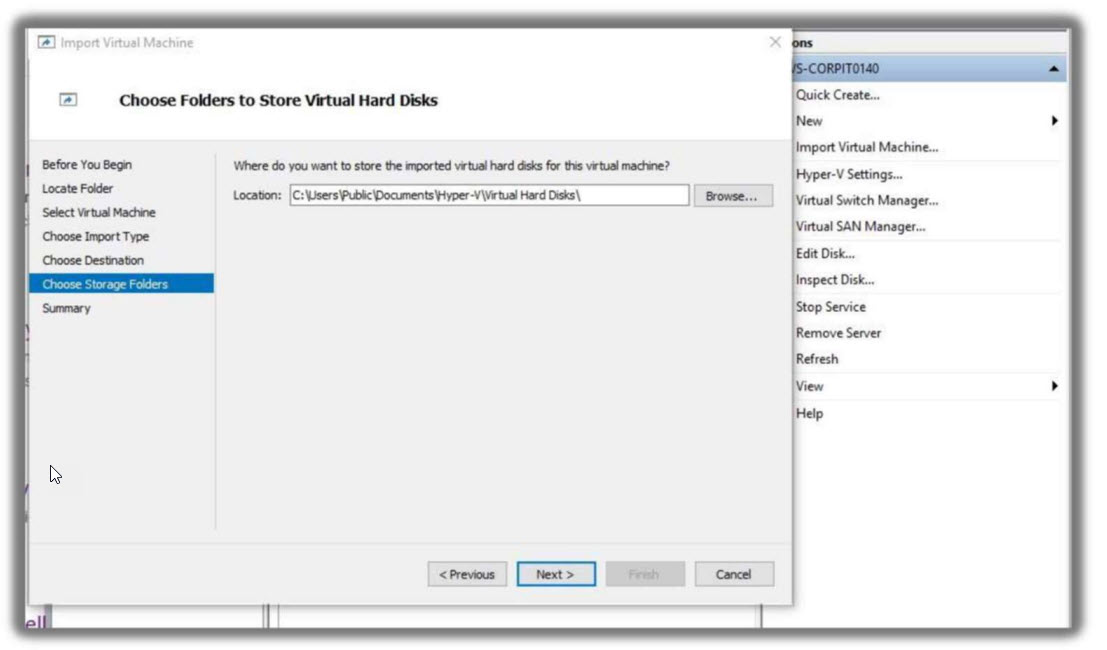
- On the Choose Folders to Store Virtual Hard Disks page, click Browse and navigate to the folder where you want to store the hard disks for the virtual machine.
- On the Completing Import Wizard page, click Next.
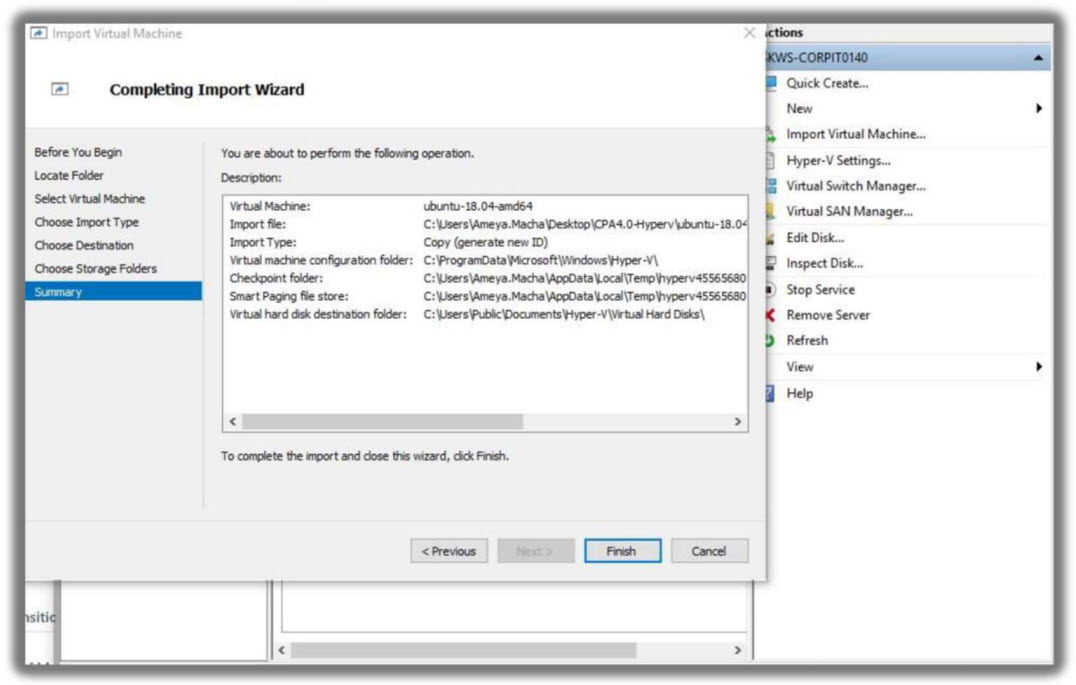
- Click Finish.
To set up port mirroring
- In Hyper-V manager, right-click the Hyper-V SKOUT Sensor.
- Click Settings.
- Click the second Network Adapter, and in Virtual Switch, select the v.switch created above. Click Apply.
- Click + button next to Advanced Features.
- In the Port mirroring section, in Mirroring mode, select Destination.
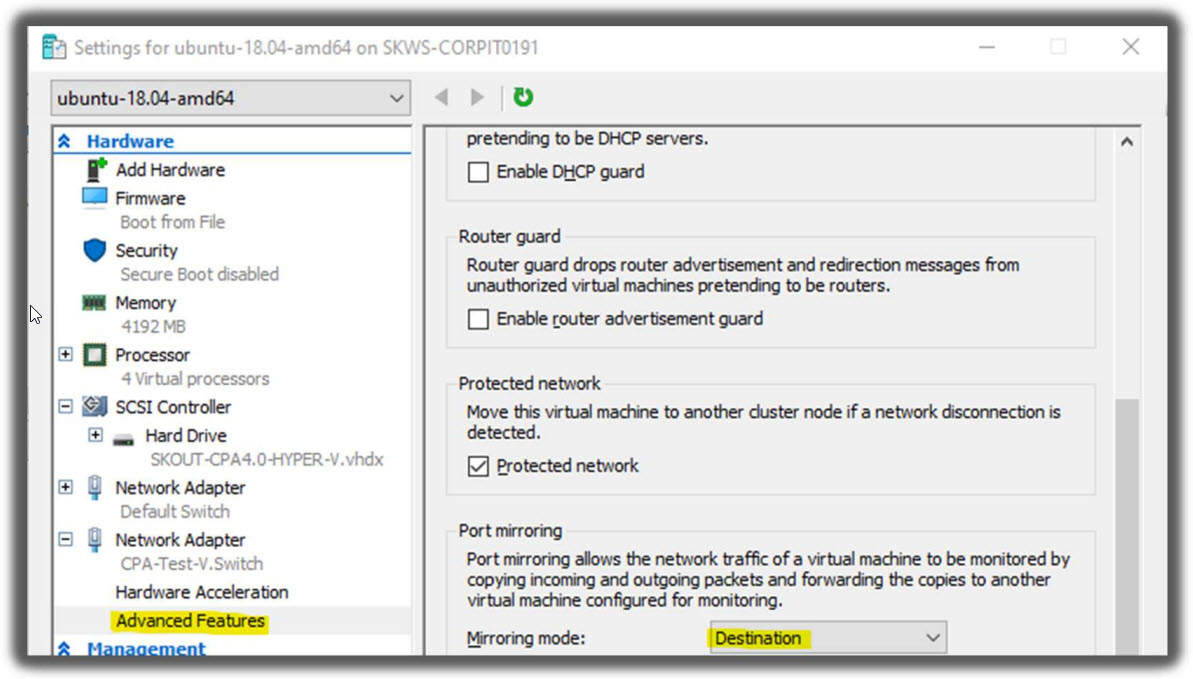
- Click Apply.
- In the same Network Adapter (the second), in the Hardware Acceleration section, clear the Enable check box.
Click Apply, then click OK.
Additional Port Mirroring Setup from VLAN Traffic Configurations
If your environment uses a VLAN to route traffic, you have to configure Microsoft Hyper-V to accept packets from the designated VLAN identifier range.
To set up VLAN port mirroring
- In Hyper-V Guest, create a NIC designated as management using the following Powershell command:
Add-VMNetworkAdapter -VMName <VirtualMachineName> -Name "Management", where<VirtualMachineName>is the name of the virtual machine. - Add the port to use as a mirror, for example:
Add-VMNetworkAdapter -Vmname <VirtualMachineName> -name "Mirror", where<VirtualMachineName>is the name of the virtual machine. - Repeat Steps 1 and 2 for each NIC.
- Add the VLAN ID ranges you want to mirror, for example:
Set-VMNetworkAdapterVlan -VMName <VirtualMachineName> -VMNetworkAdapterName "mirror" -trunk allowedvlanidlist <VLANIDRange> -nativevlanid <VLANIDRange><VirtualMachineName>is the name of the virtual machine and<VLANIDRange>is the range of the VLAN ID.