

CloudFormation templates allow you to automate your deployments in AWS and make them more consistent. You can replicate the deployment multiple times for testing and production, or you can spin up additional environments in other regions. Including user data scripts in the template automatically disables the web interface. You can re-enable it via the cloud-enable-webui command. For more information, see Public Cloud Provisioning Command Line Tools.
CloudFormation Templates
CloudFormation templates are available for all our AWS reference architectures in the Barracuda Networks GitHub account: https://github.com/barracudanetworks/ngf-aws-templates.
Before You Begin
Verify that the AMI image IDs used in the CloudFormation template match the IDs for the CloudGen Firewall image listed in the AWS Marketplace. The AMI disk images change for every released version. Each region has a separate AMI ID.
Step 1. Subscribe to CloudGen Firewall in AWS Marketplace
To be able to deploy a CloudGen Firewall image via the CloudFormation template, you must agree to the Terms of Service and subscribe to the image in the AWS Marketplace. You need to do this only once per account, but it must be done separately for PAYG and BYOL images.
- Go to the AWS Marketplace: https://aws.amazon.com/marketplace/
- Search for
Barracuda. - Click the Barracuda CloudGen Firewall for AWS - PAYG or Barracuda CloudGenFirewall for AWS - BYOL image.
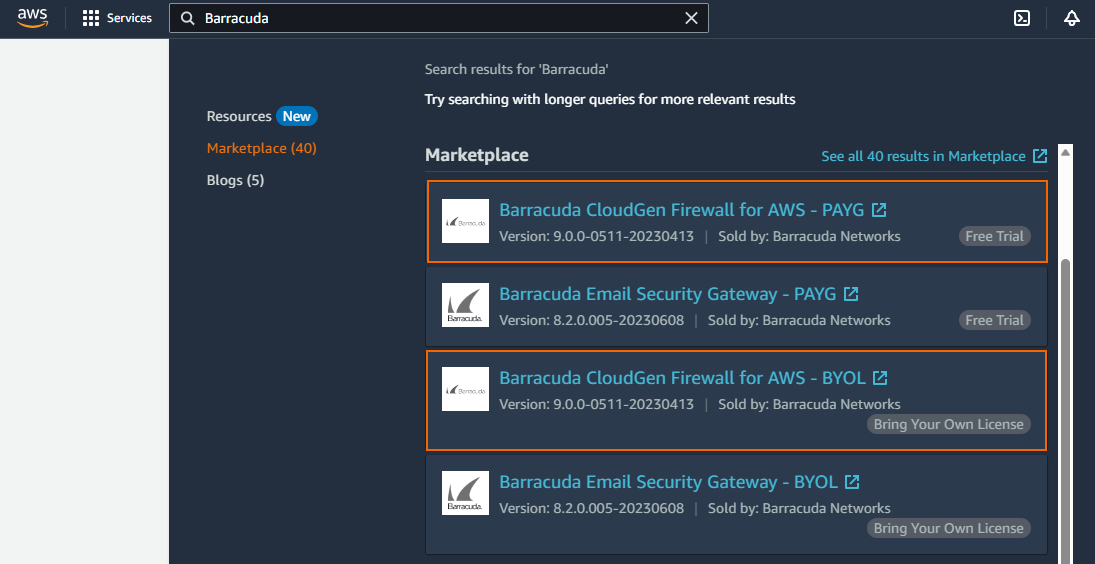
- Click Continue to Subscribe.

- Click Accept Terms.
- Click Continue to Configuration.
You will receive an email from Amazon confirming your subscription. You can now use the provided AMI in your CloudFormation templates.
Step 2. (BYOL only) Create a Stack Policy to Protect the Firewall Instance from Stack Updates
To protect your firewall instances from being replaced during stack updates, use a stack policy when deploying the CloudFormation template. Replacing the instance automatically invalidates your license. If your license is invalidated, contact Barracuda Networks Technical Support during the 15-day grace period to transfer your license to the instance.
Step 3. Deploy the CloudFormation Template
CloudFormation templates can be deployed via the AWS web console, CLI, REST, or PowerShell.
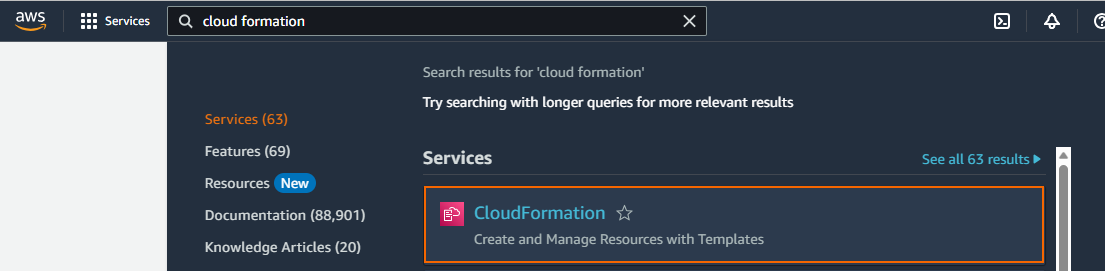
- Log into the AWS console.
- Click Services and select CloudFormation.
- Click Create stack, and select With new resources (standard).

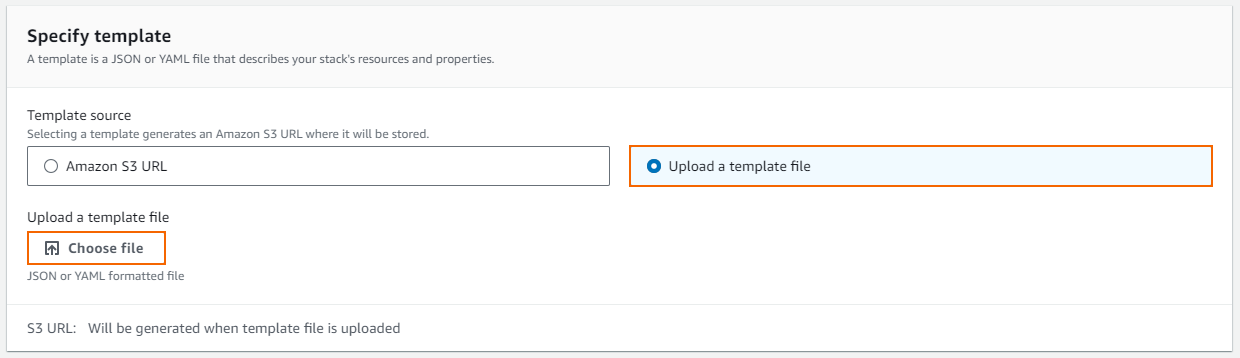
The Create stack window opens. Select Upload a template file.
- Click Choose file and select the template file.
- Click Next.
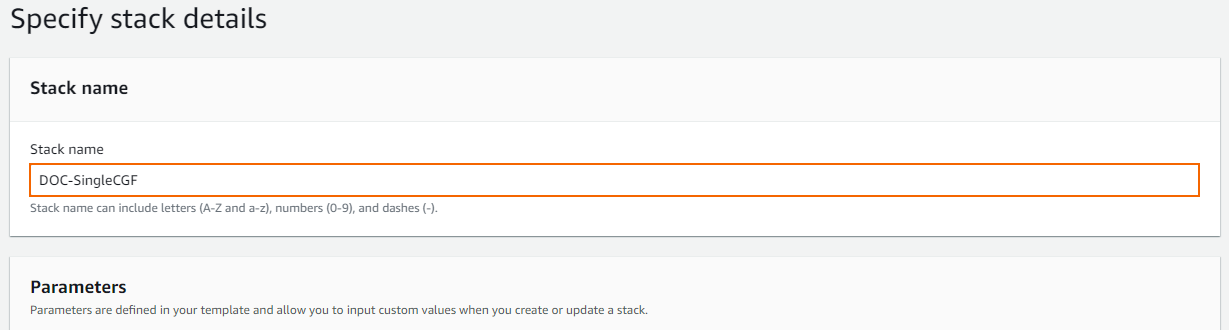
- Enter the Stack name.
- (optional) If the template includes parameters, fill in the values in the Parameters section.
- Click Next.
- (optional) Add Tags for your stack.
- Set the remaining parameters according to your requirements.
- In the Advanced options section, set additional options for your stack, for example:
Stack policy – For BYOL images, it is highly recommended to protect the firewall instance from stack updates.
- Click Next.
- Review the settings and click Submit.
The resources defined in the template are now deployed. This may take a couple of minutes. When the Status column shows CREATE_COMPLETE, the template has been deployed successfully. If the firewall fetches a PAR file from a Control Center, it may take a couple of minutes for the firewall to be available.
