

IAM roles are the preferred method for CloudGen Firewall instances in AWS to authenticate against AWS APIs. For each feature that requires direct access to AWS resources, a customized IAM policy must be created. These policies are then attached to the IAM role assigned to the instance during deployment. It is possible to change the IAM policies attached to the IAM role on the fly. If an Access Key ID and Secret Access Key are configured in AWS cloud integration, they take precedence over the IAM role attached to the instance. In order to use all firewall features, the following IAM security policies must be created and attached to the IAM role:
- Cloud Information element
- Route shifting (includes Cloud Information dashboard element)
- AWS CloudWatch streaming
- AWS Auto Scaling or cold standby S3 bucket access
- AWS Marketplace Metered Billing, to allow reporting for volume-based PAYG instances
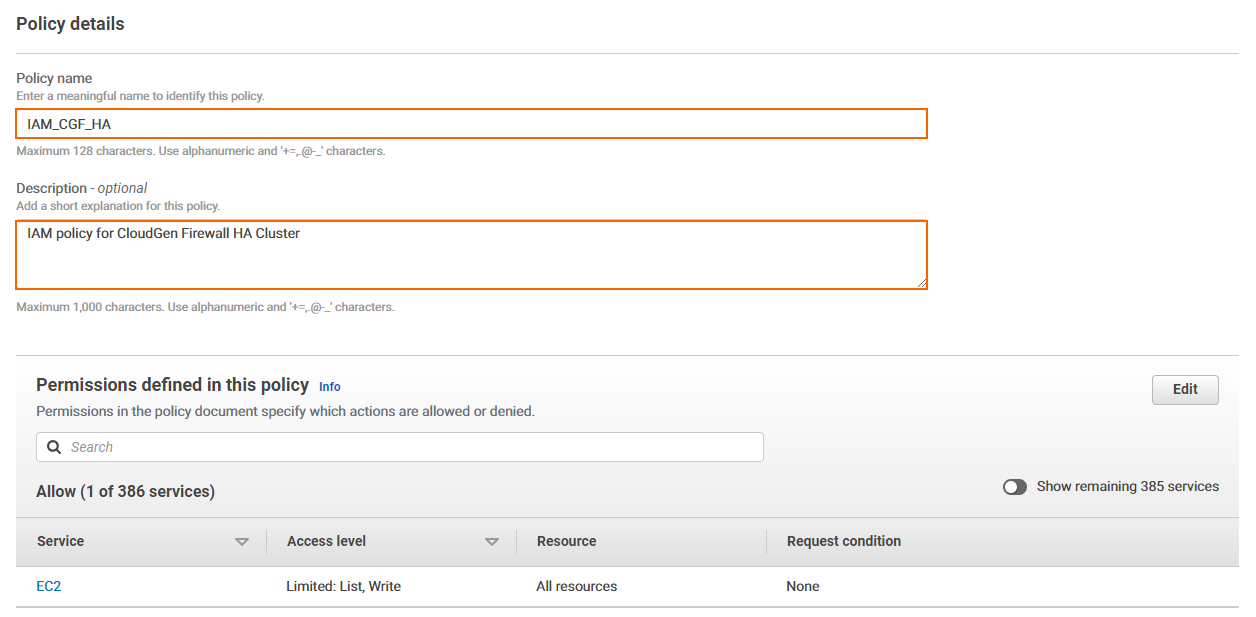
Step 1. Create an IAM Policy for Route Shifting
Create an IAM policy to allow route shifting.
- Log into the AWS console.
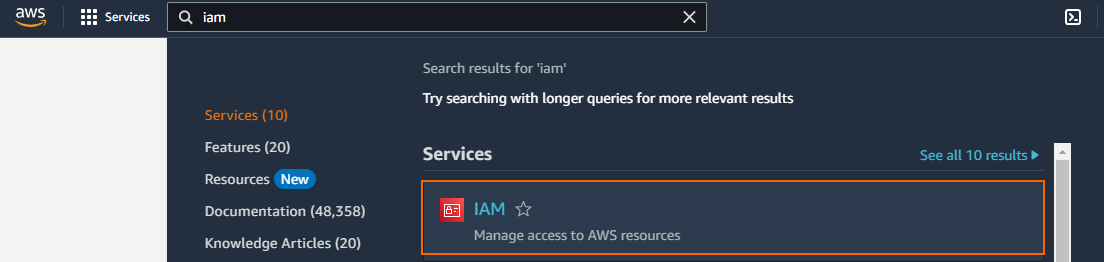
- Click Services and select IAM.
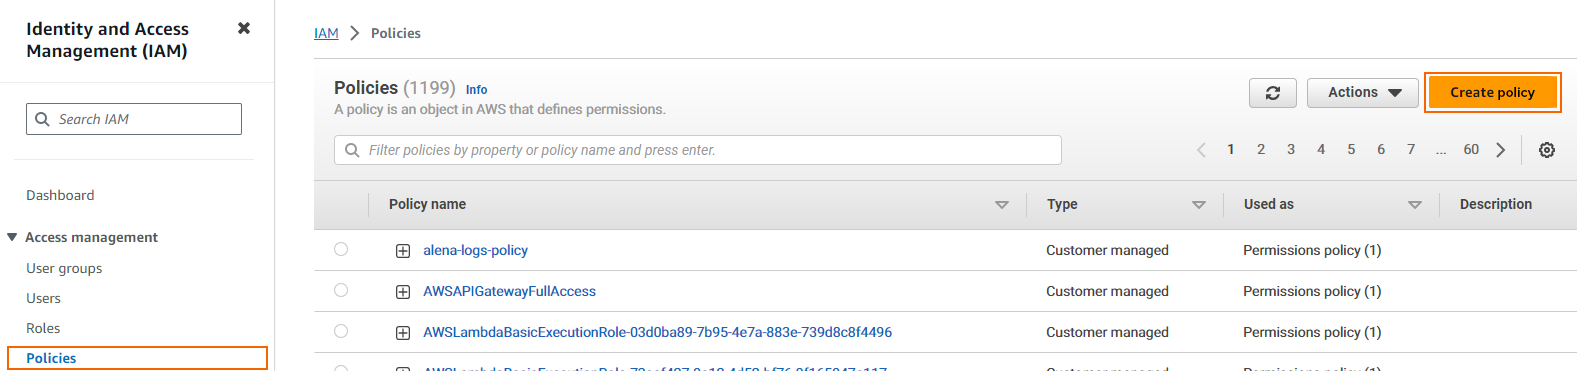
- In the left menu, select Policies.
- Click Create policy.
Select the JSON tab and paste the policy.
{ "Version": "2012-10-17", "Statement": [ { "Effect": "Allow", "Action": [ "ec2:AllocateAddress", "ec2:AssociateAddress", "ec2:DescribeAddresses", "ec2:DisassociateAddress", "ec2:DescribeInstances", "ec2:DescribeVpcs", "ec2:DescribeSubnets", "ec2:DescribeRouteTables", "ec2:DeleteRoute", "ec2:CreateRoute", "ec2:DescribeNetworkInterfaces" ], "Resource": [ "*" ] } ] }- (Optional) Select the Visual tab to review the policy.
- Click Next.
- Enter the following information for the IAM policy:
- Policy name – Enter a name for the policy.
(optional) Description
(optional) Create a custom tag for the policy. A tag consists of a key-value pair and is used to identify a resource.
- In the Add tags section, click Add new tag.
- Enter a Key, for example:
RouteShiftHA - (optional) Enter a tag Value, for example:
01-west-US
- Click Create policy.
The IAM policy for route shifting is now available to be assigned to an IAM role for the CloudGen Firewall.
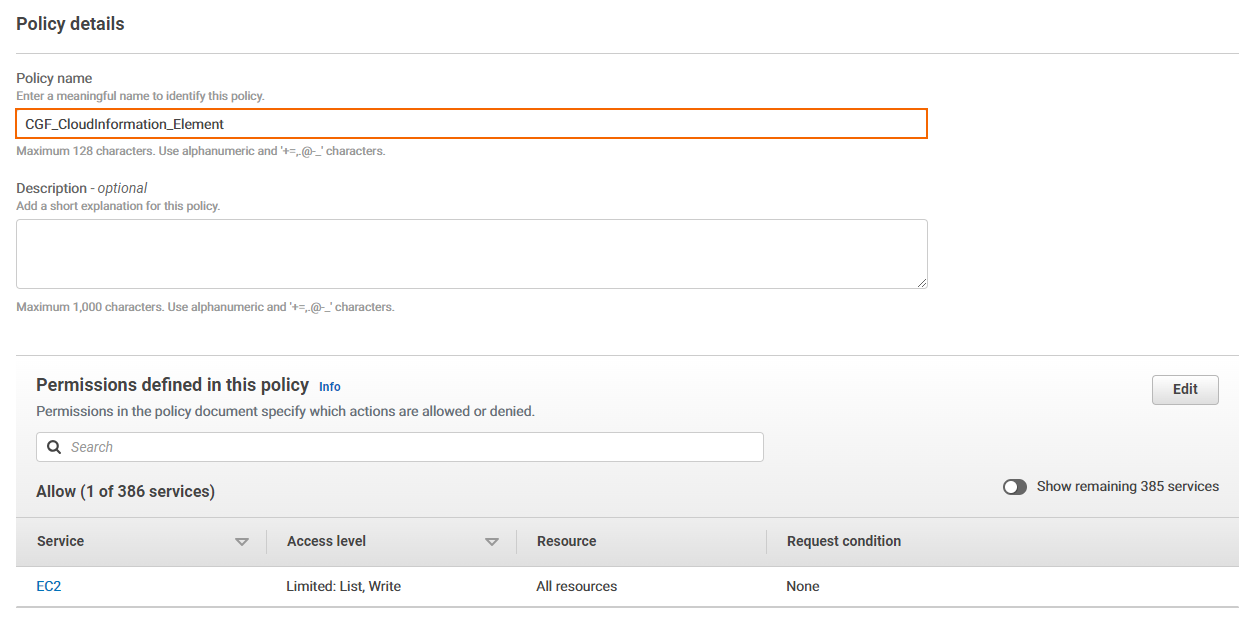
Step 2. Create an IAM Policy for the Cloud Information Dashboard Element
Create this policy only if you are not using the route shifting IAM policy. The route shifting IAM policy includes all permissions necessary for the Cloud Information element.
- Log into the AWS console.
- Click Services and select IAM.
- In the left menu, click Policies.
- Click Create policy.
Select the JSON tab and paste the policy.
{ "Version": "2012-10-17", "Statement": [ { "Effect": "Allow", "Action": [ "ec2:DescribeInstances", "ec2:DescribeVpcs", "ec2:DescribeSubnets", "ec2:DescribeRouteTables" ], "Resource": [ "arn:aws:ec2:::*" ] } ] }- (Optional) Select the Visual tab to visually review the policy.
- Click Next.
- Enter the following information for the IAM policy:
- Policy name – Enter a name for the policy.
(optional) Description
- (optional) Create a tag for the policy. For instructions, see step 1/9.
- Click Create policy.
The IAM policy for the Cloud Information element is now available to be assigned to an IAM role for the CloudGen Firewall.
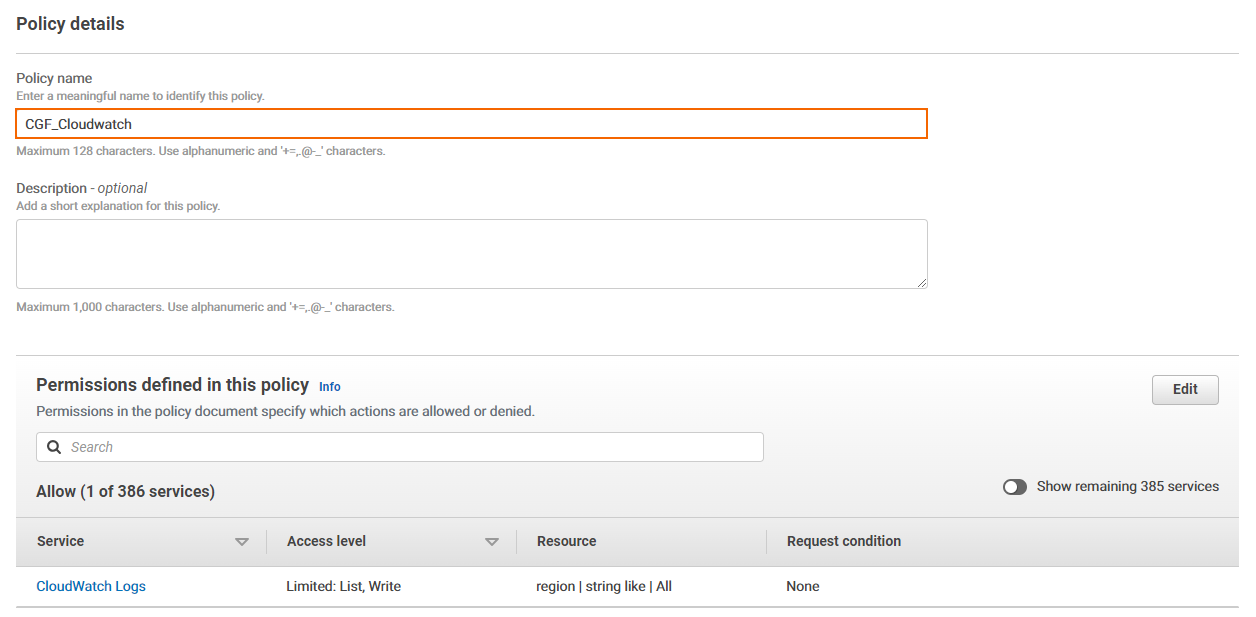
Step 3. Create an IAM Policy for Log Streaming to AWS CloudWatch
This IAM policy grants the firewall the necessary permissions to stream logs to AWS CloudWatch.
- Log into the AWS console.
- Click Services and select IAM.
- In the left menu, click Policies.
- Click Create policy.
Select the JSON tab and paste the policy.
{ "Version": "2012-10-17", "Statement": [ { "Effect": "Allow", "Action": [ "logs:CreateLogGroup", "logs:CreateLogStream", "logs:PutLogEvents", "logs:DescribeLogStreams", "logs:DescribeLogGroups" ], "Resource": [ "arn:aws:logs:*:*:*" ] } ] }- (Optional) Select the Visual tab to visually review the policy.
- Click Next.
- Enter the following information for the IAM policy:
- Policy name – Enter a name for the policy.
(optional) Description
- (optional) Create a tag for the policy. For instructions, see step 1/9.
Click Create policy.
The IAM policy for streaming logs to AWS CloudWatch is now available to be assigned to an IAM role for the CloudGen Firewall.
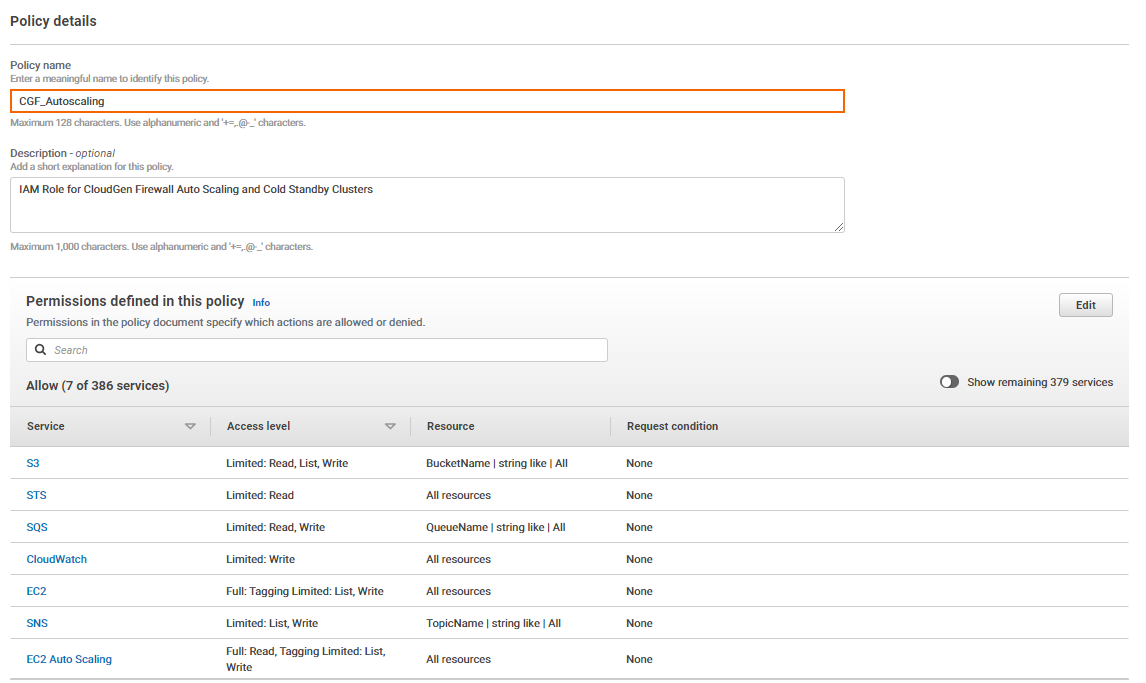
Step 4. Create an IAM Policy for AWS Auto Scaling Group Deployments
This IAM policy grants the necessary permissions for Auto Scaling and cold standby architectures for the CloudGen Firewall.
- Log into the AWS console.
- Click Services and select IAM.
- In the left menu, click Policies.
- Click Create policy.
Select the JSON tab and paste the policy.
{ "Version": "2012-10-17", "Statement": [ { "Effect": "Allow", "Action": [ "ec2:AllocateAddress", "ec2:AssociateAddress", "ec2:DescribeAddresses", "ec2:DisassociateAddress", "ec2:CreateRoute", "ec2:DescribeRouteTables", "ec2:ReplaceRoute", "ec2:DeleteRoute", "ec2:CreateTags", "ec2:DescribeInstances", "ec2:DeleteTags", "ec2:DescribeTags", "ec2:ModifyInstanceAttribute" ], "Resource": "*" }, { "Effect": "Allow", "Action": [ "autoscaling:CreateOrUpdateTags", "autoscaling:DeleteTags", "autoscaling:DescribeAutoScalingGroups", "autoscaling:DescribeAutoScalingInstances", "autoscaling:DescribeTags", "autoscaling:SetInstanceProtection" ], "Resource": "*" }, { "Action": [ "sqs:CreateQueue", "sqs:DeleteMessage", "sqs:DeleteQueue", "sqs:GetQueueAttributes", "sqs:ReceiveMessage", "sqs:SetQueueAttributes", "sqs:GetQueueUrl" ], "Effect": "Allow", "Resource": "arn:aws:sqs:::*" }, { "Action": [ "sns:CreateTopic", "sns:Publish", "sns:Subscribe", "sns:Unsubscribe", "sns:ListSubscriptionsByTopic" ], "Effect": "Allow", "Resource": "arn:aws:sns:::*" }, { "Action": [ "cloudwatch:PutMetricData" ], "Effect": "Allow", "Resource": "*" }, { "Action": [ "sts:GetCallerIdentity" ], "Effect": "Allow", "Resource": "*" }, { "Effect": "Allow", "Action": [ "s3:CreateBucket", "s3:ListBucket", "s3:PutBucketVersioning", "s3:PutObject", "s3:GetBucketVersioning", "s3:ListBucketVersions", "s3:GetObject", "s3:GetObjectVersion", "s3:DeleteObjectVersion" ], "Resource": "arn:aws:s3:::*" } ] }- (Optional) Select the Visual tab to visually review the policy.
- Click Next.
- Enter the following information for the IAM policy:
- Policy name – Enter a name for the policy.
(optional) Description
- (optional) Create a tag for the policy. For instructions, see step 1/9.
- Click Create policy.
The IAM policy for AWS Auto Scaling and cold standby architectures is now available to be assigned to an IAM role for the CloudGen Firewall.
Step 5. Create an IAM Policy for Metered Billing
This IAM policy grants the necessary permissions for metered billing PAYG images to be able to report the used traffic to AWS.
- Log into the AWS console.
- Click Services and select IAM.
- In the left menu, click Policies.
Click Create policy.
{ "Version": "2012-10-17", "Statement": [ { "Action": [ "aws-marketplace:*" ], "Effect": "Allow", "Resource": "*" } ] }- (optional) Create a tag for the policy. For instructions, see step 1/9.
- Click Create policy.
The IAM policy for metered billing is now available to be assigned to an IAM role for the CloudGen Firewall.
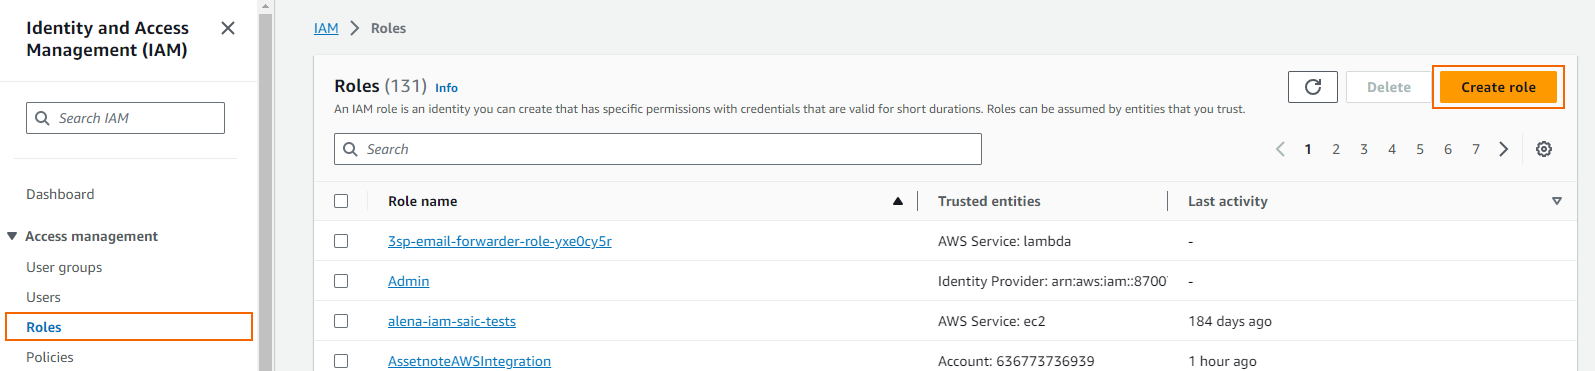
Step 6. Create the IAM Role
Create the IAM role and assign the IAM policies for all CloudGen Firewall Cloud Integration features used by the firewall Instance.
- Log into the AWS console.
- Click Services and select IAM.
- In the left menu, click Roles.
- Click Create role.
- Select AWS service.
- In the Service or use case field, select EC2 and click Next
Select the relevant IAM firewall policies for your planned CloudGen Firewall deployment.
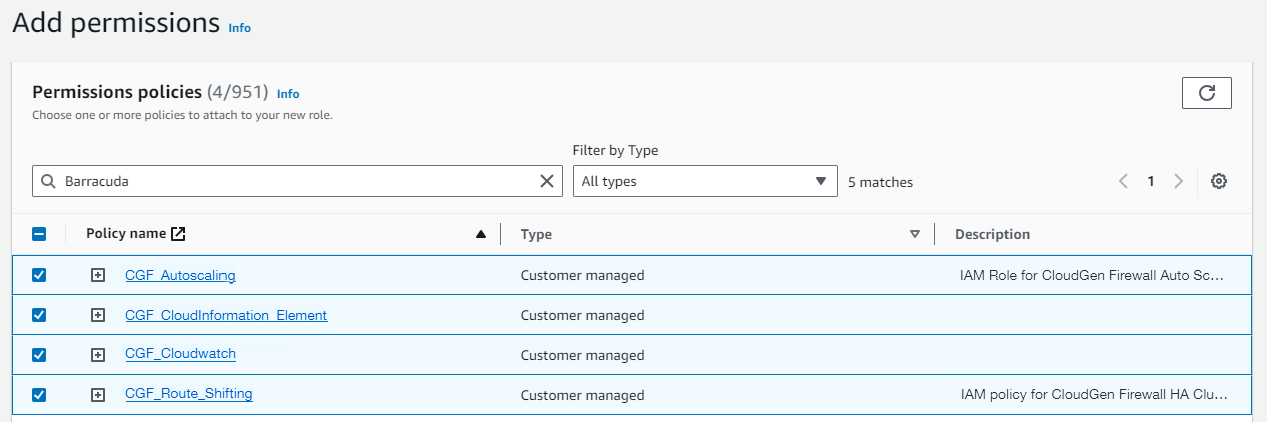
- Click Next.
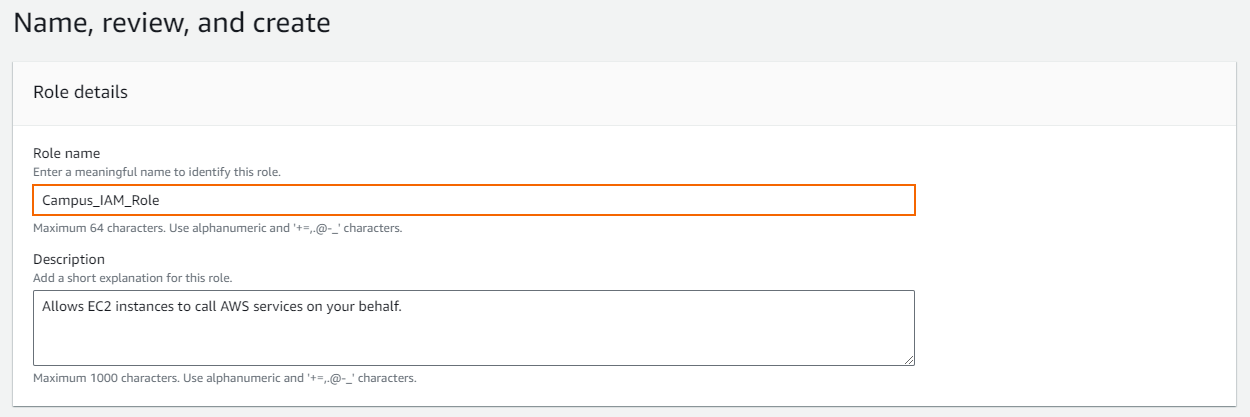
- Enter a Role name and an optional Role description.
- (Optional) Add tags to the role.
- Review the settings.
- Click Create Role.
Assign this role to the CloudGen Firewall instance during deployment.