

The Barracuda SecureEdge Manager allows you to create your own custom categories to filter traffic from specific domains, specific categories, or a combination of domains and categories. The Custom Categories page displays all defined custom categories along with included domains in the workspace.
Create Custom Categories
- Go to https://se.barracudanetworks.com and log in with your existing Barracuda Cloud Control account.
- In the left menu, click the Tenants/Workspaces icon and select the workspace you want to add custom categories for.
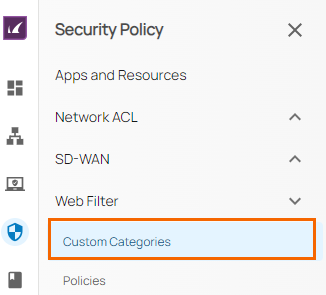
- Go to Security Policy.
- Expand the Web Filter menu on the left and select Custom Categories.
- The Custom Categories page opens. To create a new custom category, click Add Custom Category.

- The New Custom Category window opens. Specify values for the following:
- Name – Enter a unique name.
- Description – Enter a brief description.
Included Domains – Enter one or more domains to include in this category and click +.
- Categories – Expand the category. You can then either click on the specific sub-categories you want to add, or re-click to remove the selected sub-category. Additionally, you are also provided with the option Select All to select all sub-categories.
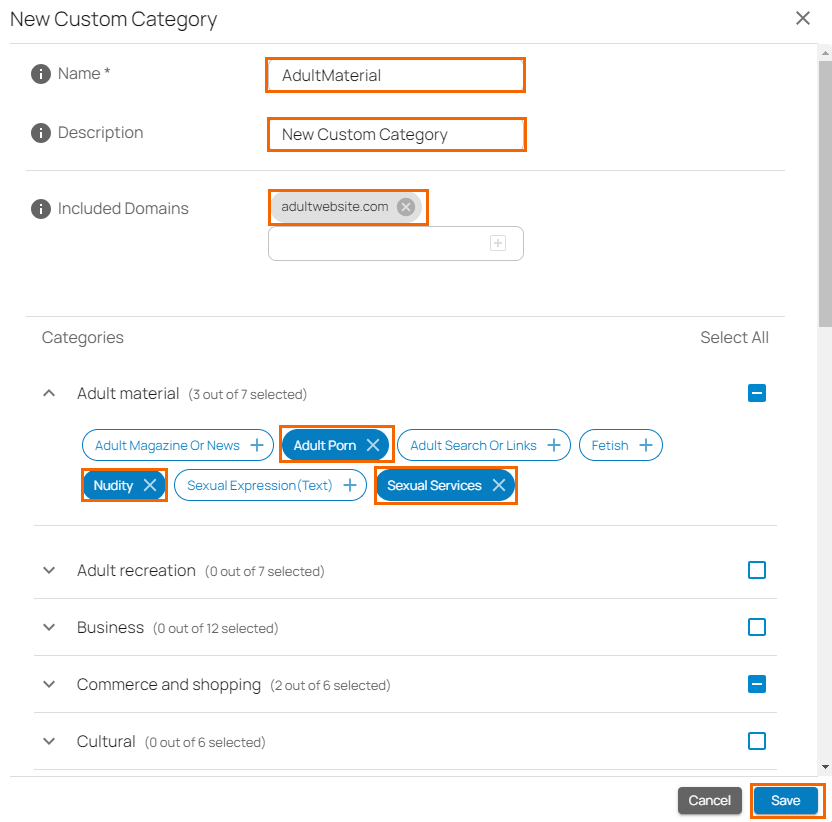
- Scroll down to add more categories and click Save.
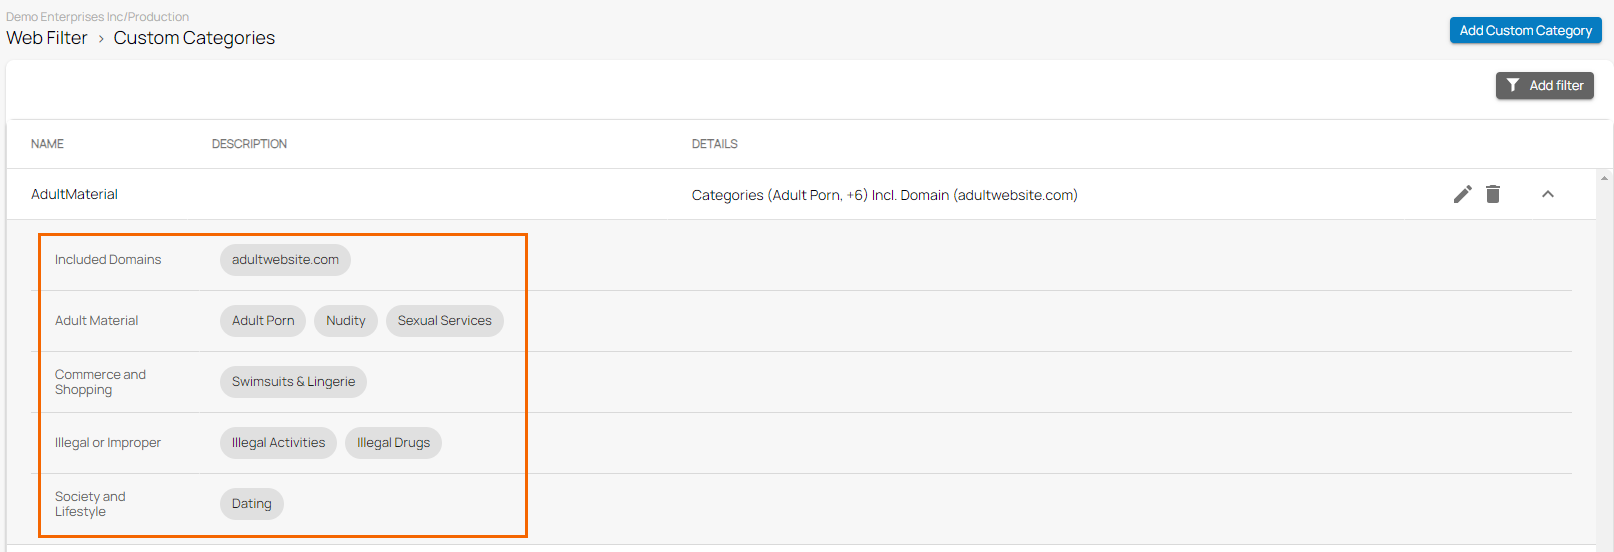
After the configuration is complete, you will see, when selecting a workspace, that a new custom category has been created on the Custom Categories page with all your selected categories and included domains. For example, in this case, expand AdultMaterial and verify your categories and sub-categories.
Edit an Existing Custom Category
- Go to https://se.barracudanetworks.com and log in with your existing Barracuda Cloud Control account.
- In the left menu, click the Tenants/Workspaces icon and select the workspace you want to edit custom categories for.
- Go to Security Policy.
- Expand the Web Filter menu on the left and select Custom Categories.
- The Custom Categories page opens. Click on the pencil icon next to the custom category you want to edit.

- The Edit Custom Categories window opens. Edit the value you are interested in.
Click Save.
Remove an Existing Custom Category
- Go to https://se.barracudanetworks.com and log in with your existing Barracuda Cloud Control account.
- In the left menu, click the Tenants/Workspaces icon and select the workspace you want to remove custom categories for.
- In the left menu, click the Security Policy.
- Expand the Web Filter menu on the left and select Custom Categories.
The Custom Categories window opens. Click on the trash can icon next to the rule you want to remove.

- The Delete < Name-Custom-Category> window opens.

Click OK to confirm.
Filtering Features
You can add filters to view specific content on the page. Click Add Filter in the top-right corner of a page, and select the criteria you wish to search for.
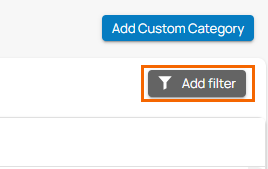
To reset the filter, click Clear Filters.