

The Barracuda SecureEdge Manager allows administrators to create and customize their own SecureEdge Zero Trust Access dashboards in order to simplify the management of traffic information and details for connected users, resources, and custom applications. The Zero Trust Access dashboard organizes information into ZTNA elements. You can move and modify each ZTNA element, called a widget/card, according to your requirements. And you can also create, modify, and, if necessary, delete your own customized dashboards.
Creating and Customizing Dashboards
Go to https://se.barracudanetworks.com and log in with your existing Barracuda Cloud Control account.
- In the left menu, click the Tenants/Workspaces icon and select the workspace you want to add a dashboard for.
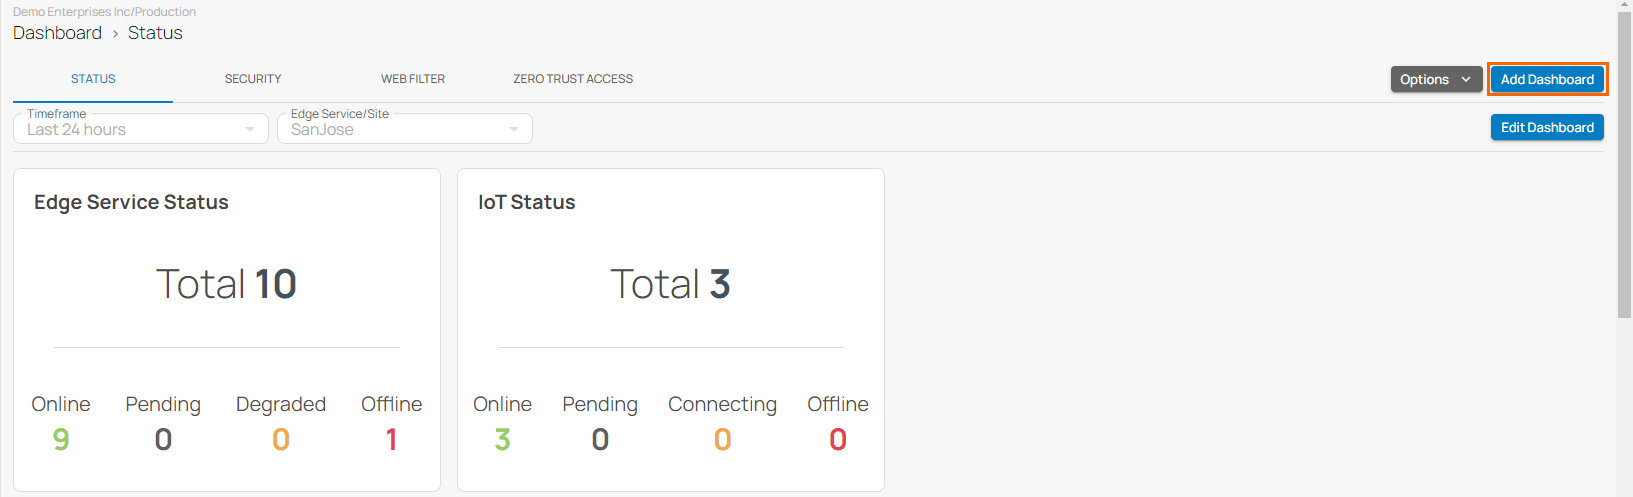
- In the left menu, click the Dashboard icon. The Status dashboard page opens.
- In the top-right corner of the window, click Add Dashboard.
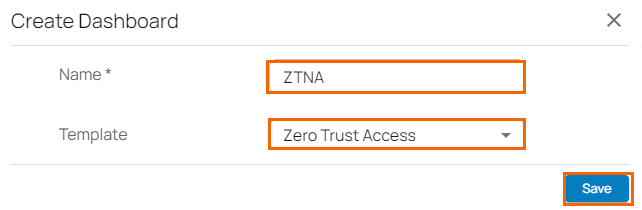
- The Create Dashboard window opens. Specify values for the following:
- Name – Enter the unique name for your dashboard. For example, in this case: ZTNA.
- Template – Select the template from the drop-down list. You can choose between Status, Security, Web Filter, Zero Trust Access, and Empty.
- If you select Zero Trust Access from the drop-down menu, continue as follows:
- The pre-defined Zero Trust Access template appears on the dashboard. Click Edit Dashboard to change the ZTNA dashboard appearance. You can now move (drag-and-drop), modify, and save each element as needed.
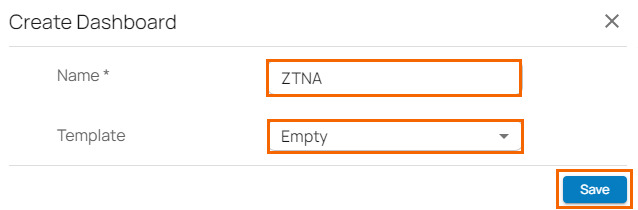
- If you want to start from scratch, select the Empty template.
- If you select Zero Trust Access from the drop-down menu, continue as follows:
- Click Save.
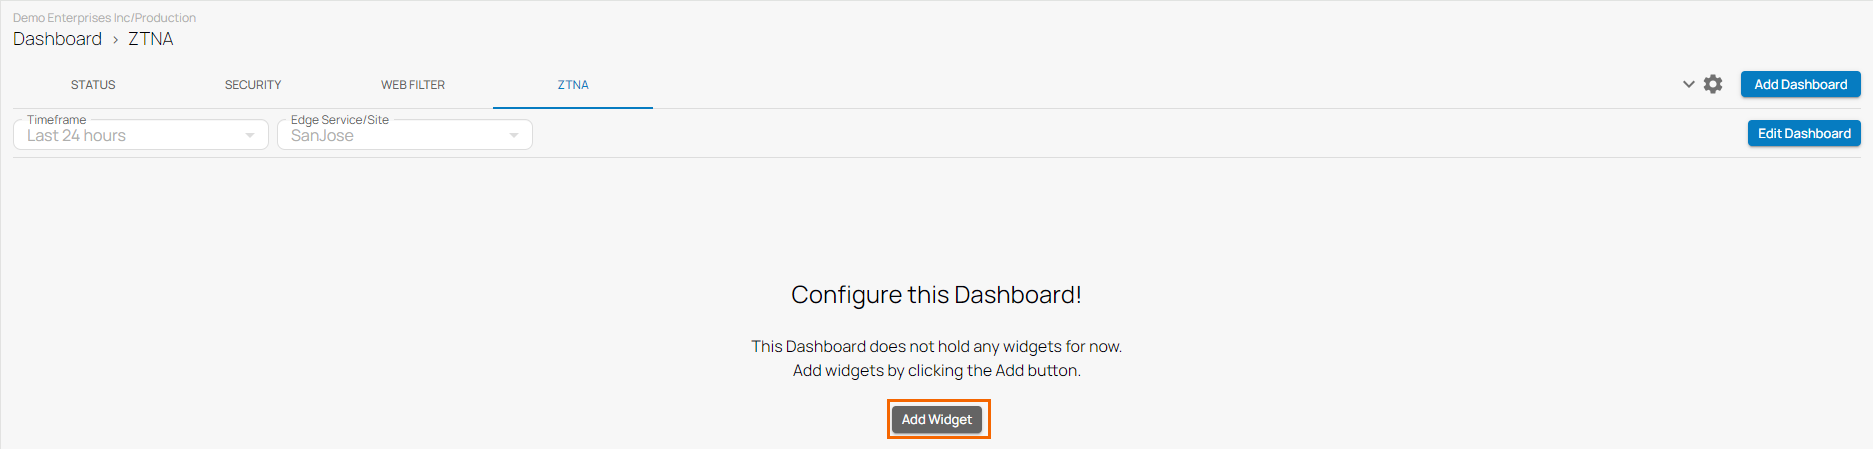
- The ZTNA page opens. Click Add Widget.
- The Add Widget window opens. Specify values for the following:
- Widget – Select the widget type from the drop-down menu. For example, in this case: Resources.
- Size – Select the widget size. You can choose between Small, Medium, and Large.
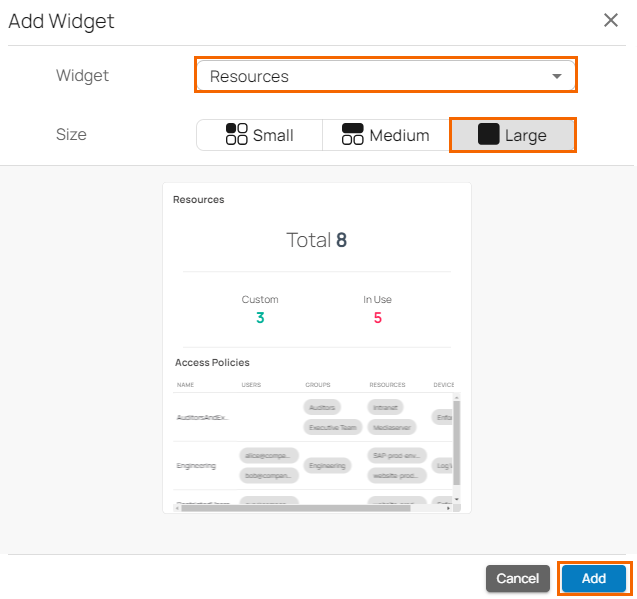
- Click Add.
- To add more widgets, click Click to add widget!
- Click Done.
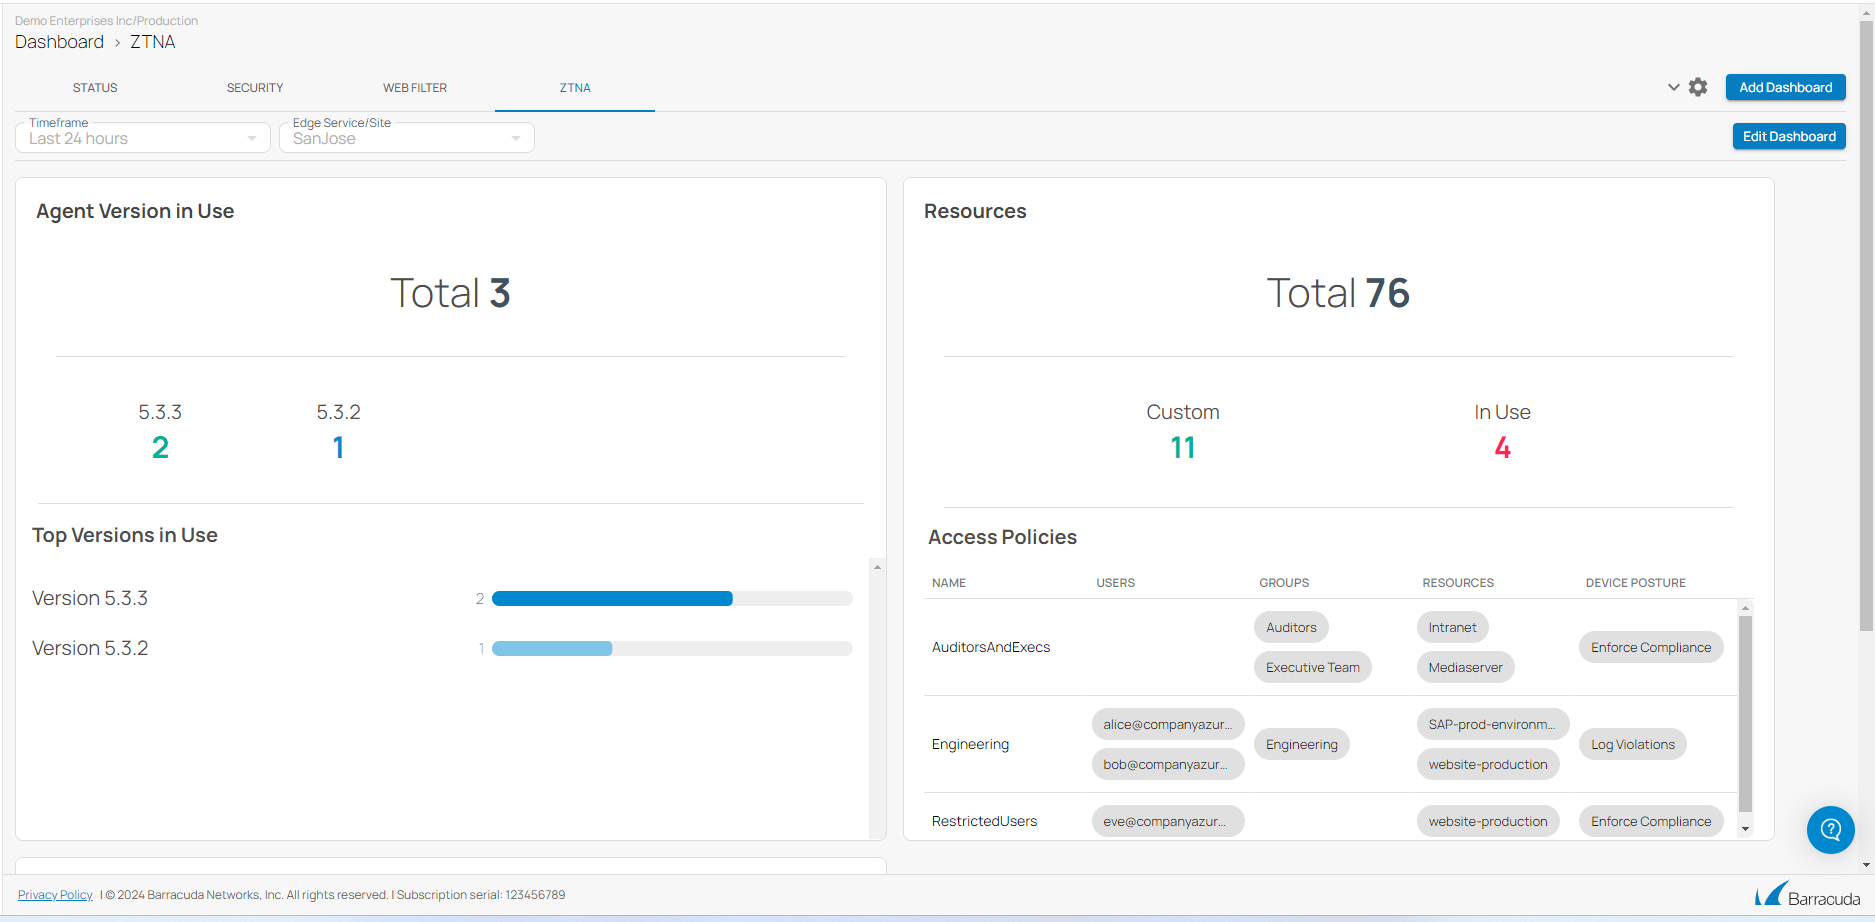
- After the configuration is saved, the new dashboard is created and is now listed on the main Dashboard page. It can be accessed and customized by the responsible administrator. You can see the status of all added widgets/cards.
Edit a Dashboard
Go to https://se.barracudanetworks.com and log in with your existing Barracuda Cloud Control account.
- In the left menu, click the Tenants/Workspaces icon and select the workspace you want to edit a dashboard for.
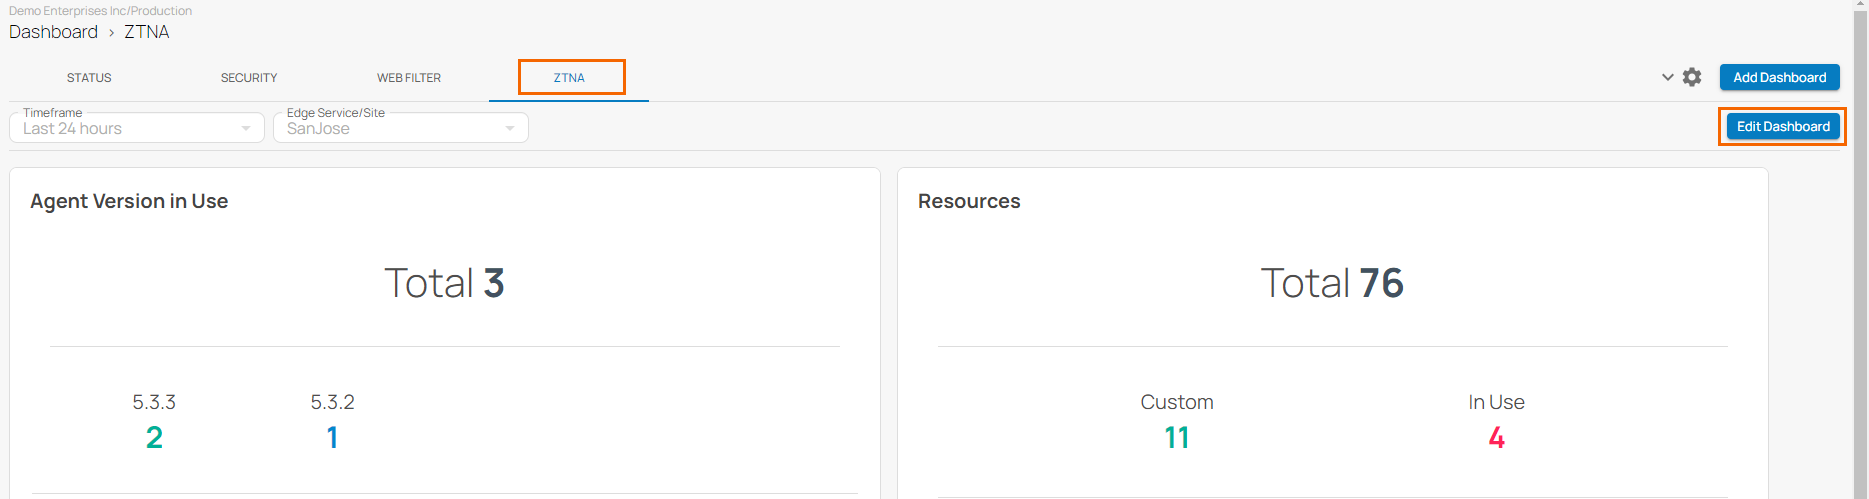
- Click the dashboard icon on the left and select the dashboard you want to edit. For example, in this case, select ZTNA.
- The ZTNA dashboard opens. Click Edit Dashboard.
- The Edit window for ZTNA opens. You can perform the following:
- Move your widget or drag-and-drop the widget to a desired location.
- You can edit the widget by clicking the pencil icon next to the widget you want to edit.
- To remove an element from the dashboard, click the delete icon (X) at the top right of the element.
- To add a new widget, click Add Widget.
- Click Save.
- Click Done to save your settings.
Rename a Dashboard
Go to https://se.barracudanetworks.com and log in with your existing Barracuda Cloud Control account.
- In the left menu, click the Tenants/Workspaces icon and select the workspace you want to rename a dashboard for.
- Click the dashboard icon on the left and select the dashboard you want to rename. For example, in this case, select ZTNA.
- The ZTNA dashboard opens. In the top-right corner, expand the cogwheel icon, and select Rename Dashboard.

- The Rename Dashboard window opens. Specify values for the following:
- Name – Enter the new name for your dashboard.

- Name – Enter the new name for your dashboard.
- Click Save.
Delete a Dashboard
Go to https://se.barracudanetworks.com and log in with your existing Barracuda Cloud Control account.
- In the left menu, click the Tenants/Workspaces icon and select the workspace you want to remove a dashboard for.
- Click the dashboard icon on the left and select the dashboard you want to remove. For example, in this case, select ZTNA.
- The ZTNA dashboard opens. In the top-right corner, expand the cogwheel icon, and select Delete Dashboard.

- The Delete Dashboard window opens.
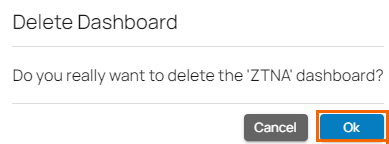
- Click OK to confirm.
Reset a Dashboard
Go to https://se.barracudanetworks.com and log in with your existing Barracuda Cloud Control account.
- In the left menu, click the Tenants/Workspaces icon and select the workspace you want to reset a dashboard for.
- Click the dashboard icon on the left and select the dashboard you want to reset. For example, in this case, select ZTNA.
- The ZTNA dashboard opens. In the top-right corner, expand the cogwheel icon, and select Reset Dashboard.

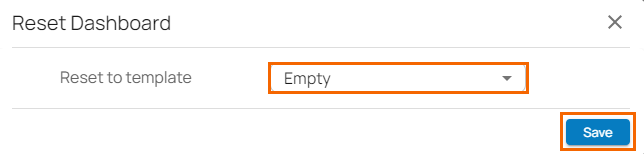
- The Reset Dashboard window opens. Specify a value for the following:
- Reset to Template – Select the template from the drop-down list. You can choose between Status, Security, Web Filter, Access, and Empty.
- Reset to Template – Select the template from the drop-down list. You can choose between Status, Security, Web Filter, Access, and Empty.
- Click Save and reconfigure your selected dashboard.