

In your Windows Server, if Server Manager does not have AD CS installed, follow the steps below to install it before exporting a certificate for LDAPS.
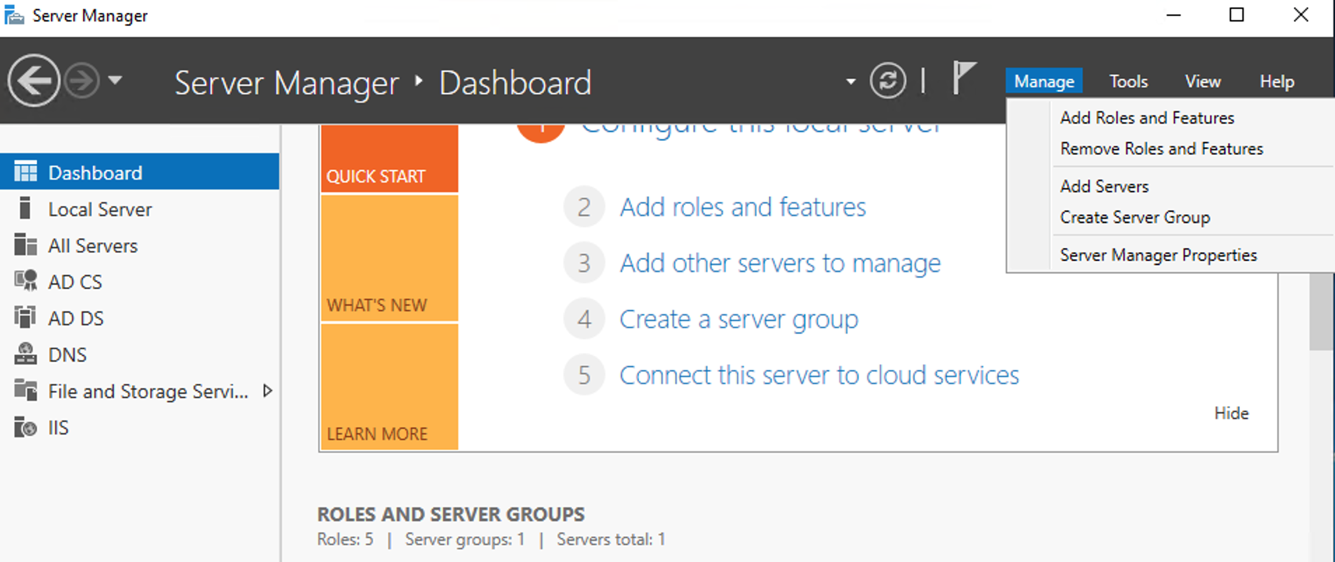
- In Server Manager, click Manage, and then click Add Roles and Features. The Add Roles and Features Wizard opens. In Before You Begin, click Next.
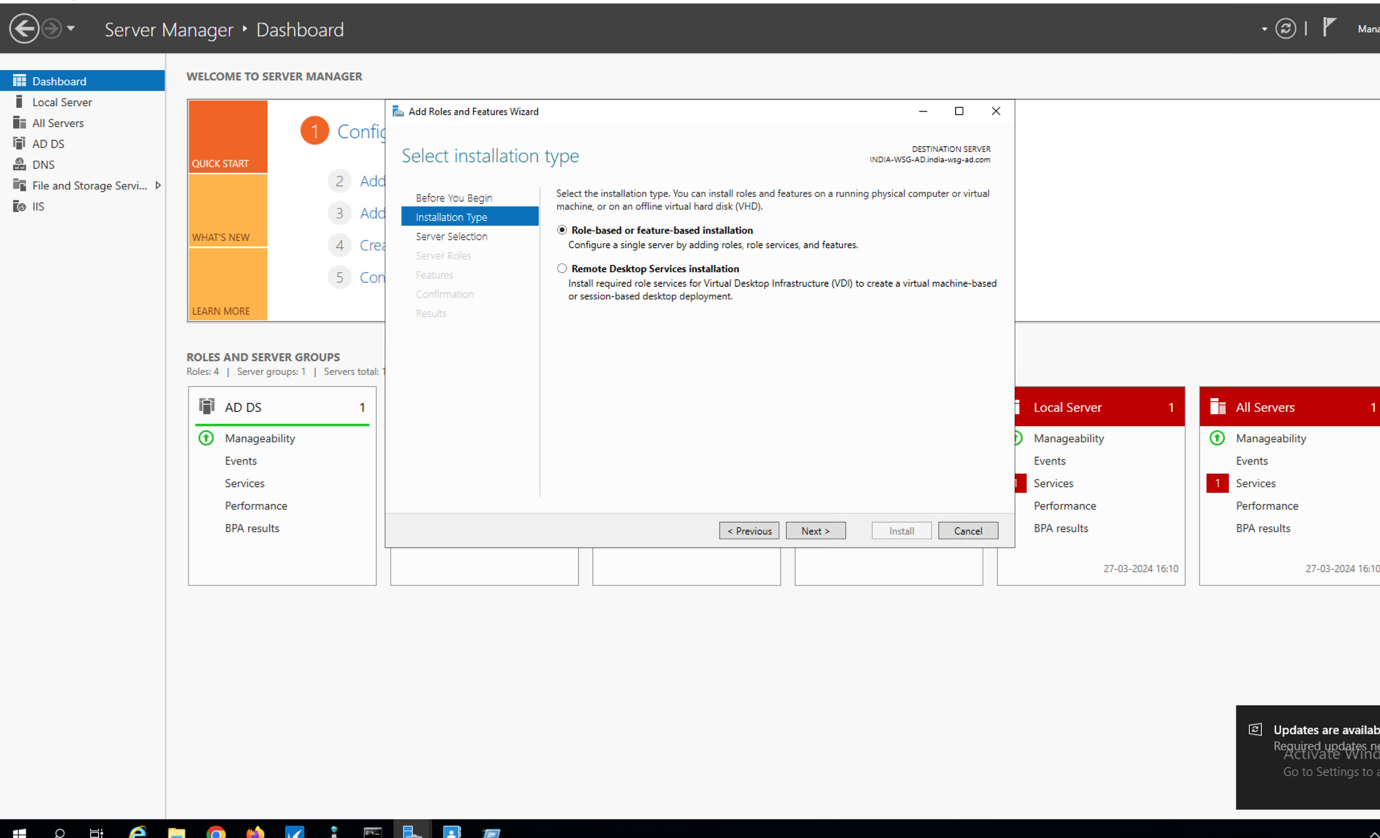
In Select Installation Type, ensure that Role-Based or feature-based installation is selected, and then click Next.
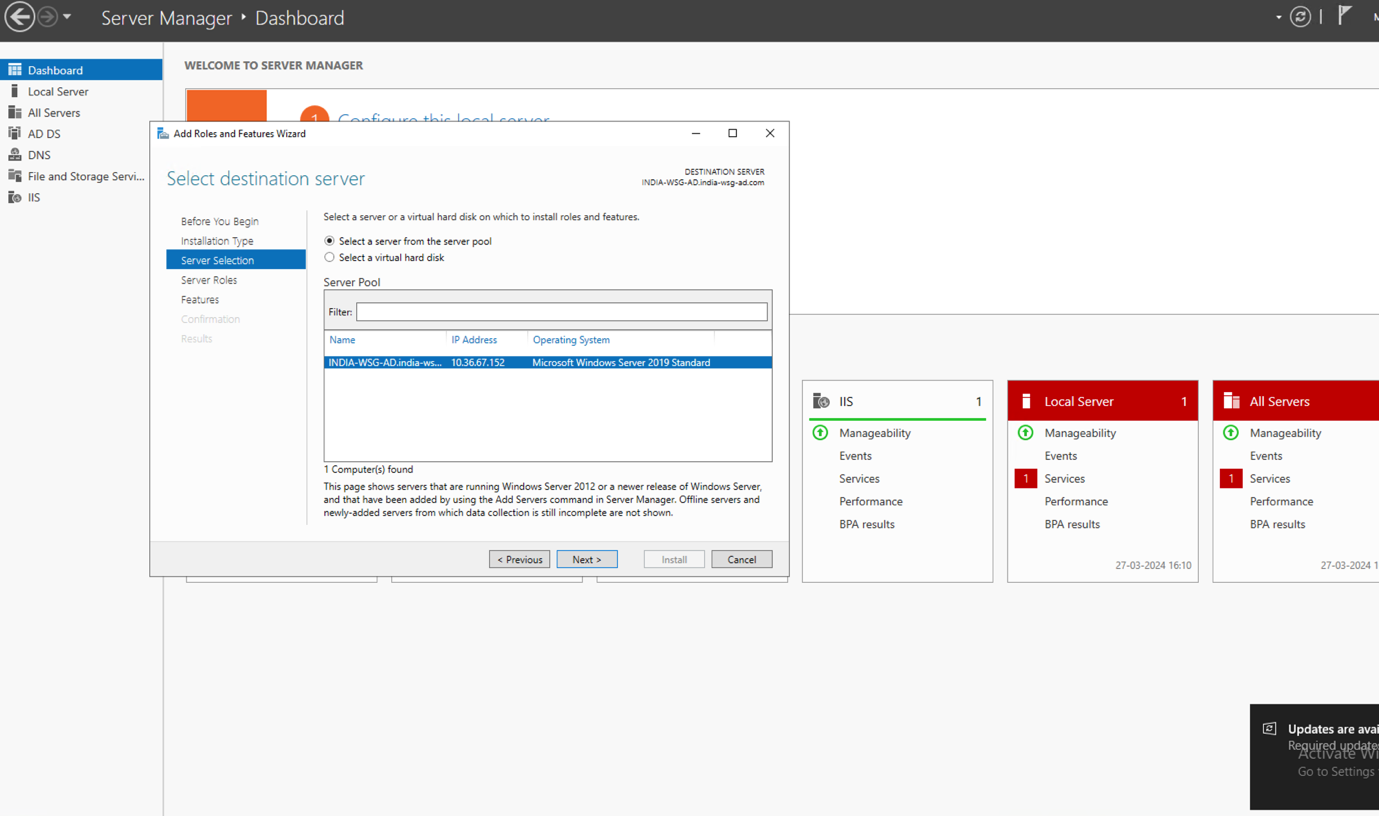
In Select destination server, ensure that Select a server from the server pool is selected. In Server Pool, ensure that the local computer is selected. Click Next.
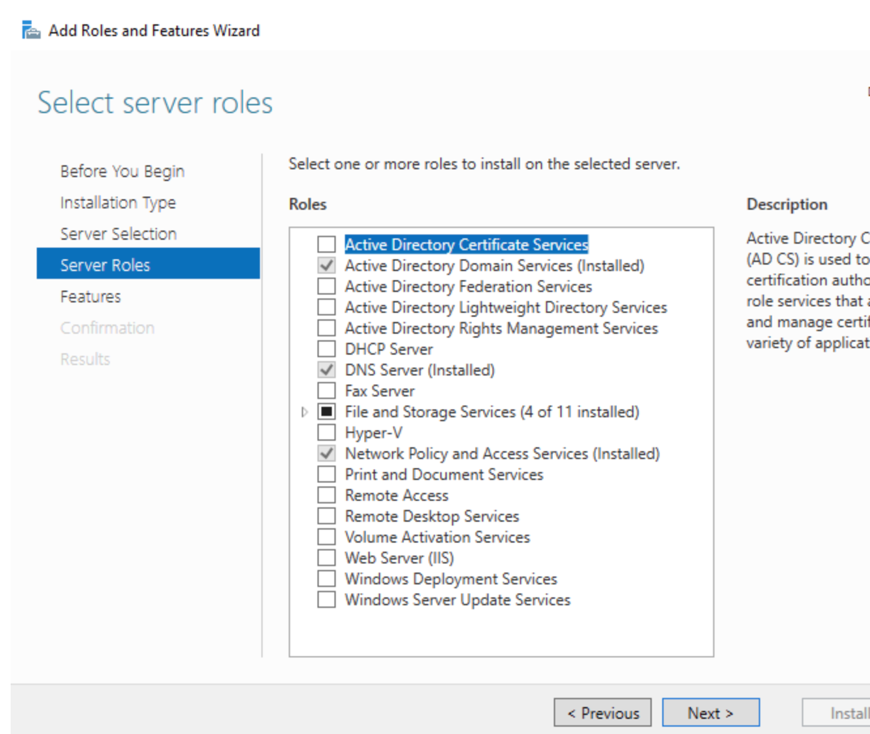
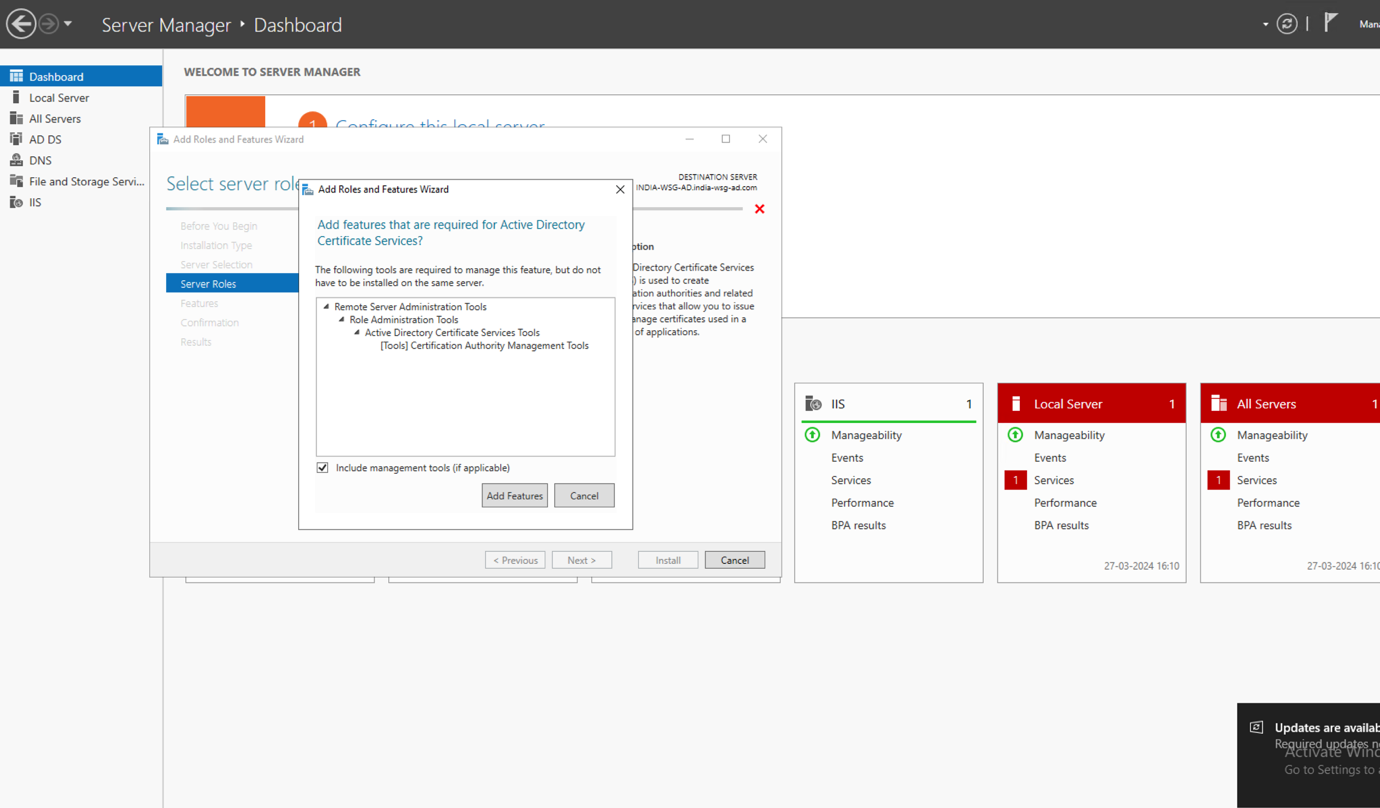
In Select Server Roles, in Roles, select Active Directory Certificate Services. When you are prompted to add required features, click Add Features, and then click Next.
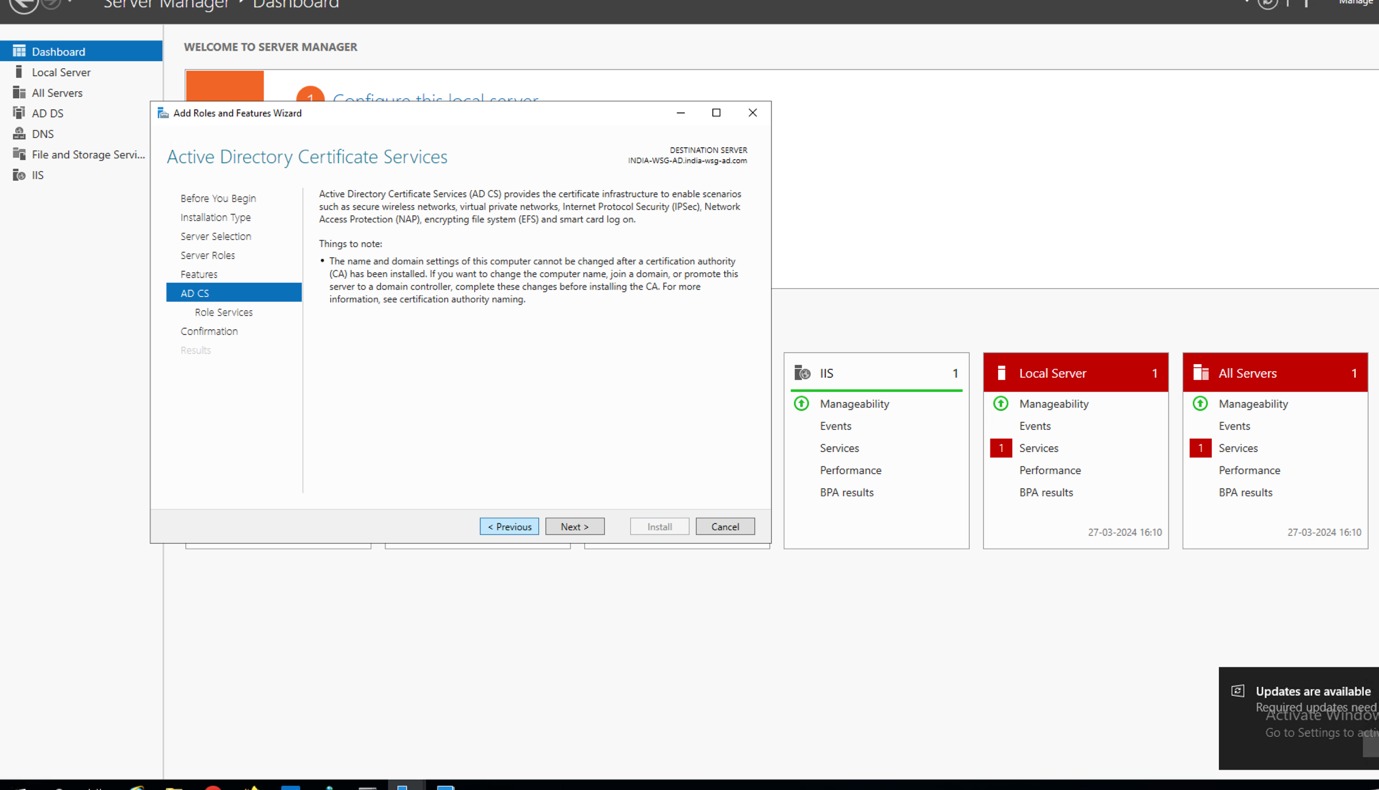
Select features, then click Next. In Active Directory Certificate Services, read the provided information, and then click Next.
In Confirm installation selections, click Install. Do not close the wizard during the installation process.
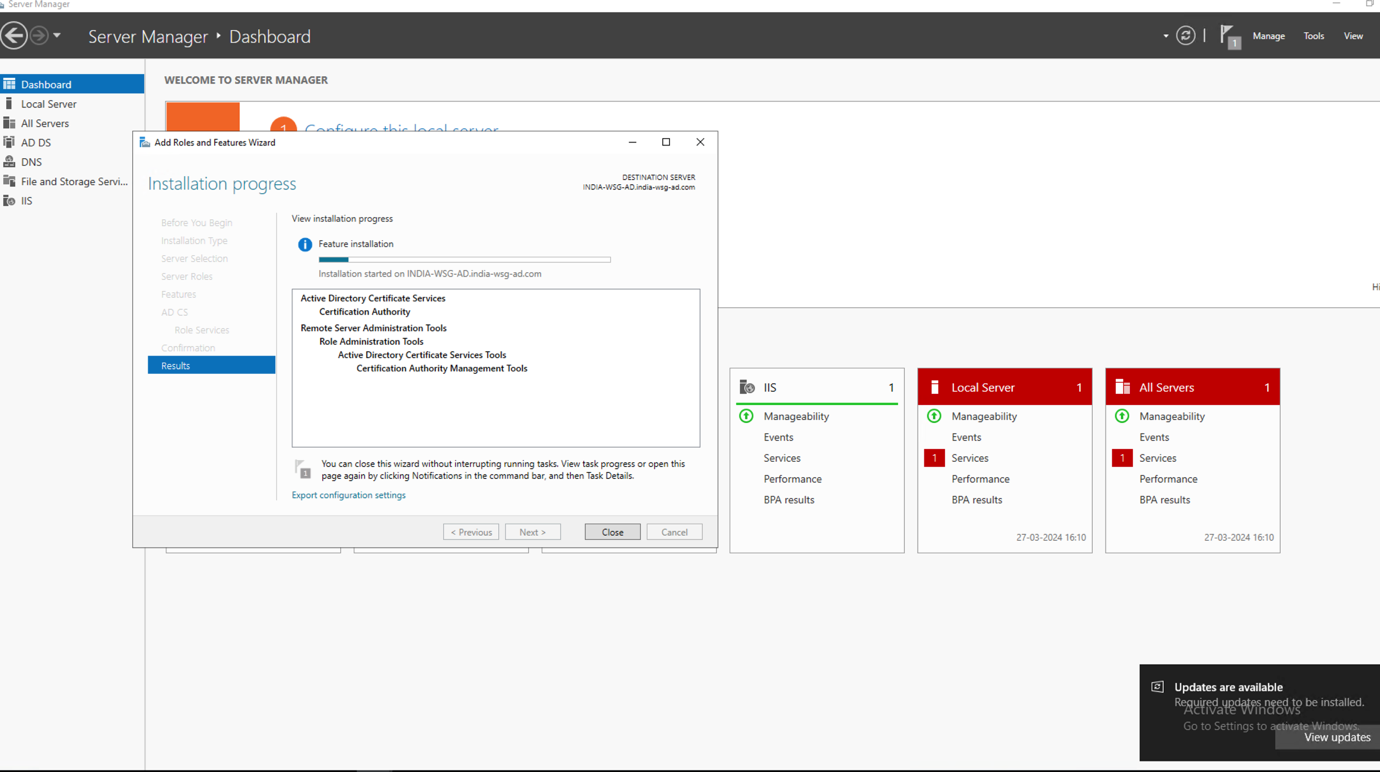

When installation is complete, click Configure Active Directory Certificate Services on the destination server. The AD CS Configuration wizard opens. Read the credentials information and, if needed, provide the credentials for an account that is a member of the Enterprise Admins group. Click Next.
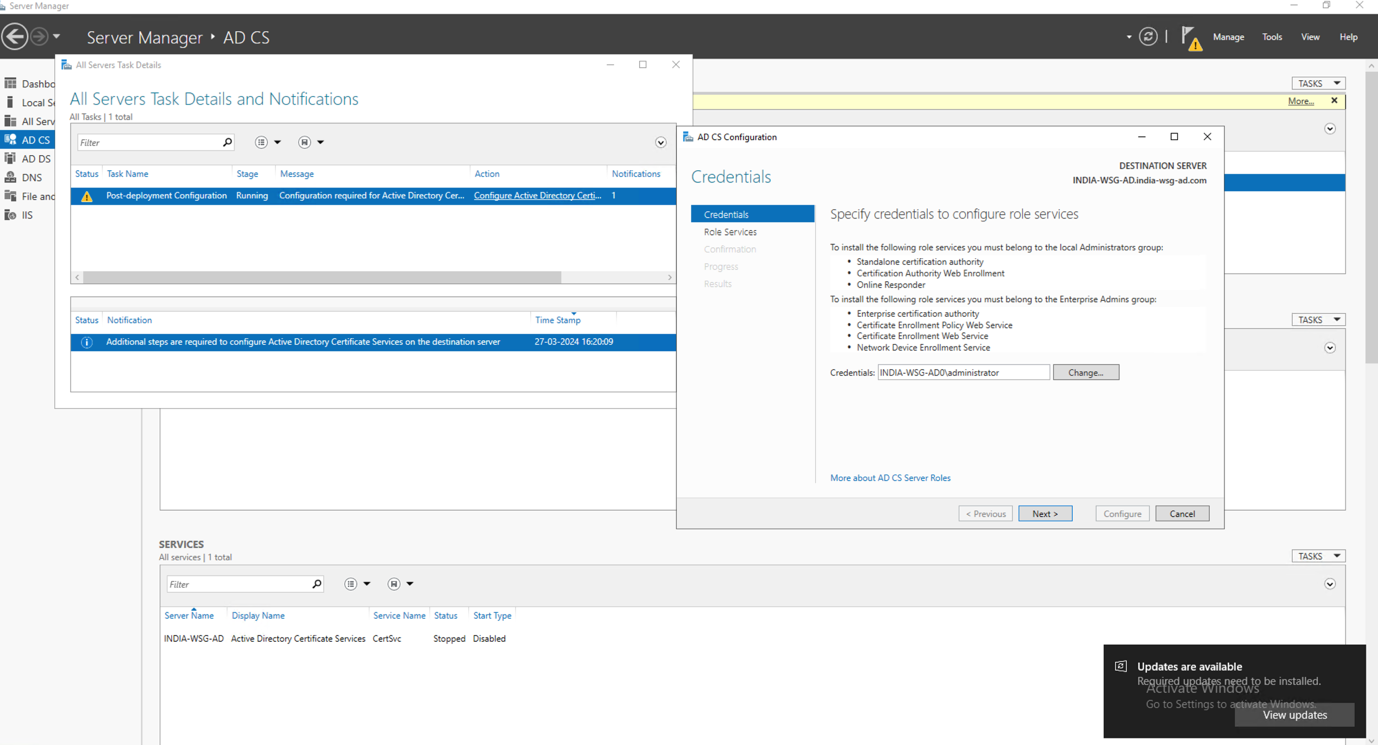
In Role Services, click Certification Authority, and then click Next. On the Setup Type page, verify that Enterprise CA is selected, and then click Next.

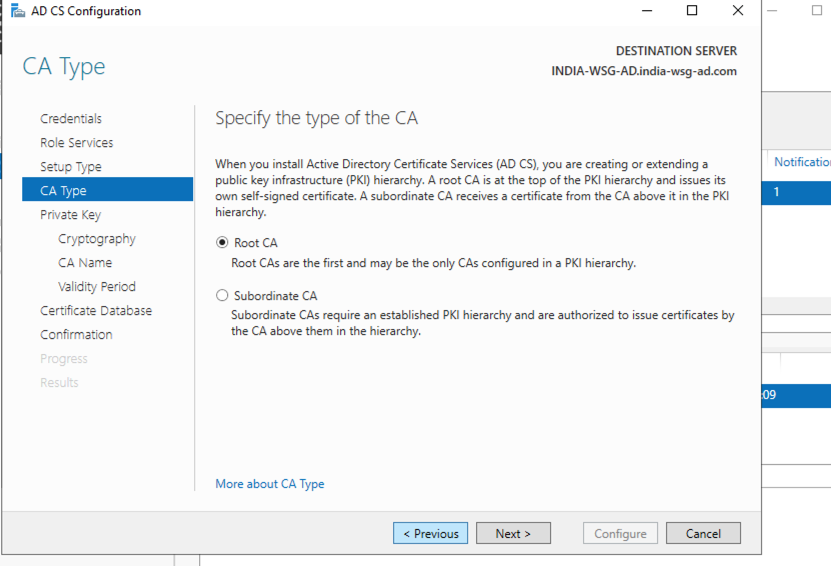
On the Specify the type of the CA page, verify that Root CA is selected, and then click Next.
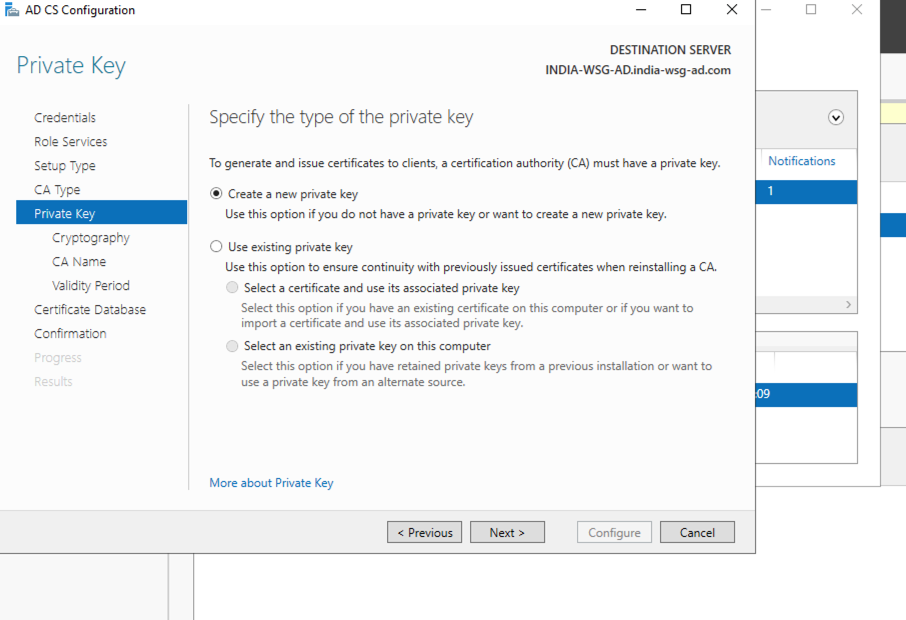
On the Specify the type of the private key page, verify that Create a new private key is selected, and then click Next.
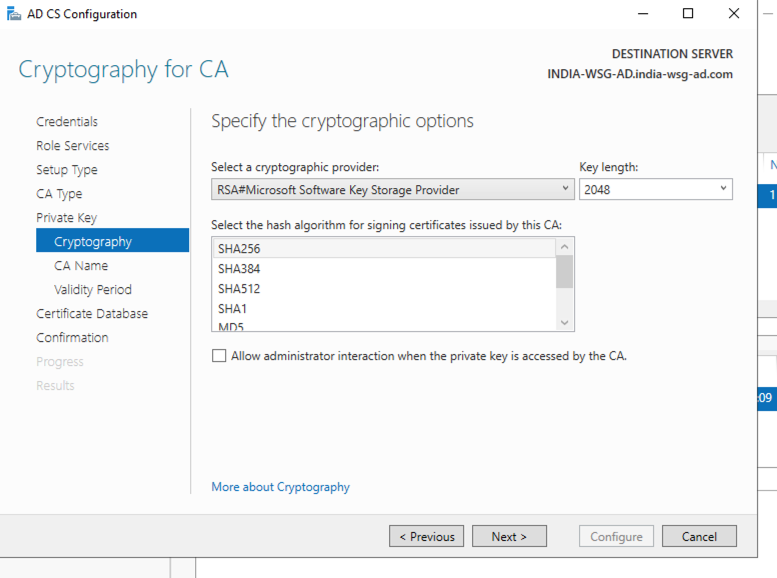
On the Cryptography for CA page, keep the default settings.
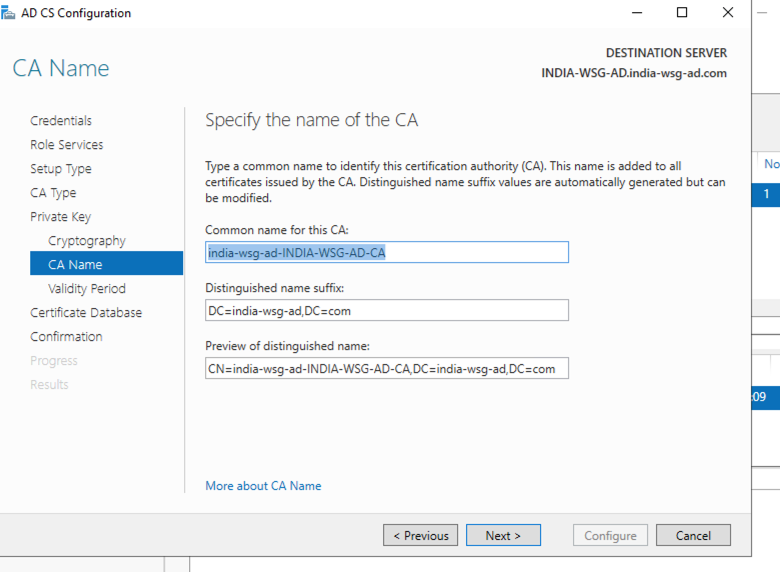
On the CA Name page, keep the suggested common name for the CA.
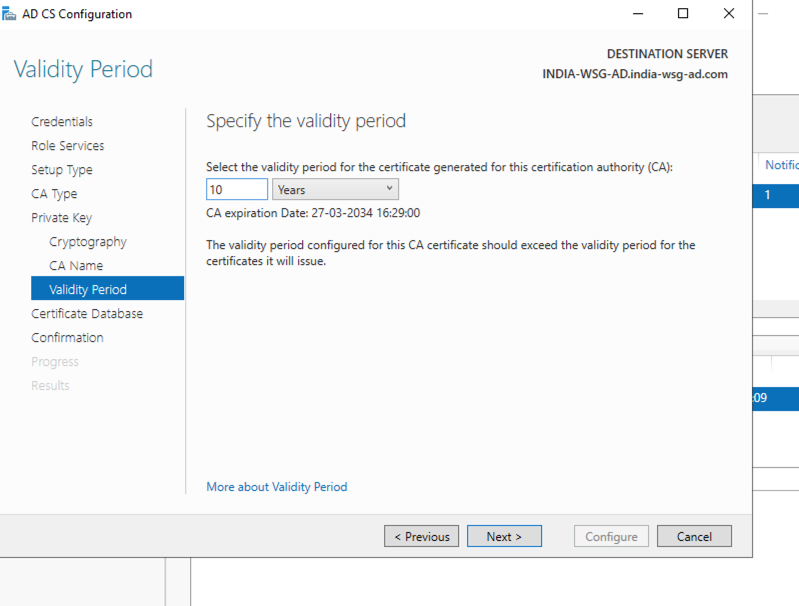
On Validity Page, select the required validity and click Next.
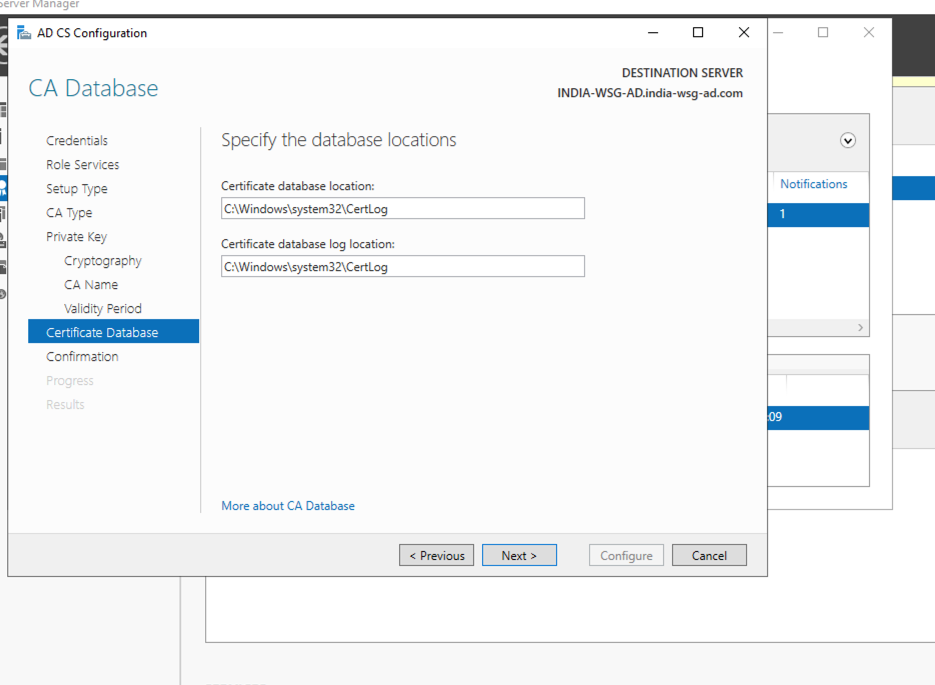
On the CA Database page, in Specify the database locations, specify the folder location for the certificate database and the certificate database log. If you specify locations other than the default locations, ensure that the folders are secured with access control lists (ACLs) that prevent unauthorized users or computers from accessing the CA database and log files. Click Next.
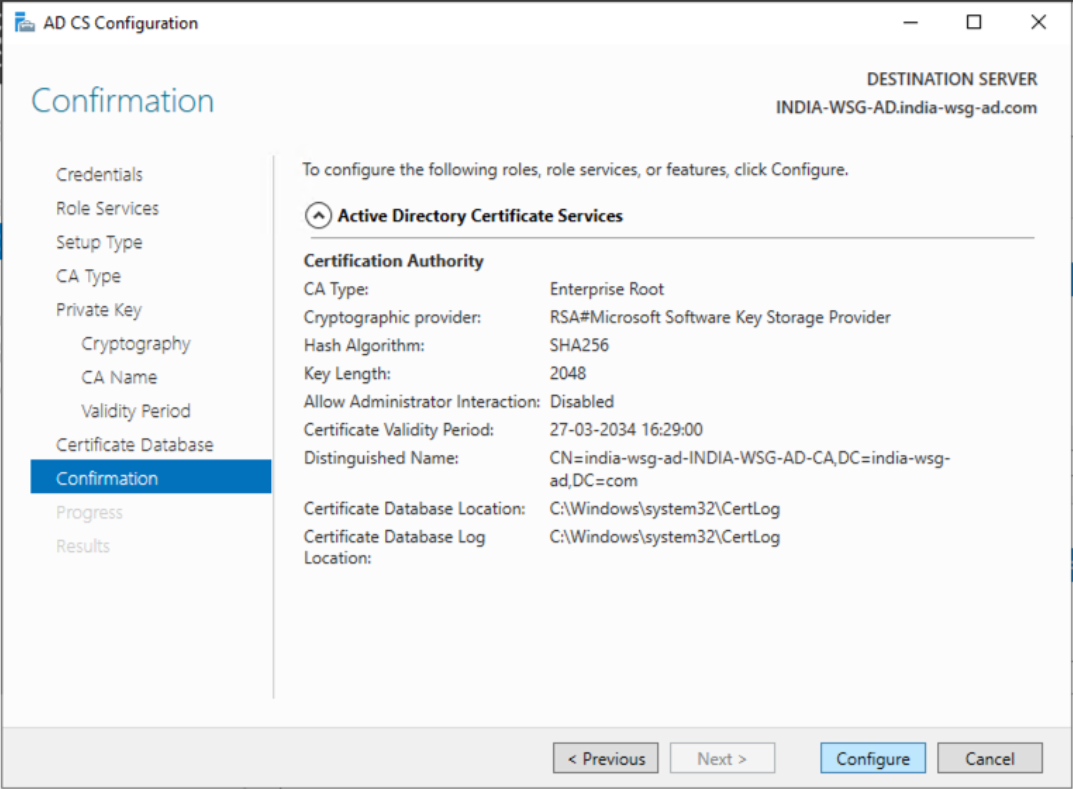
Finally, click Configure in the confirmation page and click Close. AD CS is successfully installed.
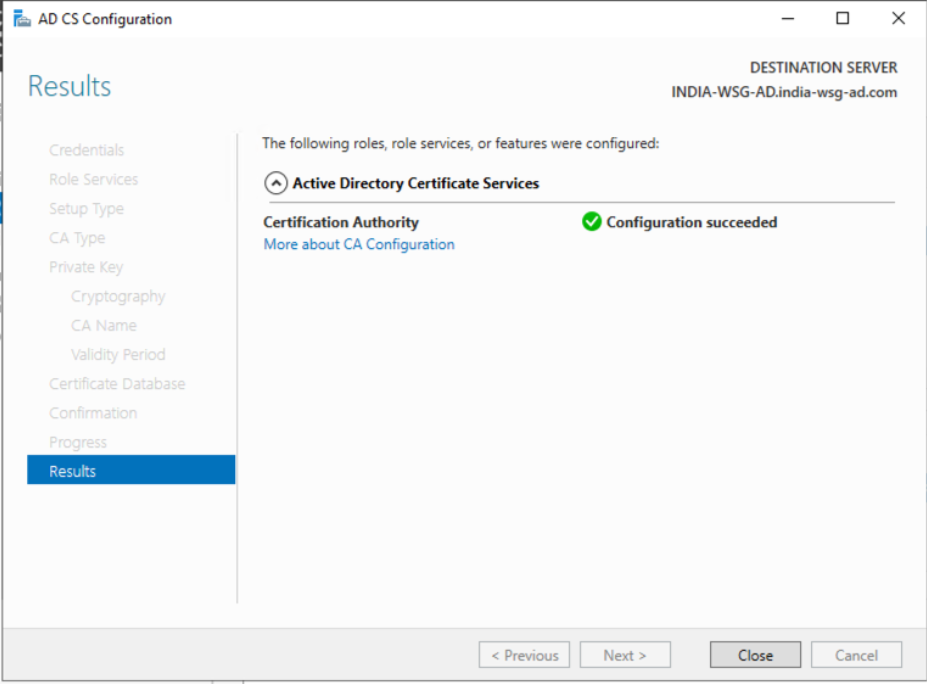
Once AD CS is installed, follow the steps to Export a Root Certificate from Windows Server.