Install the Barracuda Network Access Client for Windows. This setup contains the Barracuda VPN Client, the Barracuda Personal Firewall, and the Barracuda Health Agent. Installation requires local administrator rights.
Requirements
License – (depending on authentication type):
Barracuda personal license
X.509 certificate
Before You Begin
Before You Begin
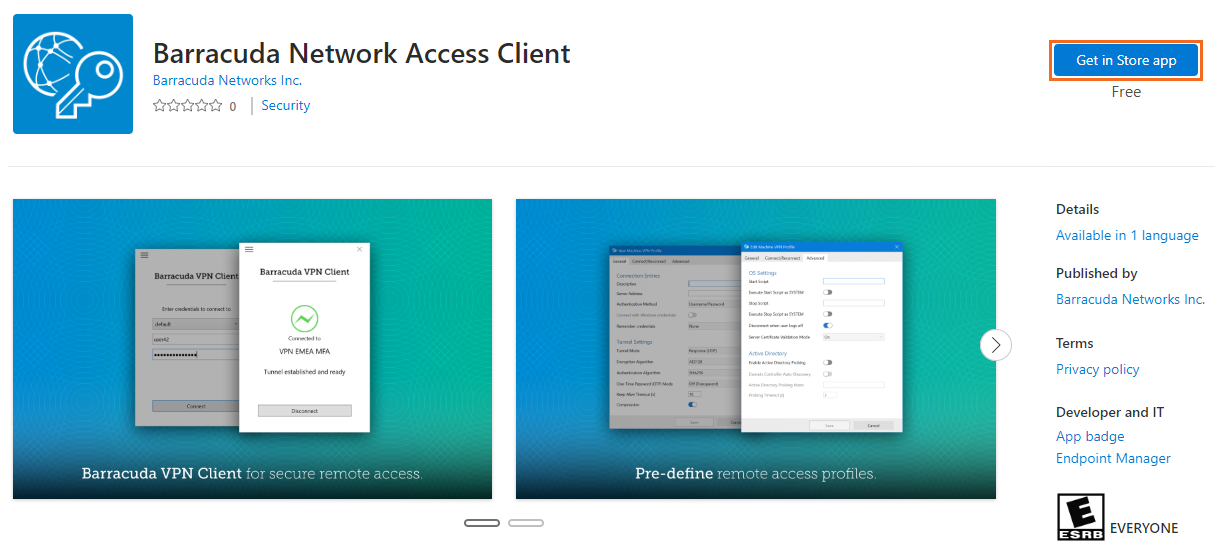
Download the Barracuda Network Access/VPN Client for Windows from the Microsoft App Store or from the Barracuda Download Portal.

Install the Barracuda Network Access Client
Install the Barracuda Network Access Client on a dedicated Windows workstation.
Double-click the setup.exe file for the Barracuda Network Access Client. The InstallShield Wizard then starts to prepare the installation files.
After the installation files are prepared, the InstallShield Wizard starts the setup process. When a pop-up window opens and advises you to close all running programs, close the programs.
Click Next to continue.
Accept the License Agreement, and click Next.
Select Barracuda VPN Client + Personal Firewall + Health Monitoring to initiate a complete installation.
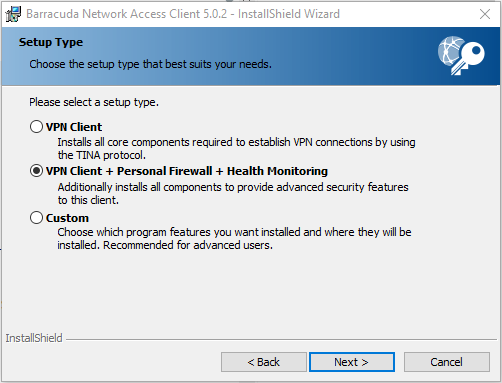
Click Next.
Enter a Master Password for the Barracuda Network Access Client. If configured, it is required to shut down the NAC Client and make certain configuration changes. (You can also choose to install the application for anyone who uses this computer.)
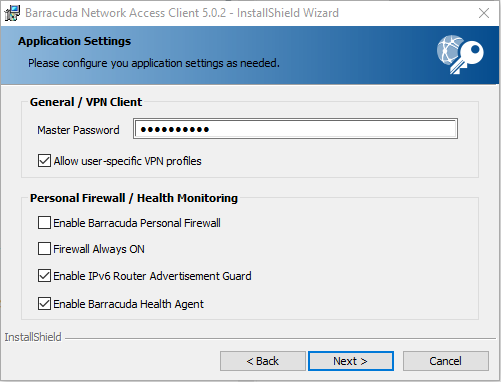
Click Next, and install the Barracuda Network Access Client.
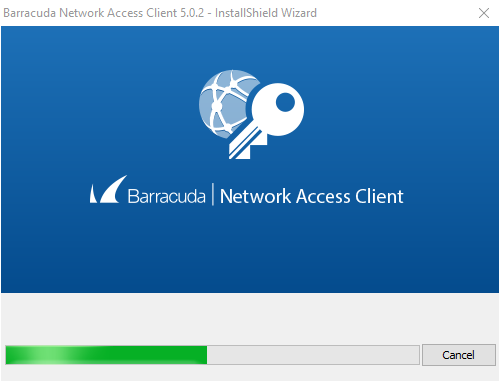
Wait until the progress bar reaches 100%, indicating that the installation is complete. During this subprocess, the system's network connectivity will drop out for a few moments. When a pop-up window opens and advises you to restart your computer, click Yes.
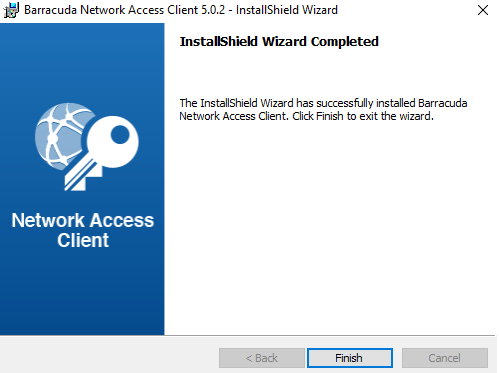
The wizard tells you when the installation has been completed.
Click Finish.
You can now start the VPN Client, connect, and configure the settings. Continue with Getting Started.
