Before using the Auxiliary (AUX) port on the Barracuda Web Security Gateway, be aware of these restrictions to prevent routing loops:
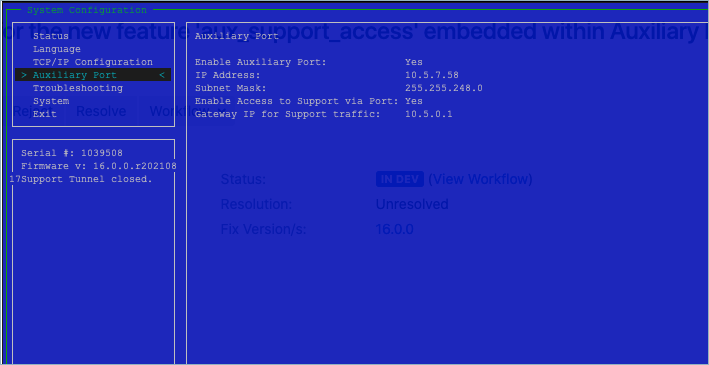
To enable Auxiliary (AUX) port access using the Barracuda Web Security Gateway administrative console:
Connect a monitor and keyboard to the back of the Barracuda Web Security Gateway.
To access the administrative console, cycle the power (the power button is located on the front of the Barracuda Web Security Gateway). The login prompt for the administrative console displays on the monitor and the power light on the front of the Barracuda Web Security Gateway turns on.
Enter admin as the Username. Enter <numeric portion of the serial# of the appliance> as the Password.
On the console, for Auxiliary Port, set Enable Auxiliary Port to Yes.
Configure the IP address and other fields as necessary. Please review the notes in the blue information bubble above to prevent routing loops.

Save your changes and reboot the appliance.
