To configuring the new ConnectWise Manage security role perform the following steps.
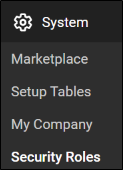
From the ConnectWise navigation menu, click System, select Security Roles.

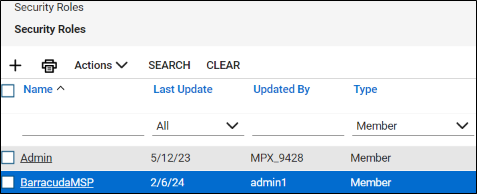
The Security Roles page is displayed.

Click the plus
 sign.
sign.
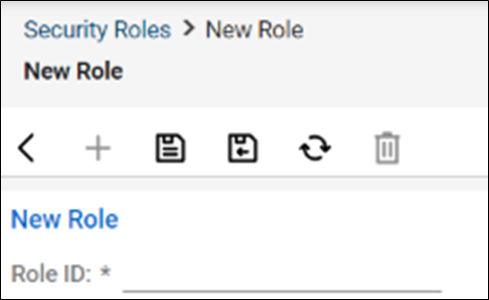
The New Role ID field is displayed.
At the Role ID field, type the role ID (for example, BarracudaMSP).
Click Save.
The new Role ID is displayed, as show in the example below.

Select the newly created Security Role (for example, BarracudaMSP}.
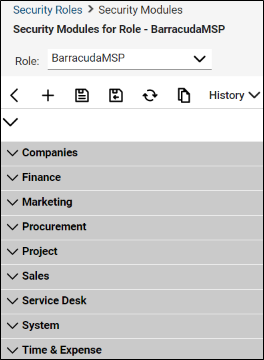
The Security Modules list for role is displayed.

Click the Security Module to expand and update the levels, as shown in the following tables.
Note: Any level not displayed below retains default status (The default is None).
Companies Module | Add Level | Edit Level | Delete Level | Inquire Level |
Company Maintenance | None | All | None | All |
Company/Contact Group Maintenance | None | All | None | All |
Configuration – Display Passwords | None | None | None | All |
Configurations | All | All | None | All |
Contacts | None | None | None | All |
CRM/Sales Activities | None | All | None | All |
Management | None | None | None | All |
Finance Module | Add Level | Edit Level | Delete Level | Inquire Level |
Accounting Interface | All | All | None | All |
Agreement Invoicing | All | All | None | All |
Agreement Sales | All | All | None | All |
Agreements | All | All | None | All |
Billing Rate Maintenance | All | All | None | All |
Billing View Time | All | All | None | All |
Company Finance | None | None | None | All |
Financial Dashboard | All | All | None | All |
Invoice Approval | All | All | None | All |
Invoicing | All | All | None | All |
Reports | All | All | None | All |
Project Module | Add Level | Edit Level | Delete Level | Inquire Level |
Close Project Tickets | None | All | None | All |
Project Headers | None | All | None | All |
Project Phase | None | None | None | All |
Project Scheduling | All | All | All | All |
Project Teams | None | None | None | All |
Project Tickets | None | All | None | All |
Sales Module | Add Level | Edit Level | Delete Level | Inquire Level |
Closed Opportunity | None | All | None | All |
Opportunity | None | All | None | All |
Service Desk Module | Add Level | Edit Level | Delete Level | Inquire Level |
Close Service Tickets | None | All | None | All |
Resource Scheduling | All | All | All | All |
Service Tickets - Dependencies | All | None | None | All |
Service Tickets | All | All | None | All |
System Module | Add Level | Edit Level | Delete Level | Inquire Level |
API Reports | All | All | None | All |
Member Maintenance | None | None | None | All |
My Company | None | None | None | All |
System Reports | None | None | None | All |
Table Setup | All | None | None | All |
Time & Expense | Add Level | Edit Level | Delete Level | Inquire Level |
Expense Approvals | All | None | None | All |
Expense Billable Option | All | All | None | All |
Reports | All | All | None | All |
Time Entry | All | All | None | All |
Click Save.
Go to Task 2. Creating the New ConnectWise Manage API Member.
