To evaluate Barracuda SecureEdge for free, Barracuda Networks offers a trial subscription with quick and easy configuration steps. You can create a free trial subscription for Barracuda SecureEdge and set up a true SASE environment with full features for 30 days. With this subscription, you get a SecureEdge Access trial for 5 seats (users) and a Barracuda (SaaS) Edge Service trial with 50 Mbps of bandwidth. Using the trial subscription, you can easily explore the benefits of Barracuda SecureEdge. Note that the trial subscription is time restricted. You cannot extend your trial subscription. However, you can upgrade your free account subscription.
This article covers how to start a SecureEdge trial, create a SecureEdge Edge Service, and deploy ZTNA quickly and easily using the SecureEdge setup wizard.
Step 1. Start the SecureEdge Trial
To start a SecureEdge trial:
Go to https://www.barracuda.com/products/network-protection/secureedge
Select TRY FREE. You must fill out the form, read and accept the Terms and Conditions, and click START MY TRIAL.

Next, you have the option to schedule a kick-off call for your SecureEdge trial. For this demo, skip this part.
A verification email will be sent to your email address. You must verify your email address by clicking the provided link. However, if you do not receive the email, click on RE-send Verification Email.

Note: If you do not have a Barracuda Cloud Control (BCC) account, you will receive an email, and when you click on the provided link, you will be prompted to create a password for this BCC account. Please open the email and proceed as follows:
Open the email that you have receive from customer service and follow the link provided in the email.

Click on the link provided in the email. You will be prompted to create a password for your Barracuda Cloud Control account. The Create a Password window opens.
New Password – Enter a new password.
Confirm New Password – Re-enter password to confirm your password.

Click Create Password.
Subsequently, you will be redirected to the login page. Log in using the newly created password and click Continue.

After you log in, you will get a welcome message with a brief description about the product. To start your trial, click Create.

The Create Service Subscription window opens. Select the region. You can select either Europe or North America. For example, in this case, select Europe and click Continue.
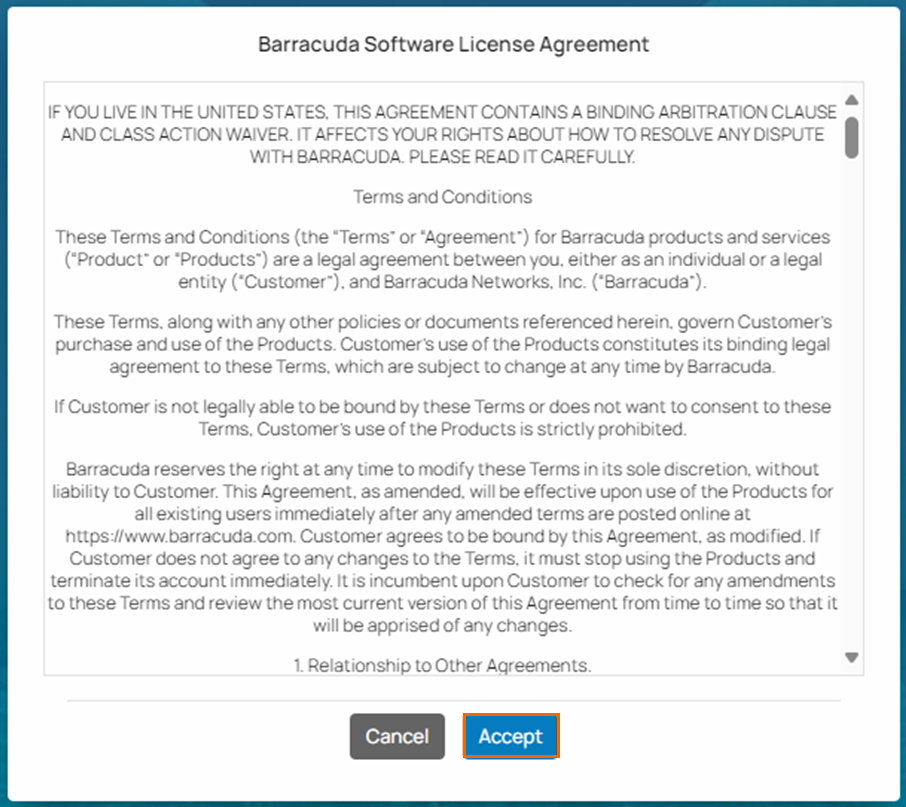
The Software License Agreement page opens. Review the software license agreement and click Accept.
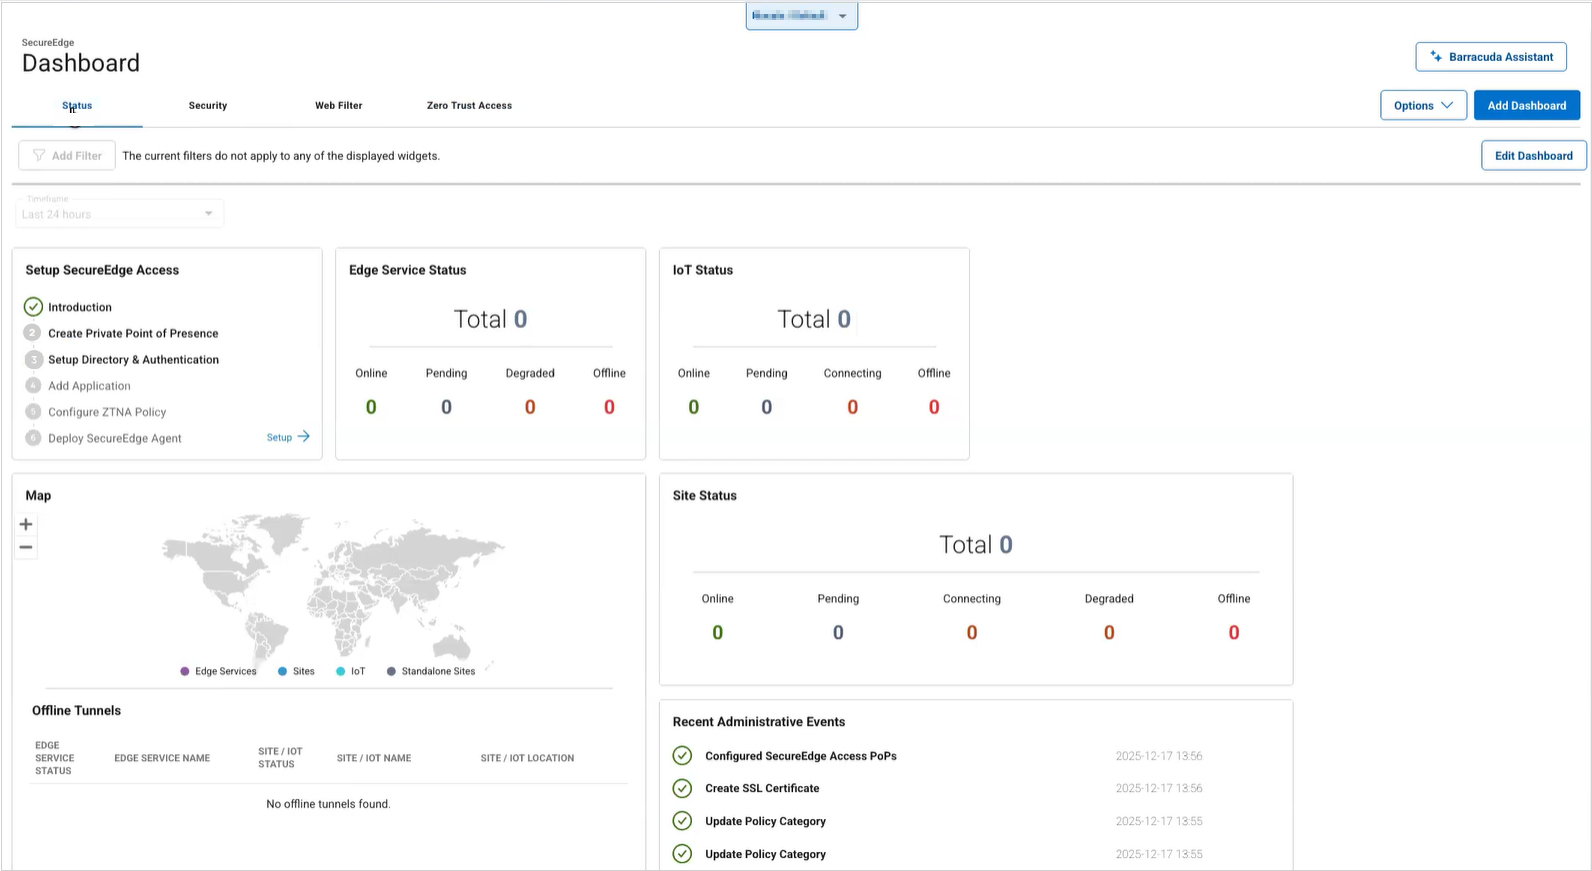
You are directed to the SecureEdge cloud management portal where you can test our SASE solution. The SecureEdge Dashboard page opens. Continue with Step 2.
Step 2. Configure the SecureEdge Access Set Up Wizard
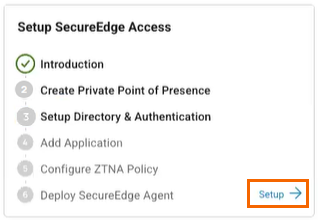
On the upper-left side of the Dashboard, you can see the Set Up SecureEdge Access wizard. Start the wizard by clicking Setup and follow the instructions.
Once you start the SecureEdge Access setup wizard, you will be provided with a brief introduction about the Zero Trust Network Access concept and a graphical representation of the SecureEdge Access workflow.
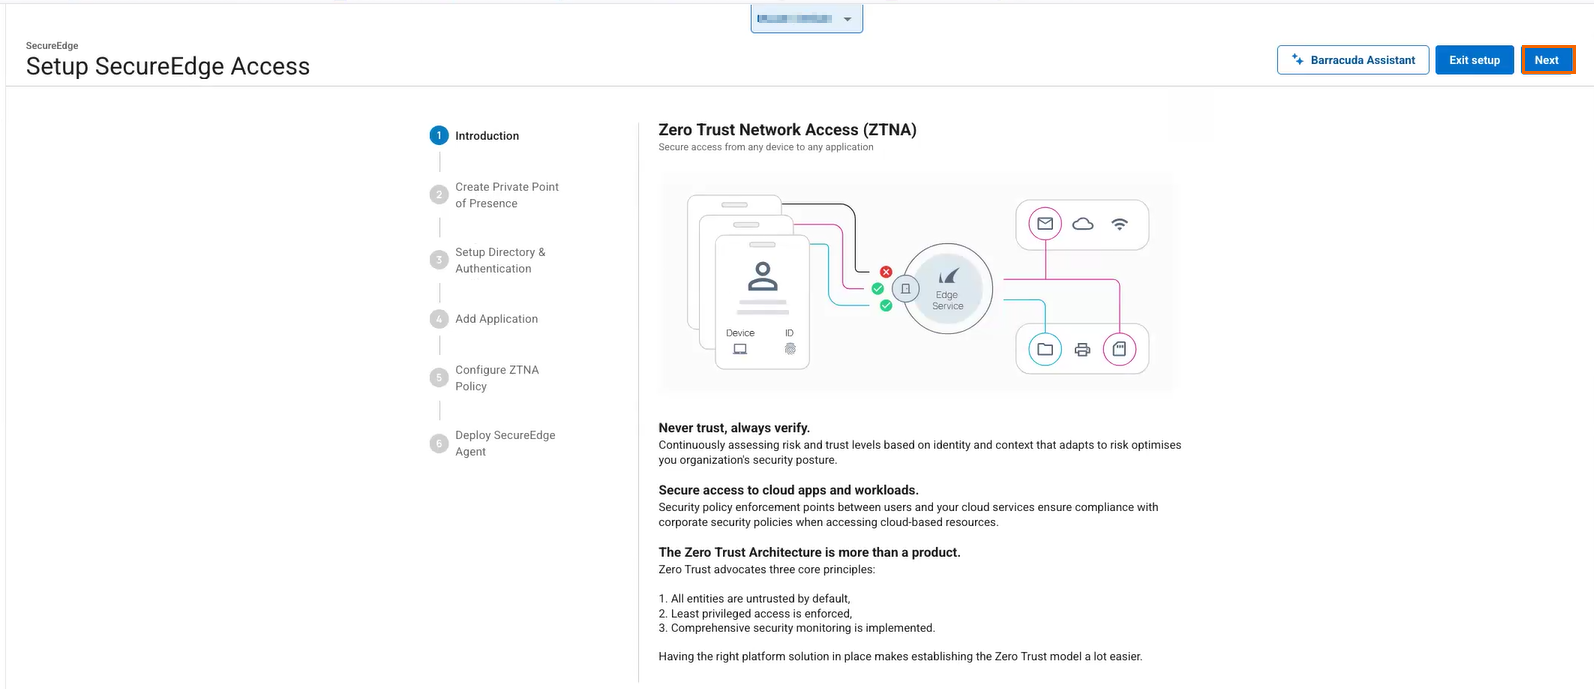
After reading the introduction, click Next. By default, SecureEdge Access uses Points of Presence (PoP), a robust, globally distributed network to ensure optimal availability and performance of your ZTNA deployment.
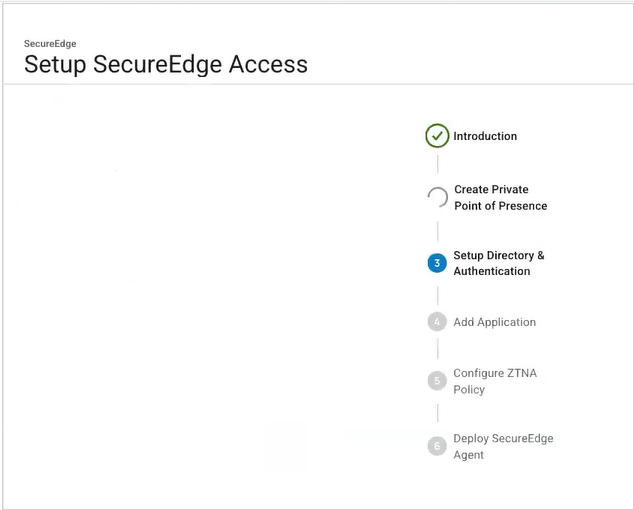
Click Next.
The Set up Directory & Authentication page opens. To add a user, you must specify the username and email. Click + Add user.
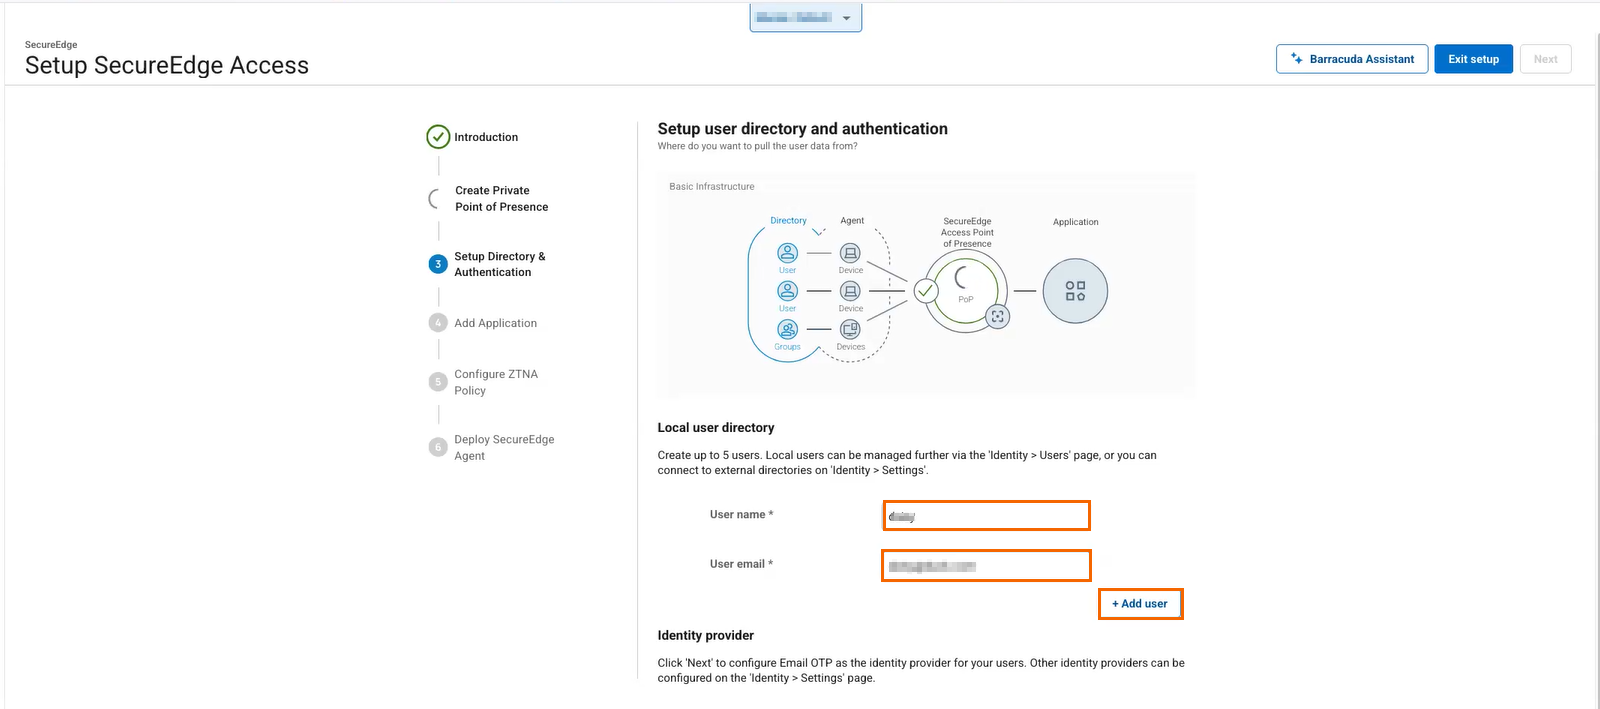
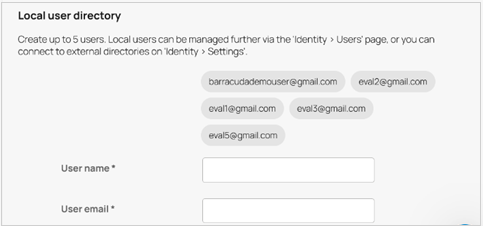
You can configure 5 local users for the evaluation. Repeat the process for a maximum of 5 users and click Next.
In the third step, you can choose one application that will serve as a first start for ZTNA. You can add as many applications that are hosted anywhere as you need later. Specify values for the following:
Application Type – Select application type. Note: The first application can either be one of the predefined SaaS applications from our application database or it can be a custom public application. For demo purposes, choose a Predefined SaaS application.
Application – Select application. E.g., Salesforce.
Add the application to the application catalog – Add the application to the application catalog that will appear in the SecureEdge Access Agent app for quick access to the application. Specify the values for the following:
Display Name – Enter the display name.
Launch URL – Enter your unique URL. E.g., the Salesforce landing page for your account.
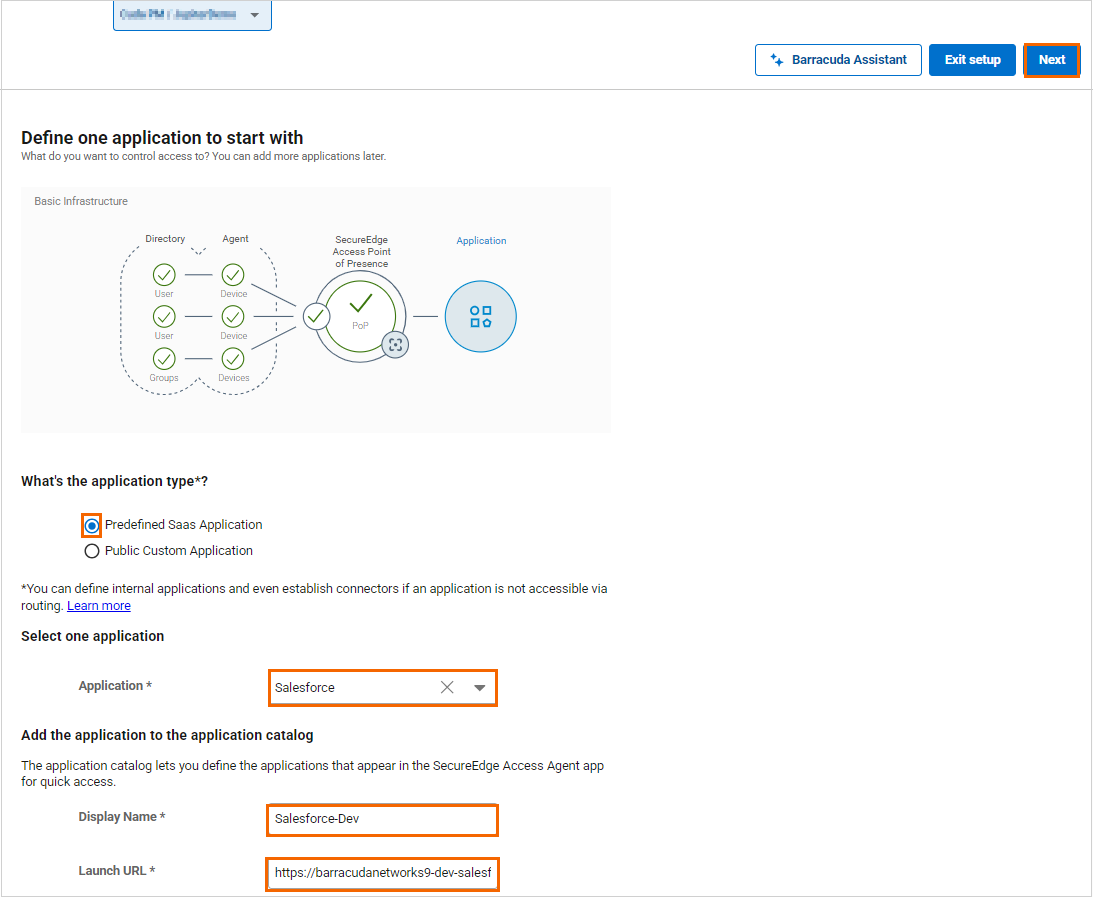
Click Next.
In the fourth step, configure a Zero Trust Access Policy. Specify the values for the following:
Application – Note that the previously defined application has already been selected.
Users – Select (or unselect) users to grant access to this application.
What device posture should this policy enforce – Select the security features users and devices must fulfill to be able to access this application.
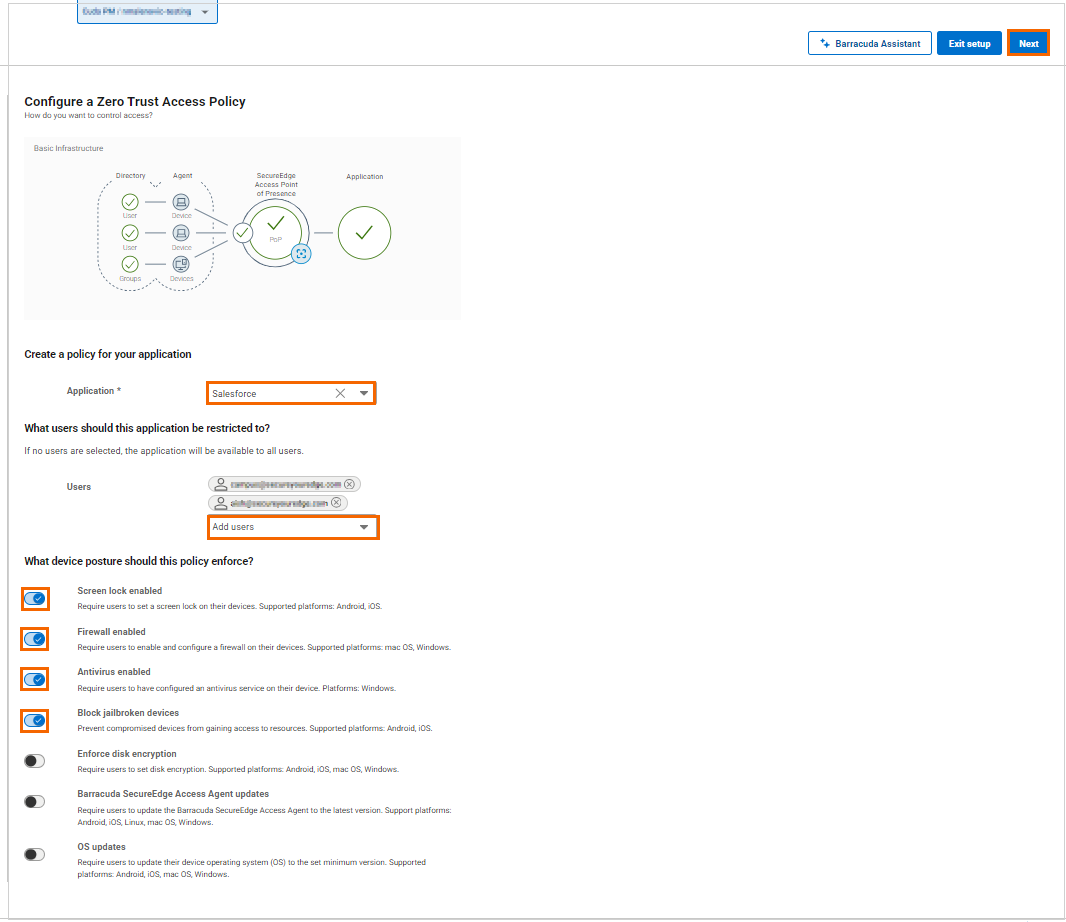
Click Next.
The final step of the wizard is to deploy the SecureEdge Access Agent on your user’s devices. Specify the value for the following:
Users – You can again select all the users that you want to enroll for the SecureEdge Access.
In addition, you can see the template of the email that will be sent to the users. The email contains the SecureEdge Access Agent download link and the enrollment link for this specific Workspace/Tenant.
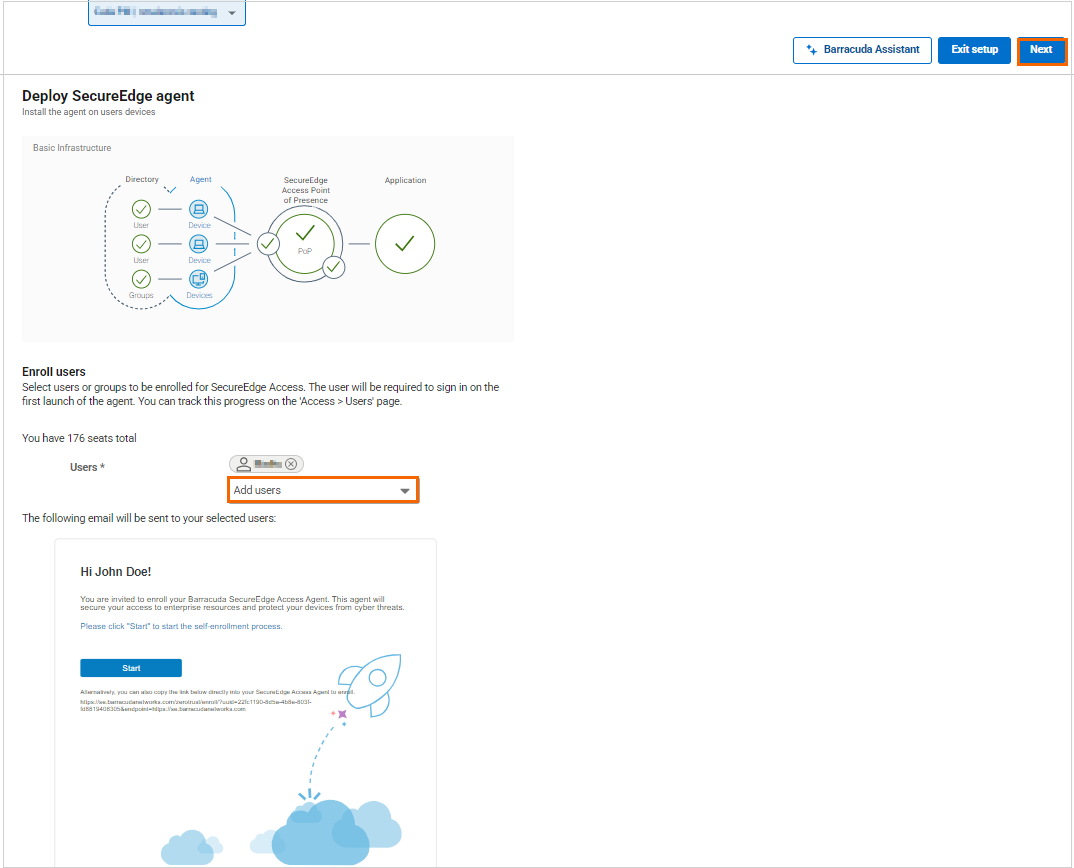
Click Next. The last screen shows a summary and Next Steps to follow.
Note: You can verify that all your basic infrastructure setup and ZTNA policy for the application displays a green check mark
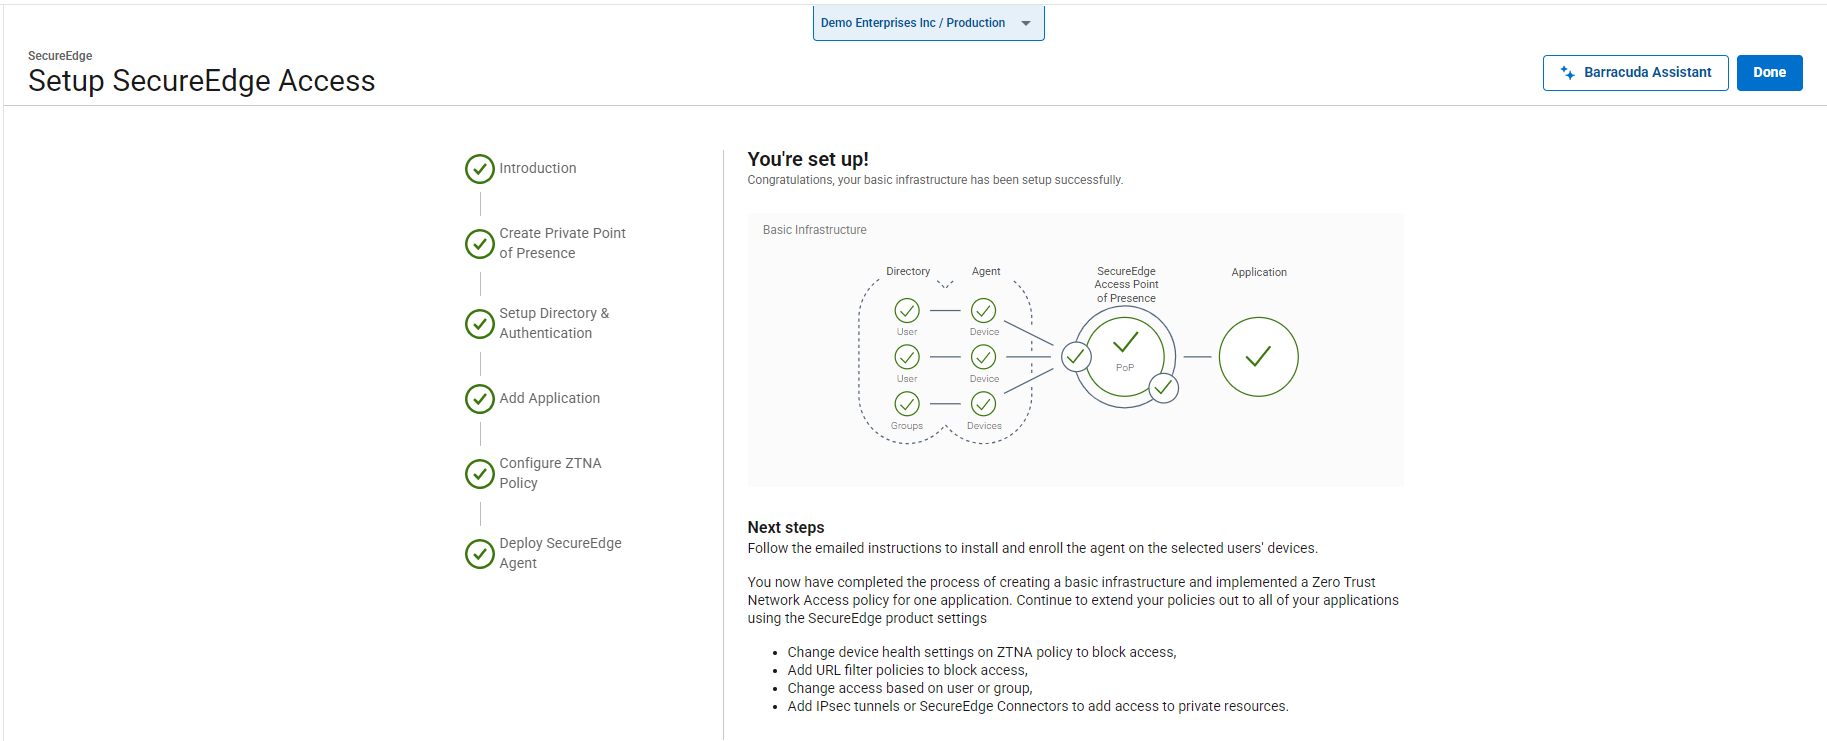
Click Done to close the wizard. You will be redirected back to the dashboard.
To deploy the SecureEdge Access Agent, continue with Step 3.
Step 3. Enroll Users Using the SecureEdge Access Agent
The enrolled users will receive an email with instructions to enroll the SecureEdge Access Agent on their device. You can select either Start or Scan QR Code to Start. For example, in this case, click Start.
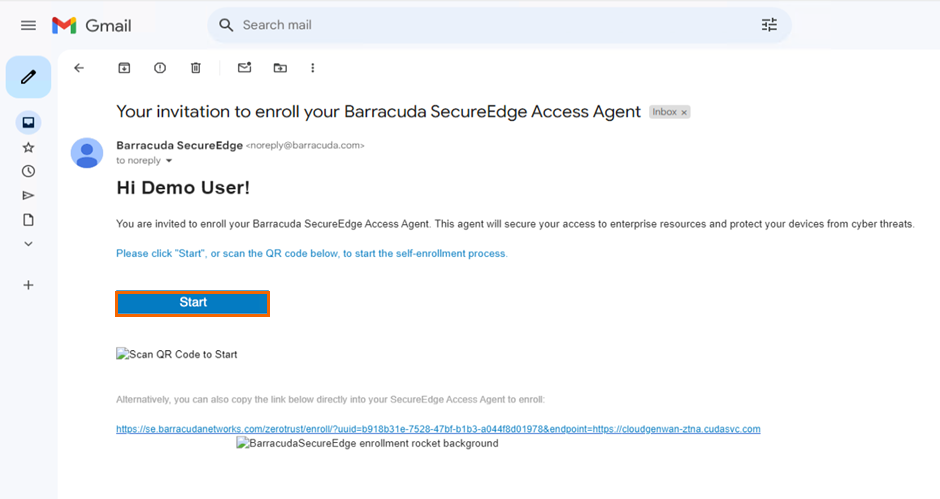
Complete the following steps:
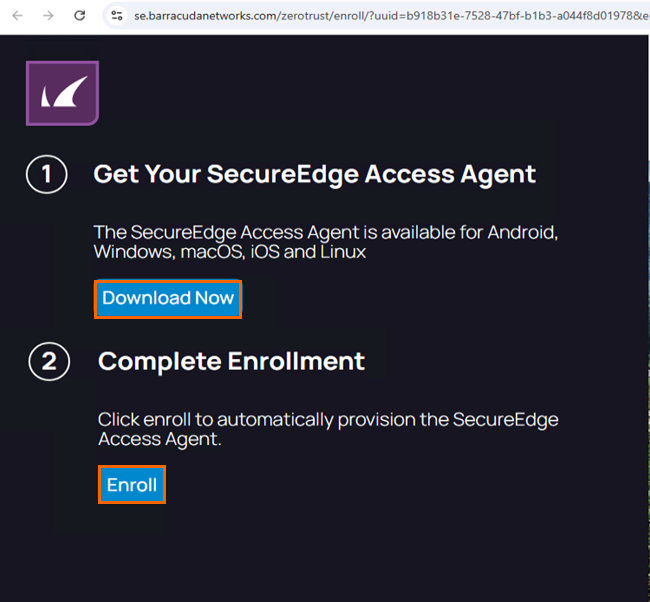
To download and install the SecureEdge Access Agent, click Download Now.
To enroll your user, click Enroll and allow for the agent to be started automatically.
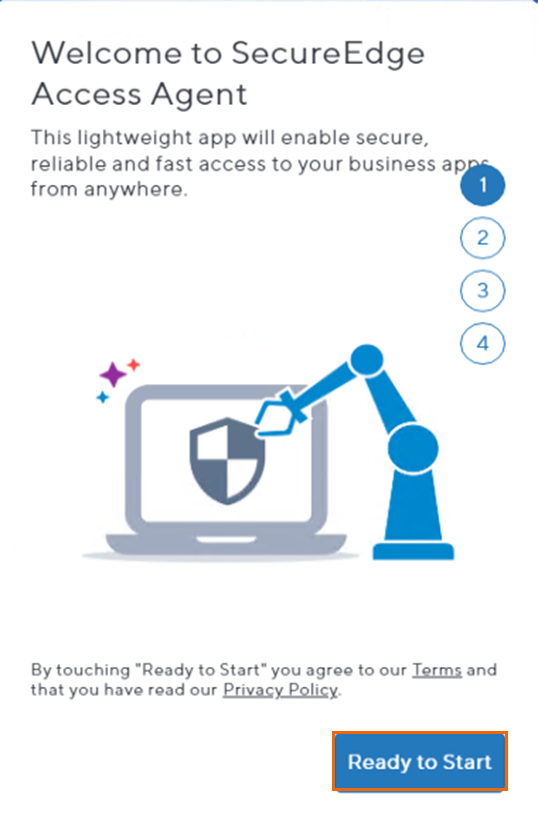
Once the SecureEdge Access Agent starts, you are provided with the welcome message. To proceed, click Ready to Start
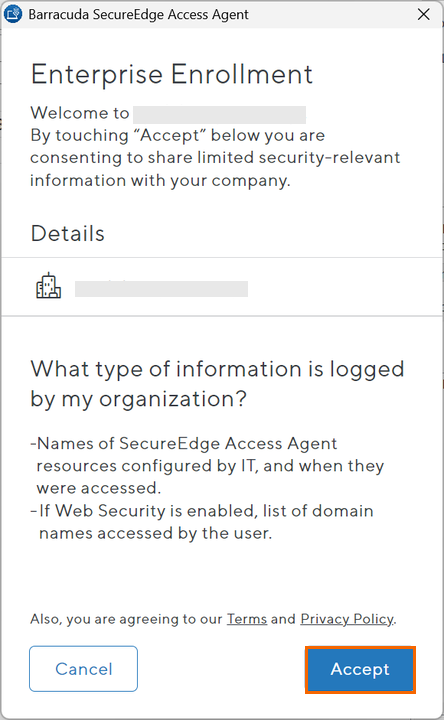
Click Accept.
To sign into your SecureEdge Access account, click Authenticate.

Enter your email address and click Continue.
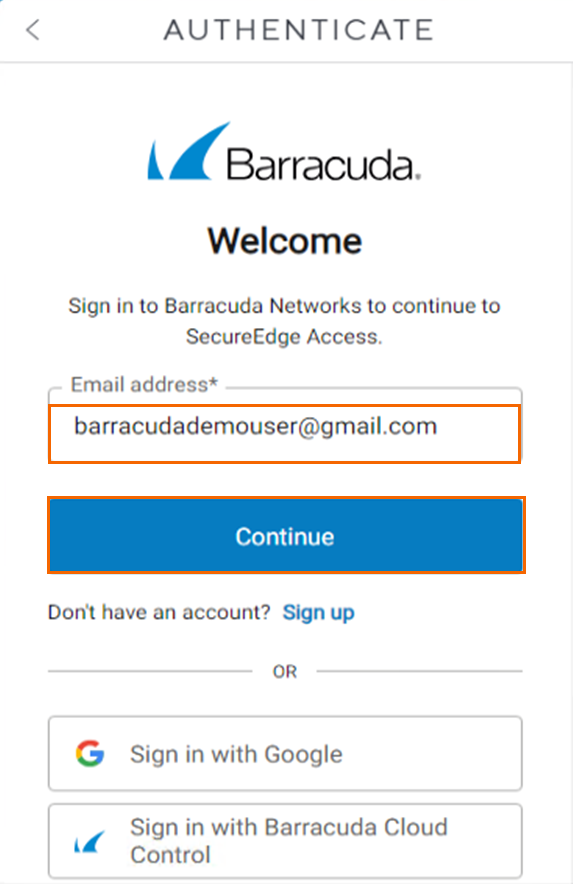
You will receive an email with a Verification Code.
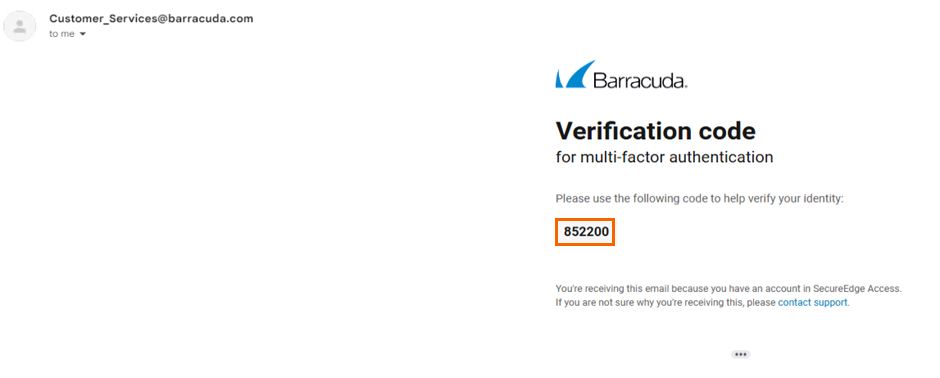
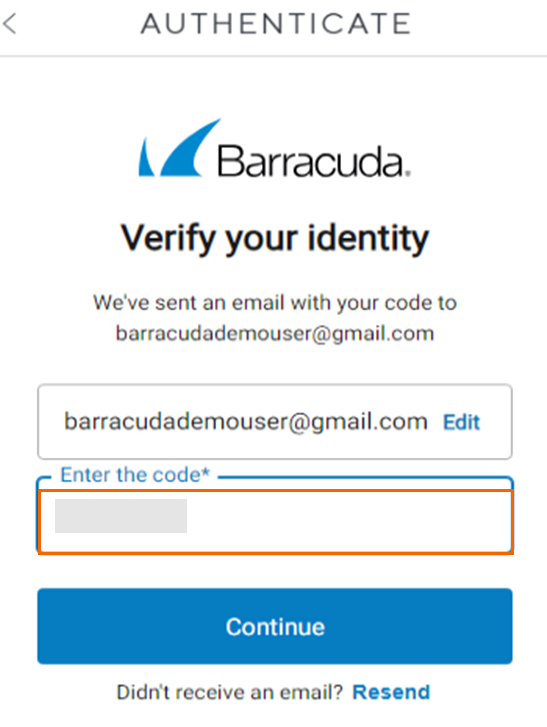
To verify your identity, enter the code under the field Enter the Code.
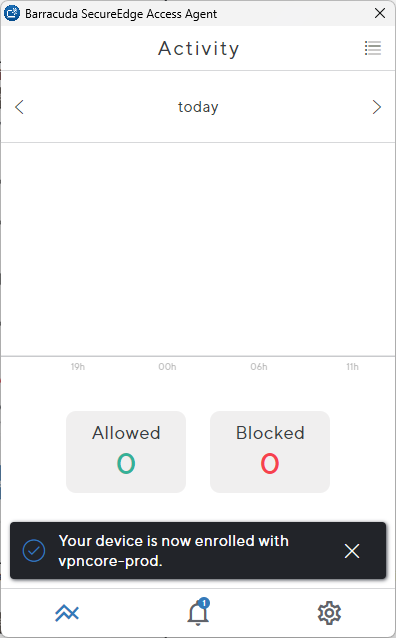
On the Overview page, you can verify that the user is enrolled successfully, your device is protected, and you are all set to test the broad spectrum of SecureEdge functionalities.
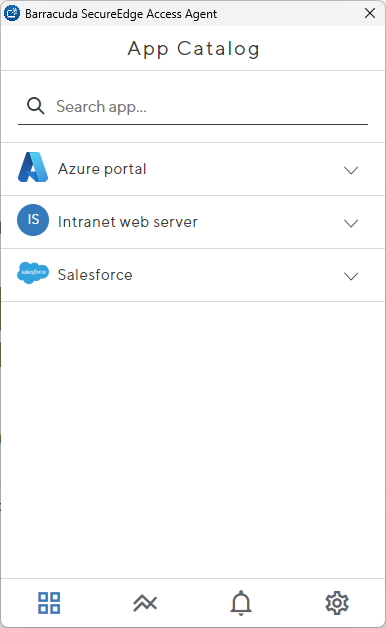
Go to App Catalog. You can see the entry for the Application that you have created a policy for using the ZTNA setup wizard. By simply clicking on the application, you can quickly access it.
Click on an individual icon to view more detailed information on your connected SecureEdge Access Agent. For more information, see Barracuda SecureEdge Access Agent.
Further information
For more information on how to set up ZTNA, see SecureEdge Access and SecureEdge Access – Quick Start Wizard.
