

In certain cases, you may have to grant SSH access to the Barracuda SecureEdge Site appliance and/or the Edge Service.
Before You Begin
- The public IP address of the Site must be directly reachable.
- The Access Control list cannot be 0.0.0.0/0 and the maximum netmask can be up to a /30 network.
- The access is granted for 24 hours and can be renewed for another 24 hours starting from the moment the access has been renewed.
(Optional) Step 1. Create an SSH Key
In certain cases, you might have to create an SSH key yourself. However, in most cases, you can also use the key provided by Barracuda Networks Support.
- Download and install PuTTYgen from https://www.putty.org/.
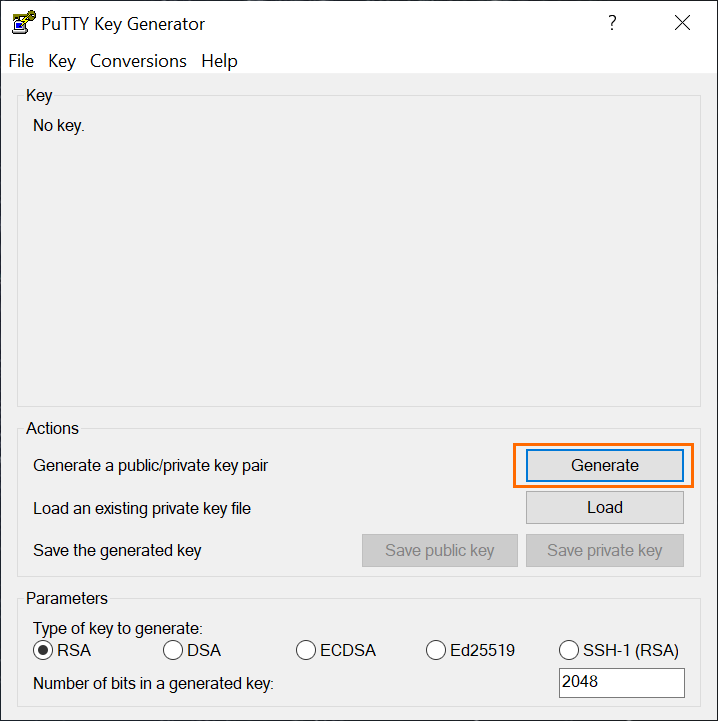
- Open PuTTYgen.
- Click Generate.
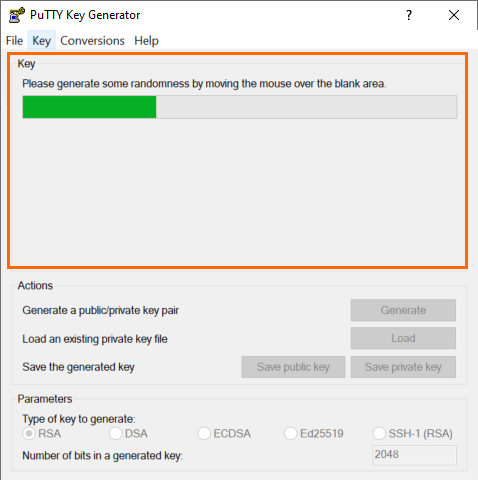
- Move the mouse over the specified area as shown below to generate randomness. Note: PuTTY uses your mouse movements to help generate randomness. As you move your mouse, you will see the green progress bar advance.
- Save the public and the private key for future reference. Note: It is recommended to add a key passphrase. The passphrase can be used to encrypt the private key.
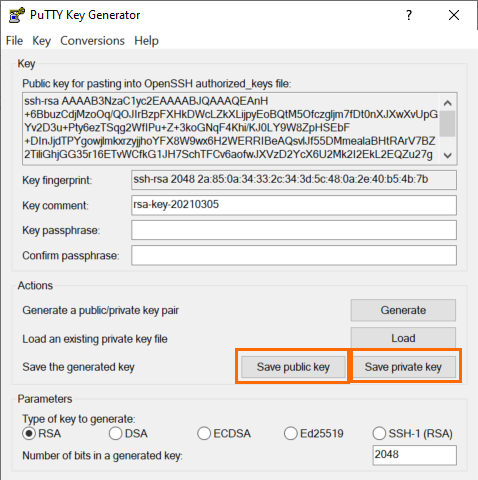
- Click Save public key and save it on your computer.
- Click Save private key and save it on your computer.
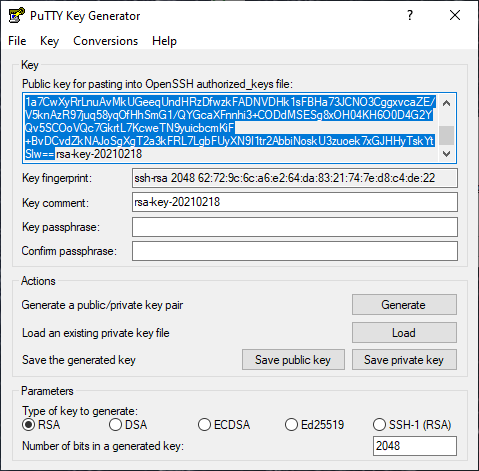
Copy the public key from the text box to your clipboard.
Step 2. Grant Support SSH Access to a Site
Follow this step to grant support access to the Site only. To grant access to both the Site and the Edge Service for Virtual WAN, follow Step 2 and Step 3.
Go to https://se.barracudanetworks.com and log in with your existing Barracuda Cloud Control account.
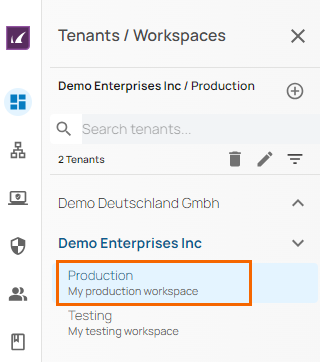
- In the left menu, click the Tenants/Workspaces icon.
- From the drop-down menu, select the workspace containing your Site.
- Go to Infrastructure > Sites.
- Select the Site you want to grant access to from the list of Sites.
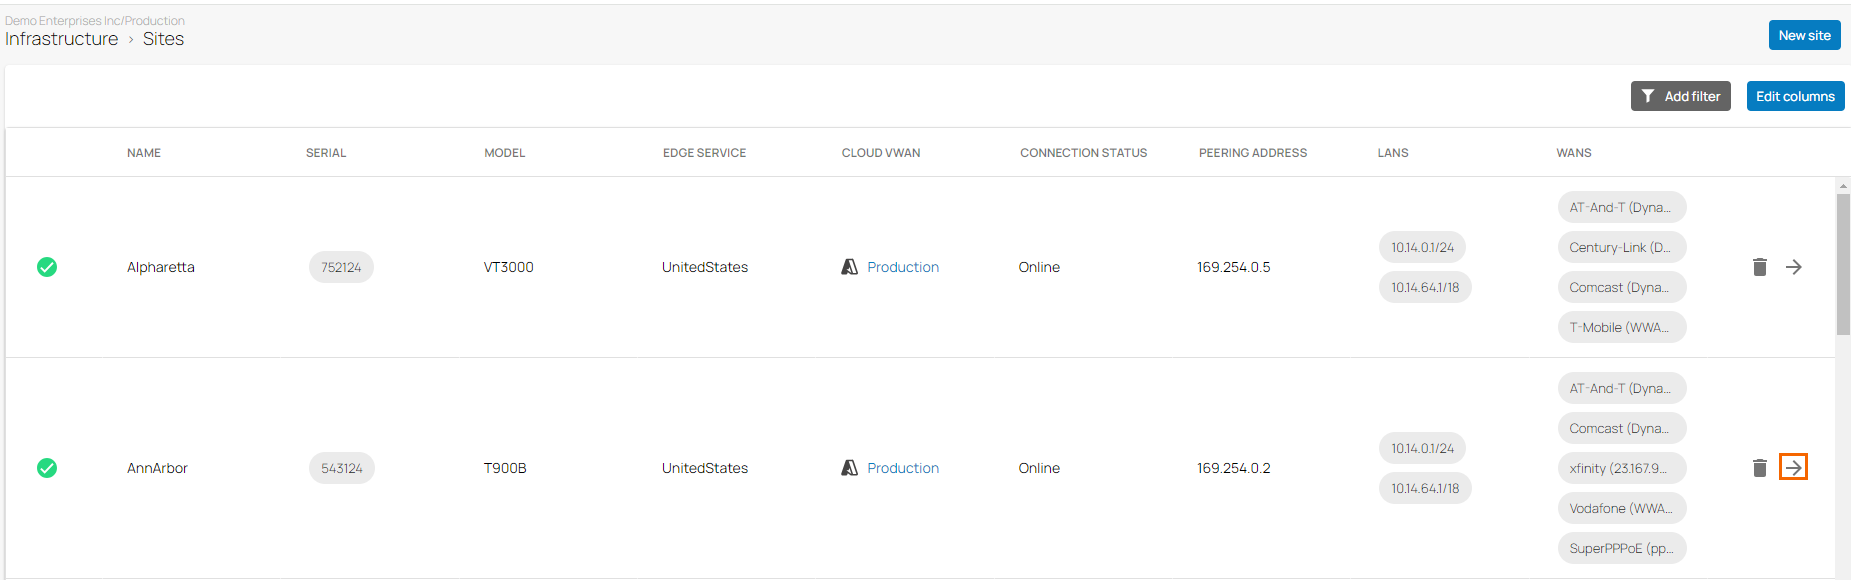
- The Site menu opens.
- In the top-right corner of the window, click Support Access.

- The Support Access window opens. Specify values for the following:
- Support ACL – Enter a comma-separated list of the networks you want to allow SSH access to the Site. The Access Control list cannot be 0.0.0.0/0 and the maximum netmask can be up to a /30 network. Note: If you contact Barracuda Networks Technical Support representatives, they will provide you the value for the Support ACL. However, if you are setting up yourself, you will need to provide this value.
- SSH Public Key – Enter the OpenSSH public key you want to allow SSH access to the Site. This is an optional setting. Note: The SSH public key is provided by Barracuda Networks Technical Support representatives.
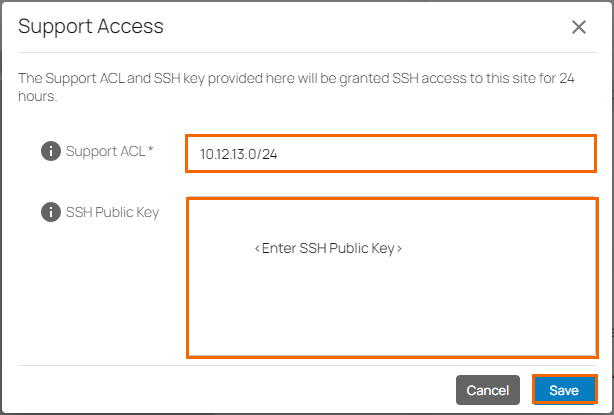
- Click Save.
SSH access is granted to the Site from the specified list of networks with the specified SSH public key. If you also want to grant SSH access to the Edge Service for Virtual WAN, continue with Step 3. If you want to grant SSH access for the Site only, you are now done.
Step 3. Grant Support SSH Access to an Edge Service in Microsoft Azure
To grant support access to an Azure Edge Service for Virtual WAN, you must enable the configuration in this step and in Step 4. To grant support access to an (on-premises) Private Edge Service, go to Step 4.
Go to https://se.barracudanetworks.com and log in with your existing Barracuda Cloud Control account.
- In the left menu, click the Tenants/Workspaces icon.
- From the drop-down menu, select the workspace containing your Site.
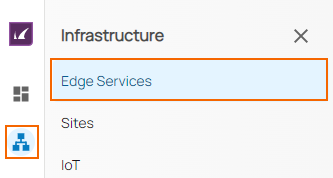
- Go to Infrastructure > Edge Services.
- Select the Edge Service your Site of Step 2 is connected to.
- You are redirected to the managed application in Microsoft Azure. Log in with your Microsoft Azure credentials.
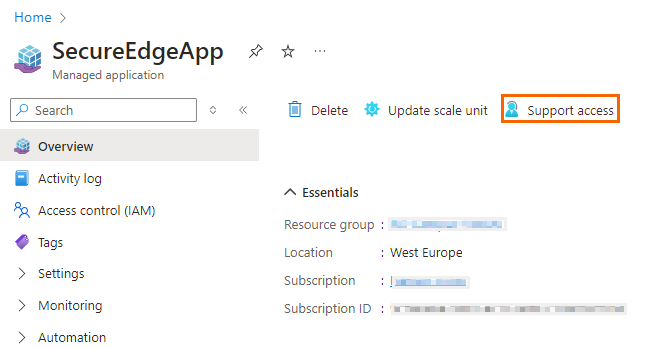
- The Managed Application blade opens.
- Click Support access.
- The Support Access blade opens. In the Support ACL field, enter the same comma-separated list of the networks you entered in Step 2.
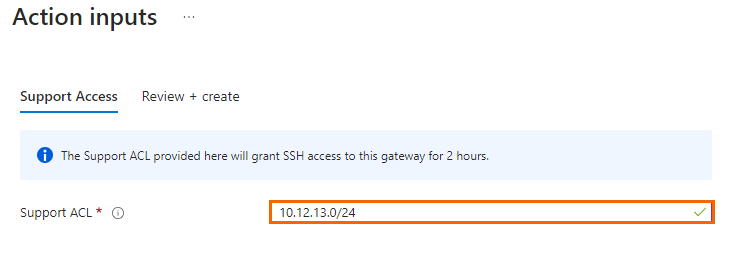
- Click Review + submit.
- The Review + create blade opens. Click Submit.
Step 4. Grant Support SSH Access in the SecureEdge Service
Note: To grant support access to an Azure Edge Service for Virtual WAN, you must first perform Step 3. To grant support access to an (on-premises) Private Edge Service, Step 3 is not required.
Go to https://se.barracudanetworks.com and log in with your existing Barracuda Cloud Control account.
- In the left menu, click the Tenants/Workspaces icon.
- From the drop-down menu, select the workspace containing your Site.
- In the left menu, click the Infrastructure icon, and select Edge Services.
- Select the Edge Service you want to grant access to from the list of Edge Services.
- The Edge Service menu opens.
- In the top-right corner, click Support Access. The Support Access window opens.

- Specify values for the following:
- Support ACL – Enter a comma-separated list of the networks you want to allow SSH access to the Edge Service. The Access Control list cannot be 0.0.0.0/0 and the maximum netmask can be up to a /30 network. Note: If you contact Barracuda Networks Technical Support representatives, they will provide you the value for the Support ACL. However, if you are setting up yourself, you will need to provide this value.
- SSH Public Key – Enter the OpenSSH public key you want to allow SSH access to the Edge Service. This is an optional setting. Note: The SSH Public Key is provided by Barracuda Networks Technical Support representatives.
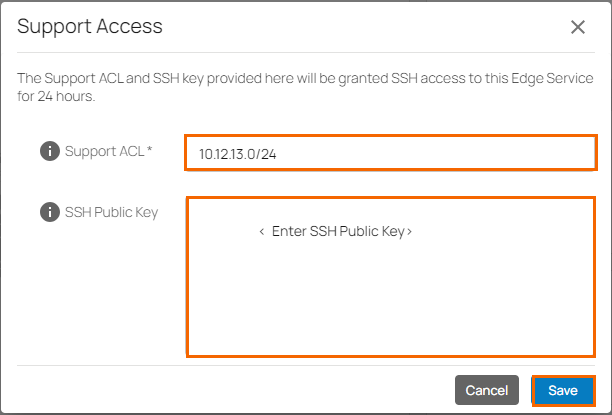
- Click Save.
SSH access is granted to the Edge Service from the specified list of networks with the specified SSH public key.