CudaLaunch offers remote access to services and features made available to remote users through the SSL VPN service. CudaLaunch requires an Advanced Remote Access subscription. To evaluate CudaLaunch without having to set up a firewall for it, log in with the demo button.
Firewall Firmware Requirements
To use the all available CudaLaunch features, the CloudGen Firewall must run the latest matching firmware version. CudaLaunch requires the latest firmware release 8.3.4 and 9.0.2.
Apple devices require the following minimum OS versions:
iPhone – iOS 12.0 or higher
iPad – iPadOS 12.0 or higher
iPod Touch – iOS 12.0 or higher
macOS – macOS 11.0 or higher and a Mac with Apple M1 chip or later. Intel CPUs are no longer supported.
Before You Begin
(optional) To use the VPN group policies in the VPN Connection tab, install the NAC. For more information, see Barracuda Network Access and VPN Client.
Configure the services and features you want to use in CudaLaunch. For more information, see CloudGen Firewall Configuration for CudaLaunch.
Download and Install CudaLaunch
Download and install CudaLaunch on your device. The Windows version is available from the Microsoft Windows 10 App Store. The macOS version is available in the macOS App Store.
Interface
CudaLaunch arranges all available web resources into the following sections, accessible via the interface service bar:
Favorites – Contains the shortcuts to resources for quick access.
Apps – Contains all configured web and Outlook Web Access resources.
VPN Connections – Contains all client-to-site VPN group policies made available by the admin.
Tunnels – Contains the generic SSL tunnels that are either stored on the device or made available by the admin.
Folders – If present, contains all configured network file share resources that the user is allowed to access.
Rules – If present, contains all configured dynamic firewall rules that the user is allowed to enable or disable.
Logging In
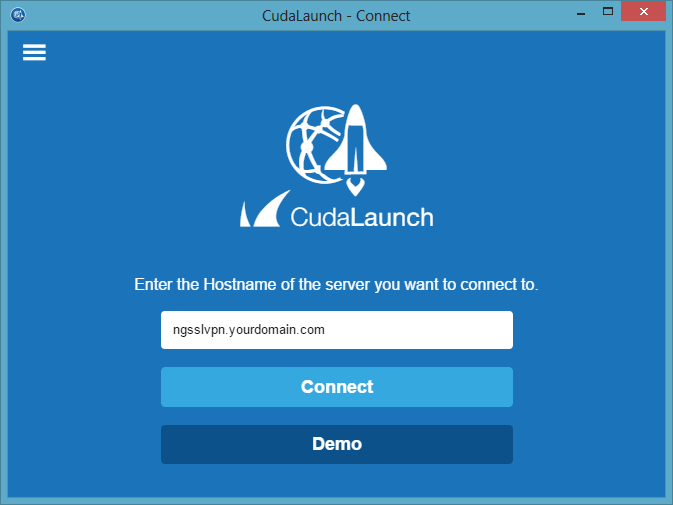
To log in, you must have the following information:
Hostname or IP address – The IP address or FQDN resolving to the public IP address the SSL VPN service is listening on.
Username
Password
Changing Language Settings
You can change the display language for CudaLaunch on the Settings page. To do so, click the options icon on the top left and select Settings > General.


Launching Resources
The Apps tab contains all the web resources. To launch a resource from the Apps screen, click the icon associated with it. Web app resources are launched using the default browser of the operating system.

The web resource launches in a new tab in your network browser, and you are redirected to the application page.
VPN Apps
VPN Apps establish a secure client-to-site VPN connection to access the remote service behind the firewall. This feature is available on Windows, iOS, and Android. Windows clients are also required to install the Barracuda Network Access or VPN Client.
To launch the VPN connection from the Apps screen, click the icon associated with it. The connection is launched using the default browser of the operating system, and the user can access internal resources.

When the connection is established, the connection indicator of the icon changes to green.
Click the VPN Connections tab to verify the status of the connection.
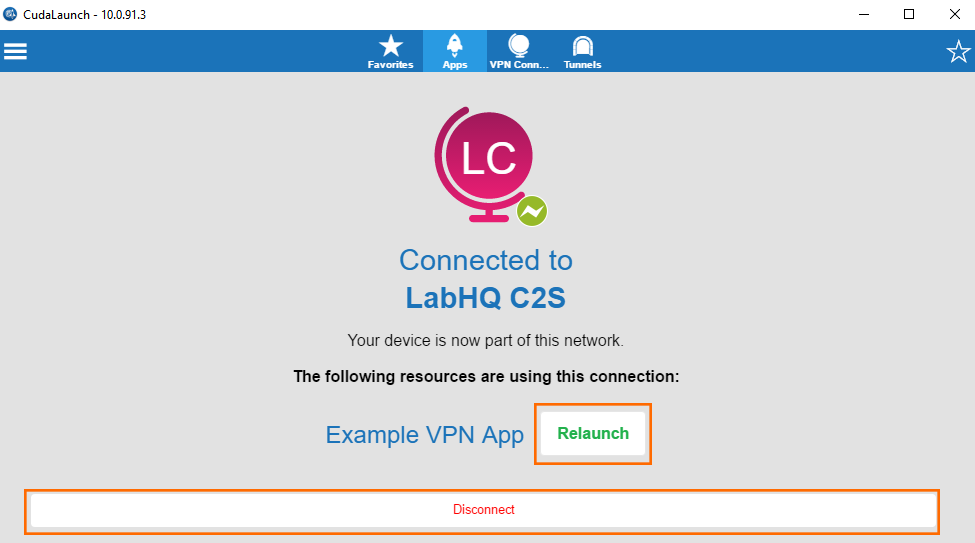
To relaunch the VPN App in the default browser, click Relaunch. To disconnect, click Disconnect. On a Windows system, you can also open the VPN Client menu from the toolbar and select Disconnect. As soon as the VPN connection is terminated, the connection indicator of the icon changes to gray.
Native Apps
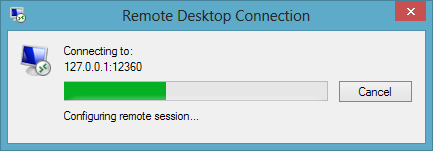
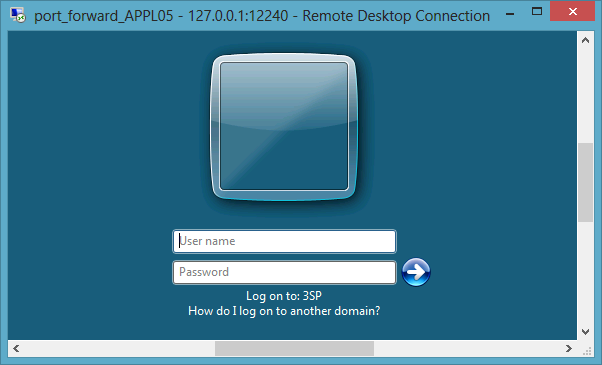
When launching native apps such as RDP, CudaLaunch automatically establishes a tunnel in the background and launches the app in a new browser tab.
VPN Connections
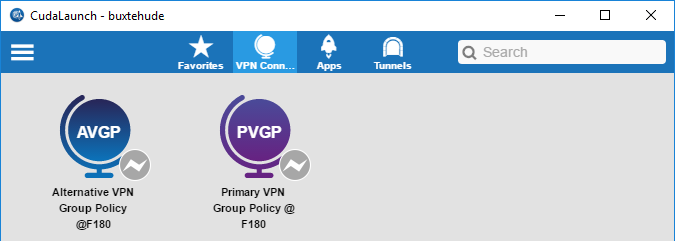
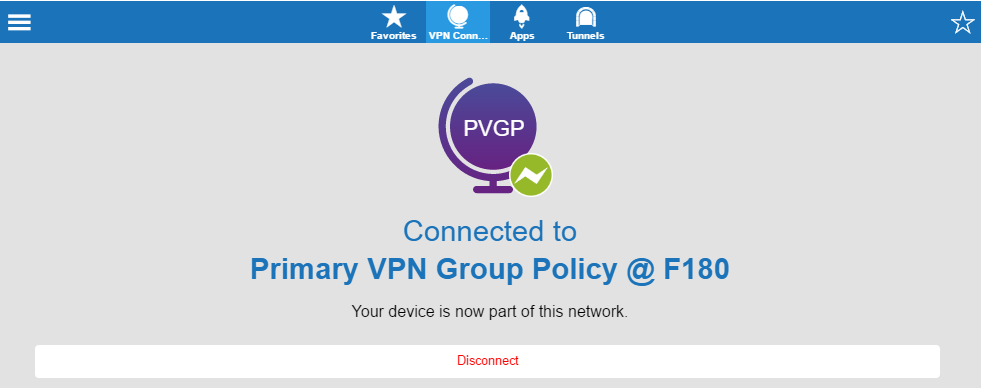
The VPN Connections tab contains the VPN group policies configured by the admin for CudaLaunch. The Barracuda Network Access or VPN Client must be installed on the client to be able to start the VPN connection in CudaLaunch. To connect to the client-to-site VPN, click the VPN Group policy.
Tunnels
Generic tunnels are used to tunnel TCP connections for client/server applications.
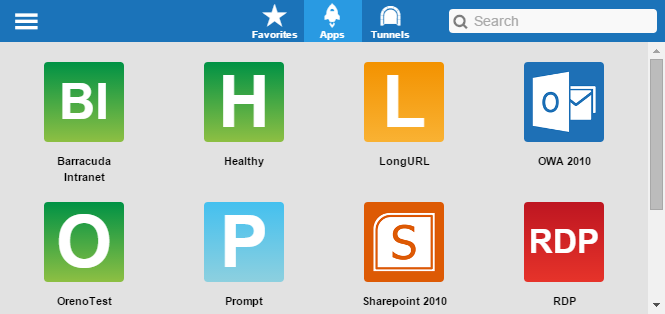
Click the Tunnels tab. Click one of the generic tunnel profiles that are made available by the admin.
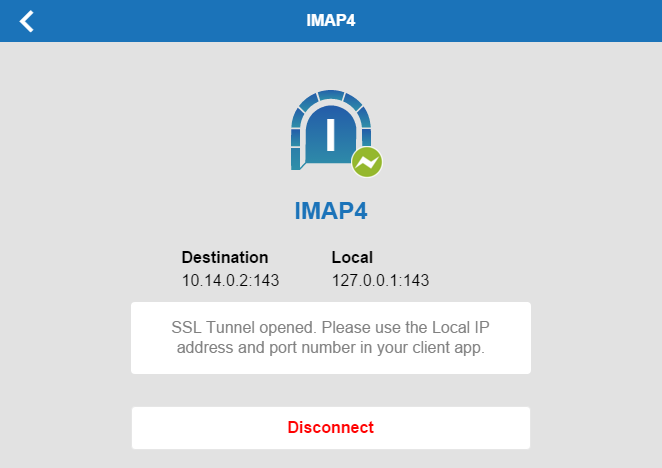
The client connects to a port on the 127.0.0.1 interface. Use the local IP address and port number in the locally installed app.
Network Places
Network places provide remote access to corporate file shares made available by the admin. The Folders tab allows you to browse network shares and to rename, delete, retrieve, and upload files.
Click the Folders tab. Click the 'forward' arrow icons to navigate through the folders and files.

To launch a resource from the Folders screen, click the icon associated with it. When prompted for attributes, enter username and password, and click Continue.
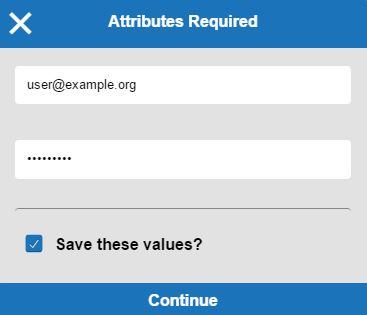
Network places are launched using the default browser of the operating system.
Adding Favorites
On the Favorites page, you can store web resource shortcuts for easier access. Click the Favorites tab. To add a web resource to the favorites, click the + icon.
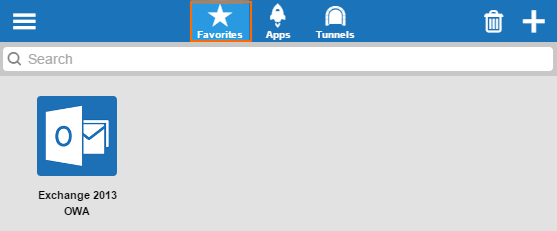
Select the item you want to add from the list, and click the checkmark icon. The resource you have added is now visible under the Favorites tab.
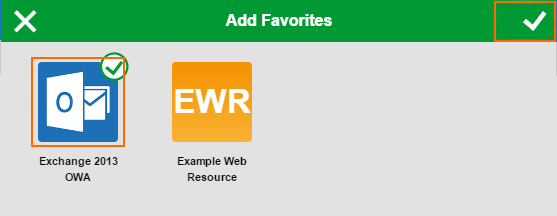
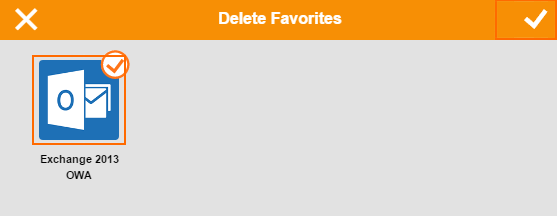
To remove a resource from the favorites list, click the Favorites tab and then click the trash can symbol.
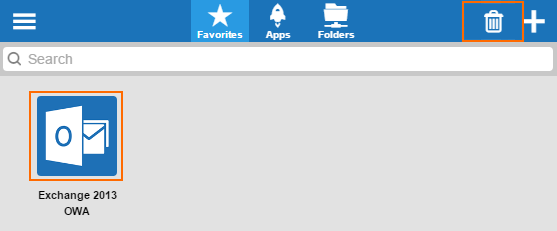
Select the shortcut, and then click the checkmark icon.
Dynamic Firewall Rules
Dynamic firewall rules allow administrative users with the proper permissions to enable access rules for a specific time period. When the time limit is reached, firewall sessions matching these rules are terminated.
Click the Rules tab. The dynamic rules page displays all available rules that have been configured in the CloudGen Firewall SSL-VPN Dynamic Firewall Rules configuration.
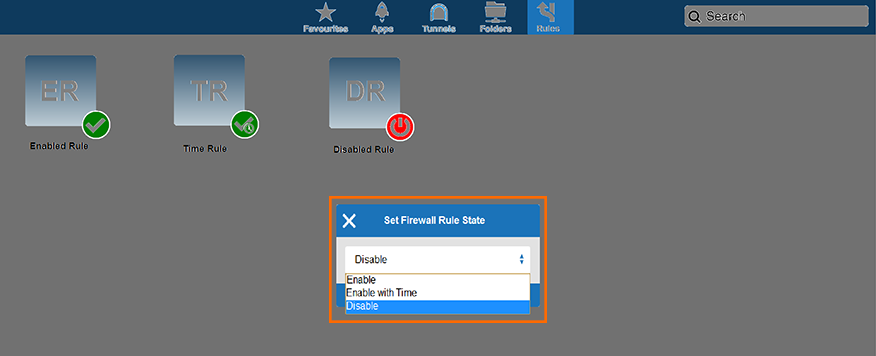
On the dynamic rules pages, you can:
Enable dynamic firewall rules by selecting Enable.
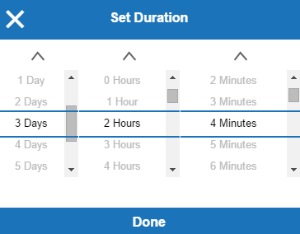
Enable dynamic firewall rules on a time schedule basis by selecting Enable with Time. When using this option, a time scheduler lets you select the time span for the rule. Select the time (Days, Hours, and Minutes) and click Done.
Disable dynamic firewall rules by selecting Disable.
Click the checkmark icon to save your changes.
Setting User Attributes
User attributes are user-specific placeholder values used for web forwards. User attributes can be filled/changed in the options menu. When a web forward is launched for the first time, the user is requested to fill in the user attributes. To fill in or change a user attribute, click Attributes in the Options menu, and click Personal Information to see a list of the user attributes for your user.
For more information, see How to Use and Create Attributes.


Information and Logs
You can view general information about CudaLaunch on the Info page. To do so, click the Options icon on the top left and select Info.
To view logs, version number, and connection details, select About. On the Log window, you can copy the logfiles to the clipboard and view the license agreement.
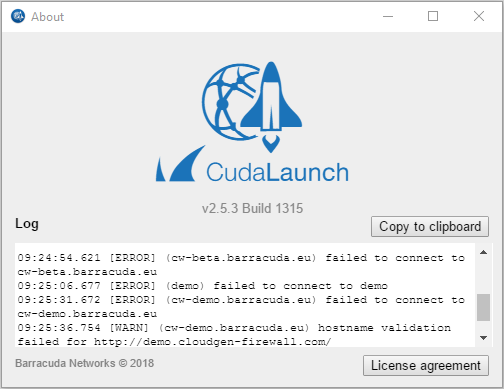
From the Options menu, you can also refresh the CudaLaunch configuration. To do so, select Refresh.
Logging Off
To log out of CudaLaunch, expand the Options menu on the top left, and then select Log Out.
