The Barracuda CloudGen Firewall SSL VPN offers preconfigured web app templates for Outlook Web Access 2003 to 2013. By default, the session username and password is used to authenticate on the Outlook Web Access portal. If the user must use a different password or user to sign in, create user attributes to replace the session attributes.
Configure an Outlook Web Access Web App (OWA)
- Go to CONFIGURATION > Configuration Tree > Box > Assigned Services > VPN-Service > SSL-VPN.
- In the left menu, select Web Apps.
- Click Lock.
- In the Proxied Web Apps section, click + to add a web app to the list.
Enter a Name for the web app and click OK. The Proxied Web Apps window opens.
Select OWA template matching your Exchange server from the Web Resource Template drop-down list.

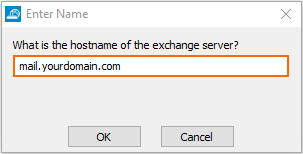
Enter the hostname of your Microsoft Exchange server and click OK.

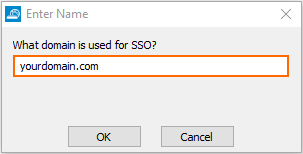
- (OWA 2003 only) Enter the single sign-on (SSO) domain for your Exchange server and click OK.

- Enter the Visible Name. This is the name used in the desktop and mobile portal for this web app.
- (optional) Check Must be Healthy if the user must pass a health check before launching the web app. This setting requires a configured NAC client on a Windows device and policy server. For more information, see Access Control Service.
(optional) To restrict access to the web app by user group, replace the * entry in the Allowed User Groups list. Click + to add new user group.
- (optional) Click Ex/Import to upload a custom icon.
- (optional) To use user attributes to sign in, replace the session attributes in the
usernameandpasswordentries with user attributes. For more information on how to create user attributes, see How to Use and Create Attributes. (optional) To make this resource available only when enabled by a super user:
Expand the Configuration Mode menu on the left, and select Switch to Advanced View.
Scroll down to the Dynamic Access section.
Select the Dynamic App check box.
Allow super users to enable, disable, or time-enable the resource.
Select the Allow Maximum/Minimum Time check boxes and restrict the maximum and minimum amount of time this resource can be time-enabled for.
- Click OK.
- Click Send Changes and Activate.
