The SSL VPN web portal provides easy access to your organization’s web resources via the web browser on your desktop or mobile device. The SSL VPN web portal's responsive interface automatically detects and adapts to the screen size and, for mobile, the screen orientation of the connection device.
Before You Begin
Both JavaScript and cookies must be enabled on your device to use the SSL VPN web portal.
SSL VPN Web Portal
The web portal arranges all available web resources into the following tabs, accessible via the interface service bar:
- Favorites – Contains the shortcuts to resources for quick access.
- Apps – Contains all configured web and Outlook Web Access resources.
- Folders – Contains the folders made available via the CloudGen Firewall SSL VPN.
- Rules – If present, contains all configured dynamic firewall rules that the user is allowed to enable or disable.
Logging into the Web Portal
- In your web browser, go to https://(Listening IP address or hostname used for the SSL VPN service).
- Enter your username and password.
- Click Log in.
Changing Language Settings
You can change the display language for your SSL VPN web portal on the Settings page. To do so, click on the options icon on the top left and select Settings.


Launching Resources
The Apps tab contains all web resources. To launch a resource from the Apps screen, click the icon associated with it.
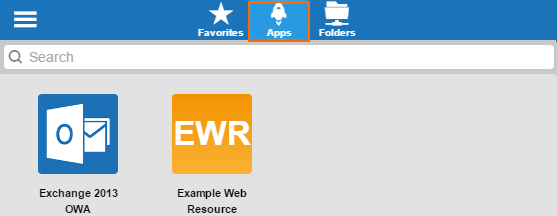
The web resource launches, and you are redirected to the application page.
Searching Folders and Favorites
Click the Apps, Folders, or Favorites tab to access the web resources. To search for a specific item, type the name of the item in the search field with the looking glass icon.
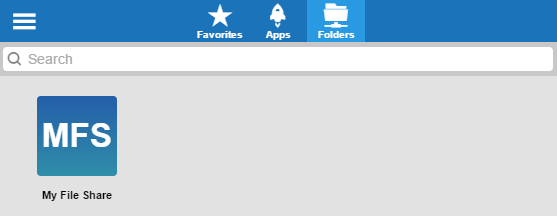
Adding Favorites
On the Favorites page, you can store web resource shortcuts for easier access. Click the Favorites tab. To add a web resource to the favorites, click the + icon.
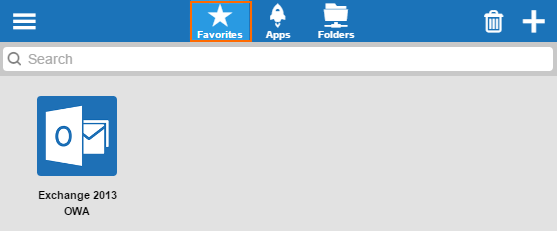
Select the item you want to add from the list, and click the checkmark icon. The resource you have added is now visible under the Favorites tab.
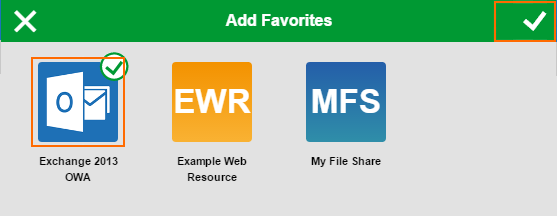
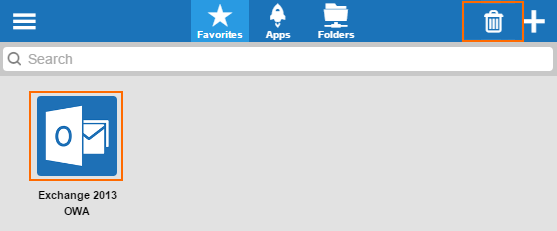
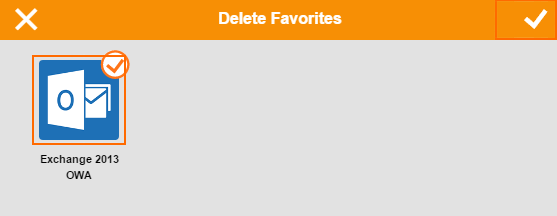
To remove a resource from the favorites list, click the Favorites tab and then click the trash can symbol.
Select the shortcut, and then click the checkmark icon.
Enable and Disable Dynamic Firewall Rules
Dynamic firewall rules allow administrative users with the proper permissions to enable access rules for a specific time period. When the time limit is reached, firewall sessions matching these rules are terminated.
Click the Rules tab. The dynamic rules page displays all available rules that have been configured in the CloudGen Firewall SSL-VPN Dynamic Firewall Rules configuration.
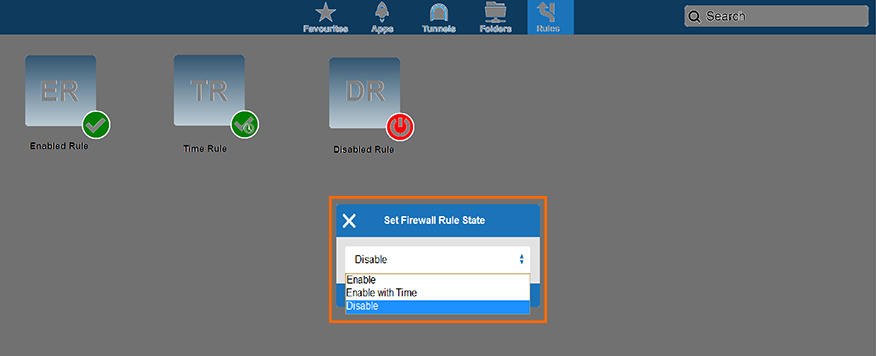
On the dynamic rules pages, you can:
- Enable dynamic rules by selecting Enable.
- Enable dynamic rules on a time schedule basis by selecting Enable with Time. When using this option, a time scheduler lets you select the time span for the rule. Select the time (Days, Hours, and Minutes) and click Done.
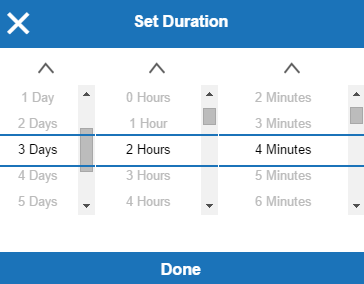
- Disable dynamic firewall rules by selecting Disable.
Click the checkmark icon to save your changes.
Setting User Attributes
User attributes are user-specific placeholder values used for web forwards. User attributes can be filled/changed in the options menu. When a web forward is launched the first time, the user is requested to fill in the user attributes. To fill in or change a user attribute, click Settings in the Option menu, and click on Personal Information to see a list of the user attributes for your user. User attributes are used for single-sign on when different credentials are required.

For more information, see How to Use and Create Attributes.
Logging Off
To log out of the SSL VPN web portal, expand the options menu on the top left, and then select Log Out.
