Assigning Microsoft 365 location types only affects the Microsoft 365 Protection page. Location types are displayed on the Microsoft 365: Login Events map. Assigning location types gives them a meaningful name can help you understand data faster.
Example
An example of the use of location types would be if you want to identify remote employees of a specific office quickly. In this case, you could change the location types of the locations of remote employees to categorize them together.
For example, if the office is in New York, you could change the following locations to New York Remote and assign them a color:
United States > New York > Albany
United States > New York > South Salem
United States > New York > Farmingdale
Changing these three locations to the New York Remote location type would mean they are displayed on the Microsoft 365: Login Events map with the same label and in the same color, letting you identify them at a glance.
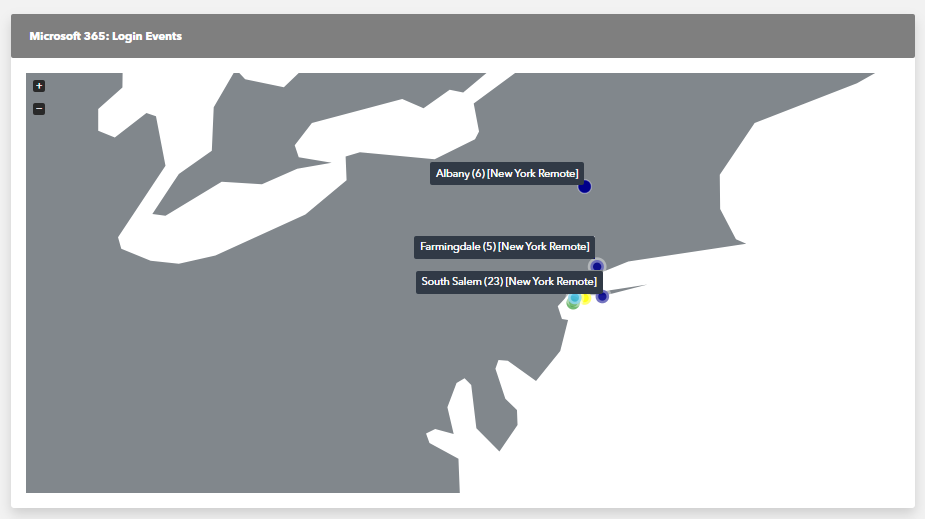
This image is simulated for example purposes.
To assign a location type
In Barracuda XDR Dashboard, click Intelligence > O365 Protection.
Click the Options button  .
.
Click View and Manage All Locations.
In the row of the location you want to change, click Edit  .
.
Select a location in Location Type.
Click Save.
Click Close.
To close the Manage Location dialog box, click the X  .
.

