

This article refers to Barracuda ArchiveOne Enterprise versions 6.0 and higher.
Step 1. Review the Installation Prerequisites
Before installing ArchiveOne Enterprise (Compliance), review the installation prerequisites in the article ArchiveOne for Exchange - Prerequisites.
Step 2. Run the ArchiveOne for Exchange Deployment Analyzer
To ensure the Archive server meets the system requirements, you must complete the steps in the article Run the ArchiveOne for Exchange Deployment Analyzer and review the reports for any warnings or errors. The deployment analyzer ensures that the environment and server are correctly configured before installation and allows you to choose whether to install SQL Express.
Step 3. Install ArchiveOne Enterprise Compliance
Use the following steps to install ArchiveOne Enterprise (Compliance):
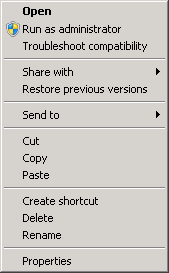
- Right-click ArchiveOne Compliance Unicode Setup Enterprise.X.X.X.XXXX.exe, and click Run as administrator:
- The ArchiveOne Enterprise (Compliance) wizard opens:
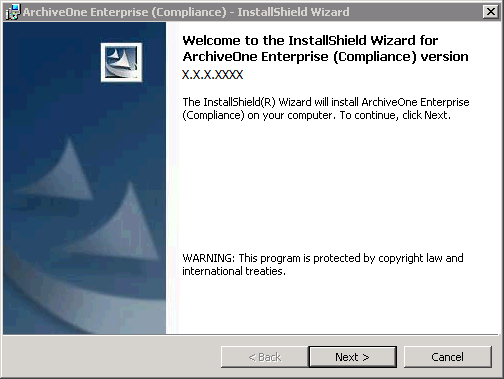
- Click Next. In the License Agreement page, review the license terms:
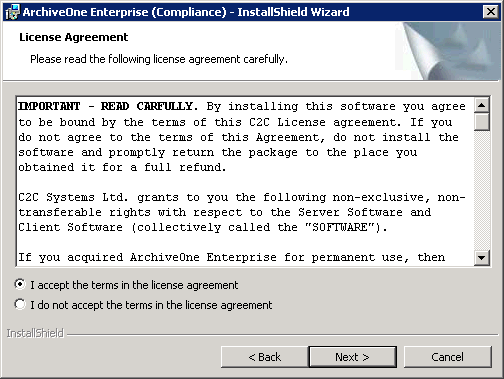
- Accept the agreement, and then click Next. The Customer Information page displays:
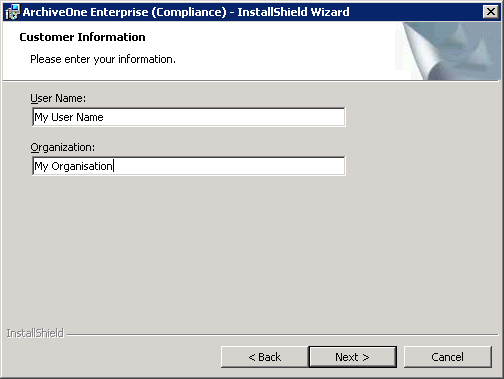
- Enter your User Name and Organization, and then click Next. The Custom Setup page displays:
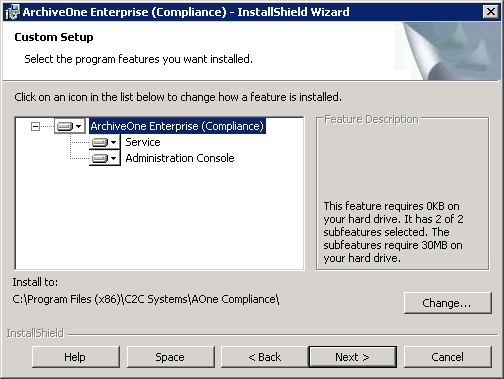
Select the required components for installation; by default all components are installed.
- The default installation location is C:\Program Files (x86)\C2C Systems\AOne Compliance.
- To modify the installation location, click Change and select the new location:
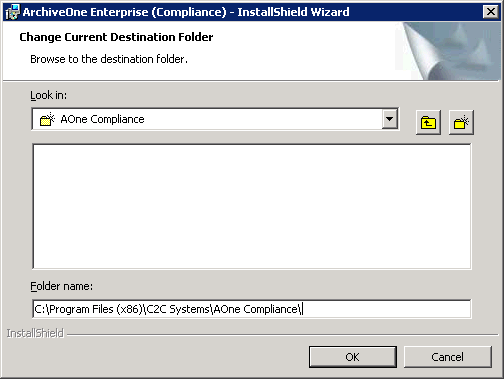
- Click OK .
- To modify the installation location, click Change and select the new location:
- Click Next. The Ready to Install the Program page displays:
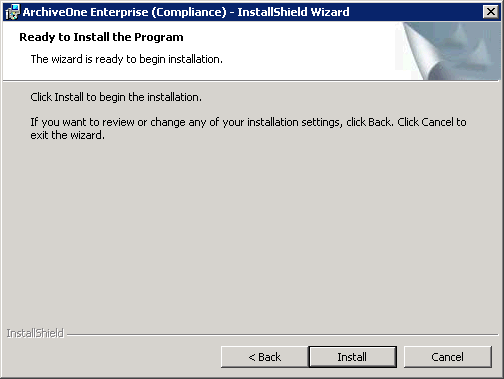
Click Install to begin the installation.
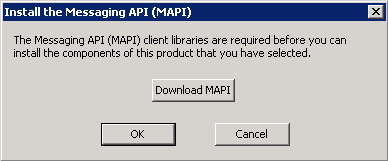
If you do not have the latest version of the MAPI CDO, the Install the Messaging API (MAPI) dialog displays. Click Download MAPI to download and install the latest version:
You are prompted for the Exchange server:
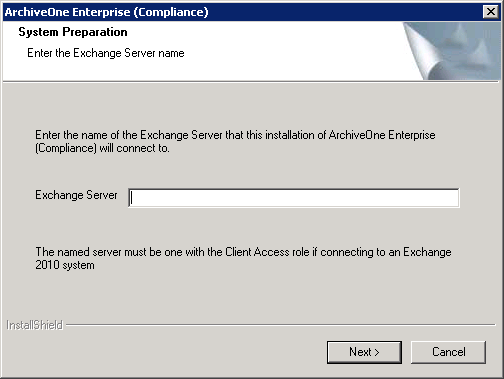
- Enter the NETBIOS name of the server, for example, EXCHANGE01, and then click Next.
The ArchiveOne Deployment Analyzer runs a series of tests against your environment. Once the tests are complete, a window displays any warnings and failures:

Once all failed tests are resolved, click OK. You are prompted to specify the location of the Configuration server:
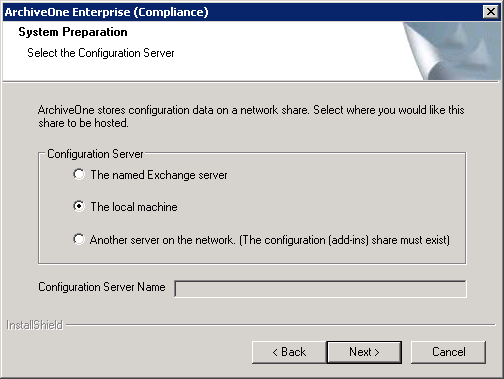
Select the Configuration Server, and then click Next. The System Preparation page displays:
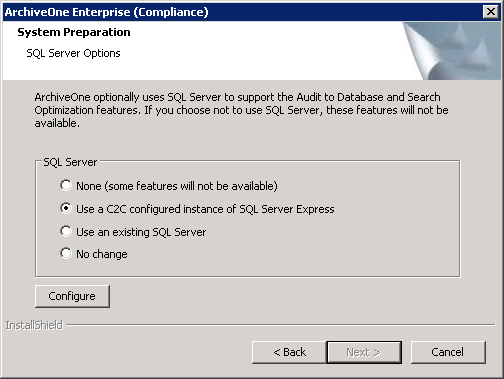
- Select the desired SQL server option. This provides the search optimization and auditing features:
- None – Configures ArchiveOne to not use SQL server. Any features that require a SQL database will be unavailable.
- Use a C2C configured instance of SQL Server Express – Allows you to use the previously installed SQL Server Express 2008 R2 instance C2CARCHIVEONE installed when the deployment analyzer was run:
- Click Configure to select the installation directory and database path. By default these directories are set to C:\Program Files (x86)\Microsoft SQL Server
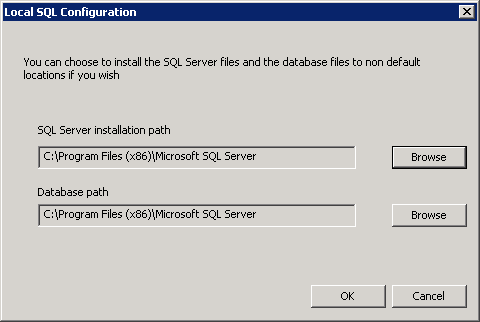
- Click OK to close the configuration and save changes.
- Click Configure to select the installation directory and database path. By default these directories are set to C:\Program Files (x86)\Microsoft SQL Server
- Use an existing SQL Server – Configure the connection for an existing SQL server and instance.
- Click Configure to enter the SQL instance details. Enter the Sql Server Instance in the form SERVERNAME\INSTANCE where SERVERNAME is the name of the SQL server and INSTANCE is the name of the SQL instance if there are multiple instances on the named SQL server.
- Enter the Active Directory (AD) domain account as the SQL Login; this account must have sufficient permissions to administrate the named SQL instance. Click Browse to select the user account from AD.
- Enter the password associated with the account in the Login Password/Confirm Password fields.
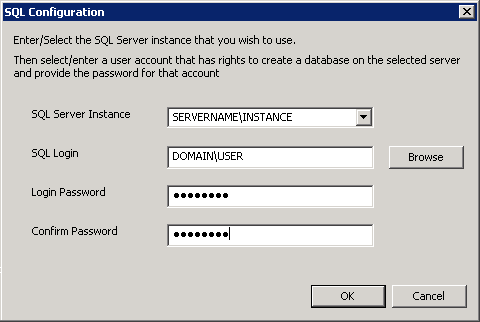
- Click OK to close the configuration and save changes.
No change – Use the existing SQL configuration as defined in the Add-ins share on the specified Configuration server.
Click Next once you make your selection. The Group Creation Summary displays:
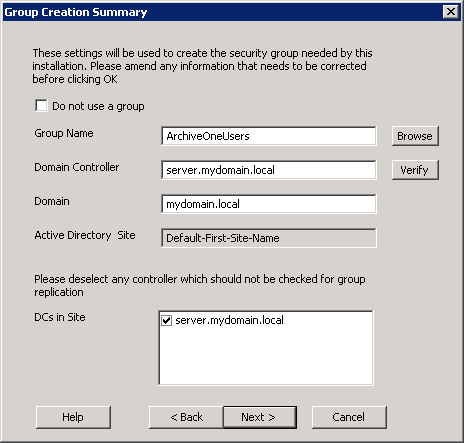
- If you want to use a different security group, click Browse to select another security group in AD, or type the new security group name in the Group Name field to direct the installer to create the new security group.
- Click Verify to confirm the named Domain Controller.
- Verify that the DCs listed in the DCs in Site pane are online and available.
Click Next. The User Account Creation Summary displays:
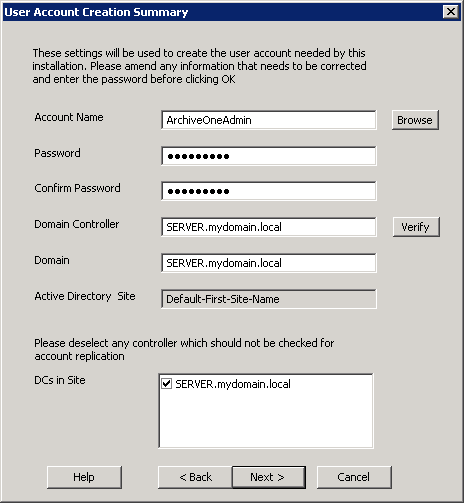
- To use a different account, click Browse to select another user in AD, or type a new username in the Account Name field to have the installer create the user account, and enter the password for the named user account in the Password/Confirm Password fields.
- Click Verify to confirm the named Domain Controller.
- Verify that the DCs listed in the DCs in Site pane are online and available.
- Click Next. DCOM Security displays:
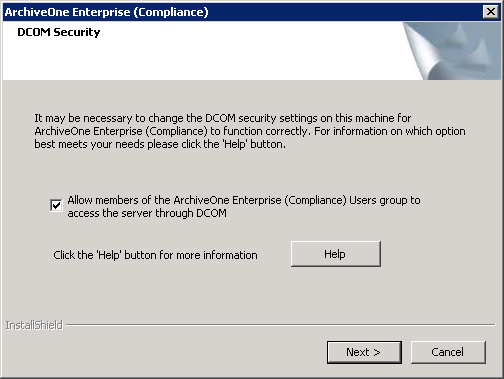
Select Allow members of the ArchiveOne Enterprise (Compliance) Users group to access the server through DCOM.
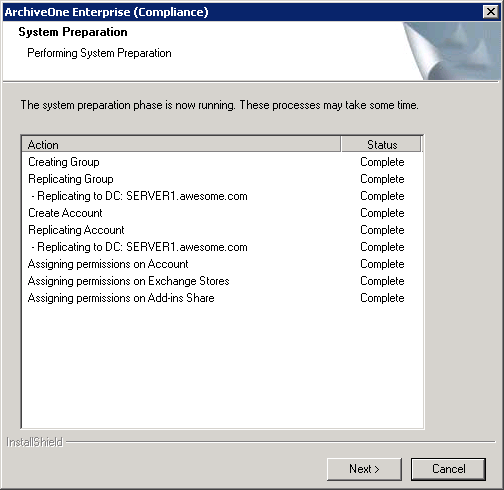
Click Next. The installer performs system preparation:
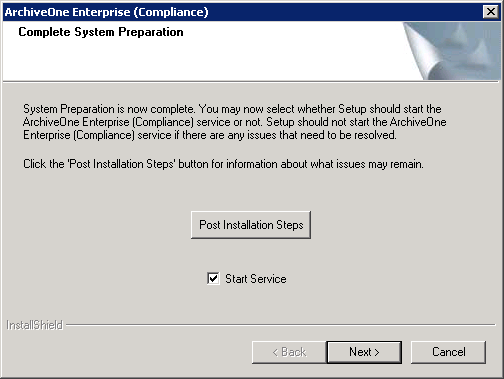
- Click Next . Complete System Preparation displays. Verify Start Service is selected:
- Click Next. The installation completes:
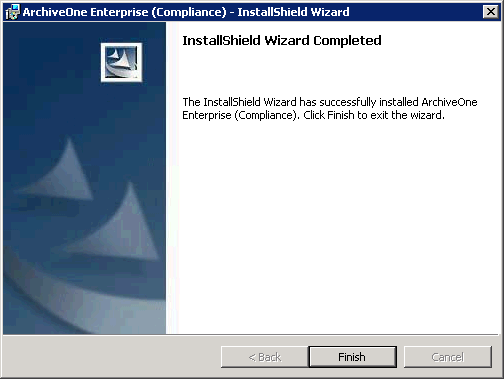
- Click Finish. The installation is complete. You can now configure ArchiveOne Enterprise (Compliance).