

Before you begin
You must have your IdentityGuard server configured to accept RADIUS requests from the Barracuda SSL VPN. To do this, specify the Barracuda SSL VPN IP address as a RADIUS client on the server.
Step 1. Configure the RADIUS server
- Open the Management System > ACCESS CONTROL > Configuration page.
Enter the following information in the RADIUS section:
RADIUS Server – Enter the hostname or IP address of the IdentityGuard server.
Authentication Port – Enter
1812.Shared Secret – Enter the shared secret. This passphrase must be configured on the IdentityGuard server.
Authentication Method – Select PAP.
Reject Challenge – Disable in order to receive additional RADIUS prompts such as change PINs prompts.
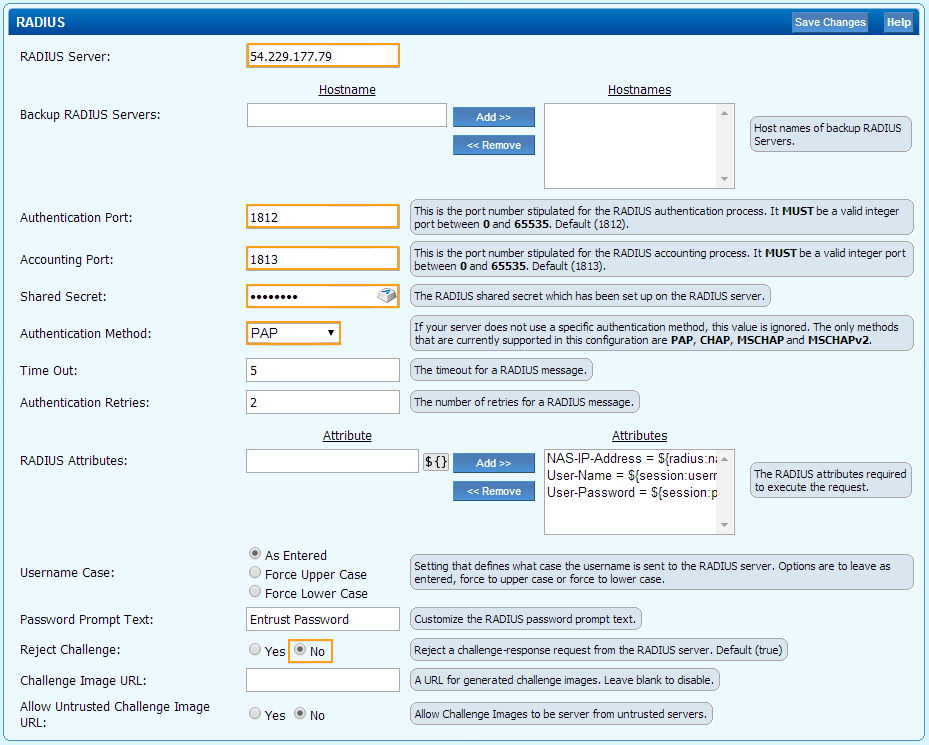
- Click Save Changes.
Step 2. Create an authentication scheme
- Go to the Manage System > ACCESS CONTROL > Authentication Schemes page.
- Create an authentication scheme which contains the RADIUS module (select RADIUS, click Add). You may add more modules if you wish to have multi factor authentication.
- Select a policy which will be able to use this authentication (e.g. Everyone) and click Add.
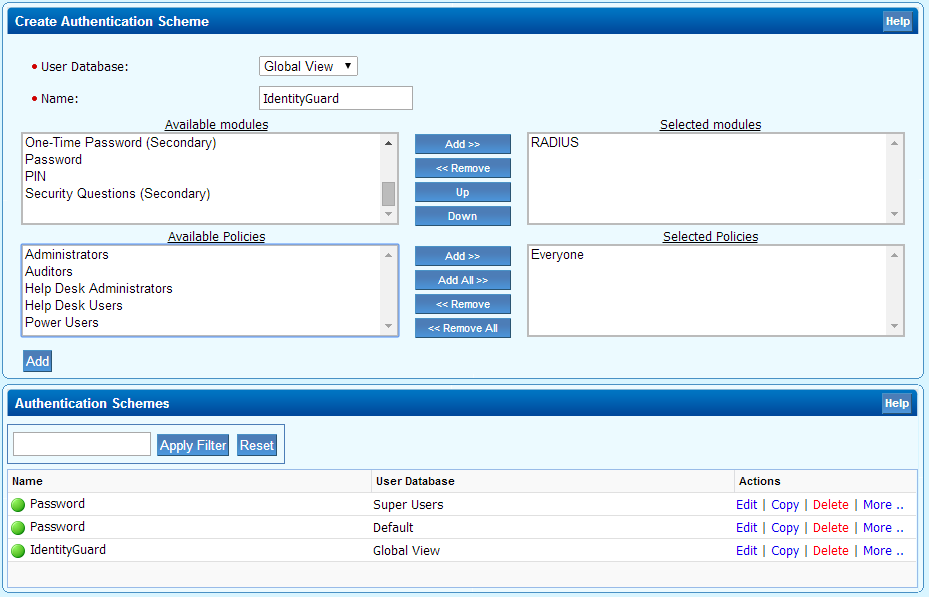
- Click Add.
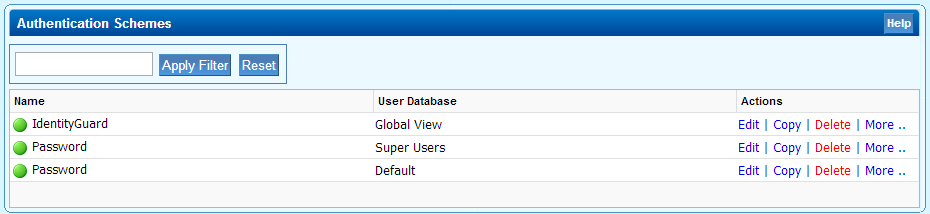
The new scheme is now listed in the Authentication Schemes section, this may be set as the default module by clicking More.. next to the entry and choosing Increase Priority until it appears at the top of the list.
Step 3. Test the IdentityGuard authentication
To log into the Barracuda SSL VPN using Entrust IdentityGuard authentication, create a user account to match the RADIUS login name. Alternatively, if you are using an Active Directory or LDAP server, ensure this account exists on the user database. To create a new user account,
- Go to the Manage System > ACCESS CONTROL > Accounts page.
- Enter a username and password and click Add.
To test the authentication, log in as the user:
- Enter the username and click Login.
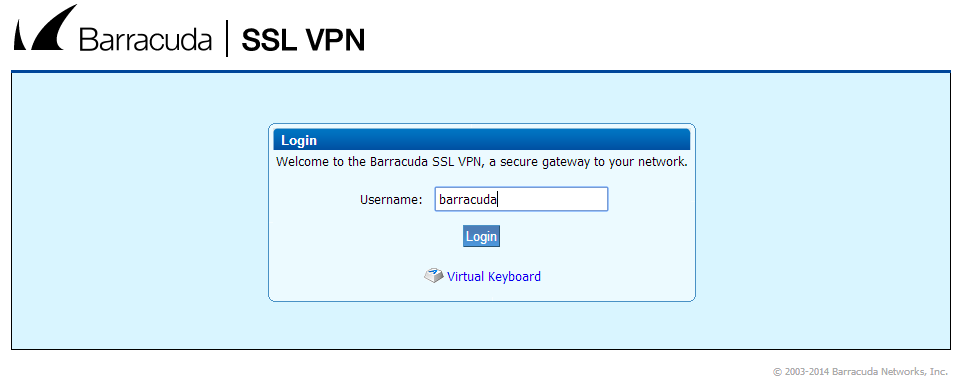
- Enter the password and click Login.
- Work out the passcode based on the grid.
You are now logged into the Barracuda SSL VPN.