

To create a Physical Imaging Standard Backup Set, perform the following steps.
At the Computers page, select Backup Sets.

The Backup Set page is displayed.
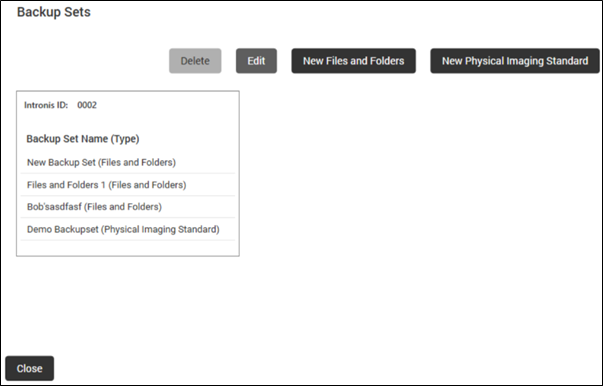
Click the New Physical Imaging Standard button.
The Create Physical Imaging Standard Backup page is displayed.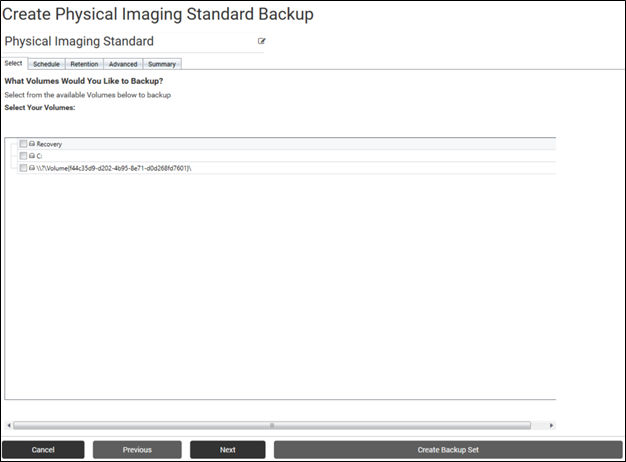
Click New Backup Set to provide a new name for the backup set.
The backup set name is highlighted.
Type the new name of the backup set in the field.
The new backup set name is displayed.
In the Select Your Volume section, select the volumes you would like to back up.
Clicking the arrow at the right of the items displays more volumes.
After selecting the volumes/revisions, click Next.
The Schedule page is displayed.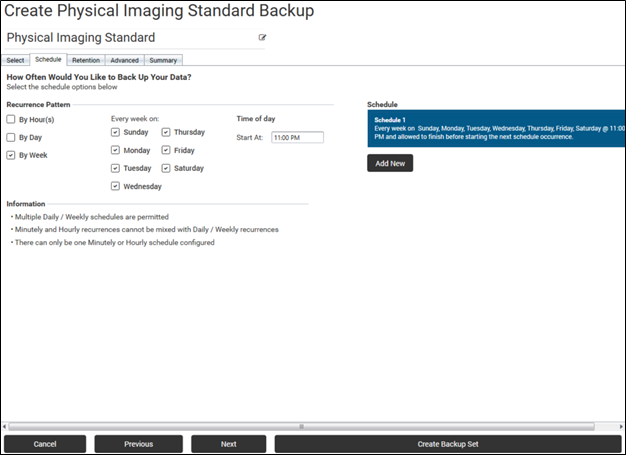
Accept or edit the default schedule. See About Backup Schedules for more information.
To add a new schedule, click Add New in the Schedule section.
The new schedule is displayed.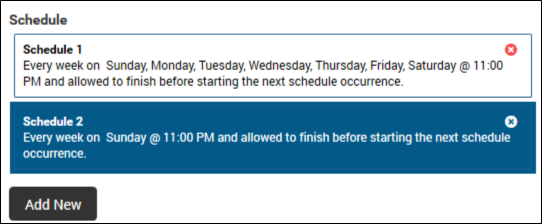
In the Recurrence Pattern section, select the times you want the schedule to run.
The new times are displayed.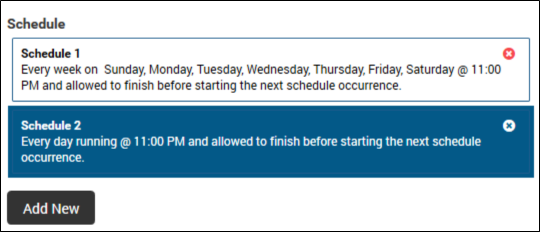
Duplicate schedules are not allowed:
The default schedule is every day @ 11:00 PM and backups are allowed to finish before starting the next schedule occurrence.
Multiple weekly schedules are permitted (if they do not overlap).
Hourly recurrences cannot be mixed with daily/weekly recurrences
Only one hourly schedule can be configured.
After setting the schedule, click Next.
The Retention page is displayed.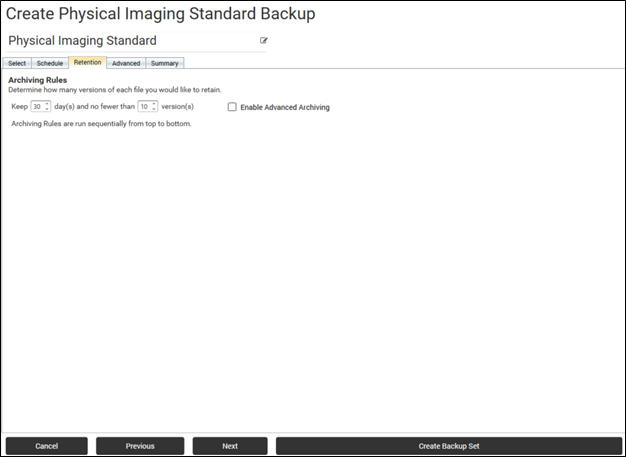
Select the number of versions you wish to archive and the number of days to retain.
Note: The default retains at least 4 recoverable versions of backups for 28 days.Optionally, select the Enable Advanced Archiving check box.
The Advanced Archiving fields and the Start from a Template button are displayed.
See Physical Imaging Advanced Archiving Rules and Templates for details and instructions.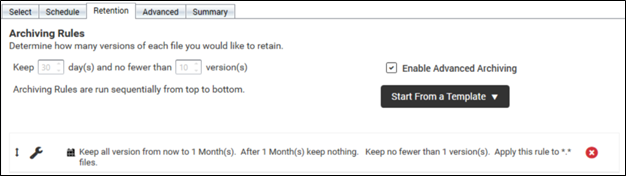
After making your selections, click Next.
The Advanced page is displayed.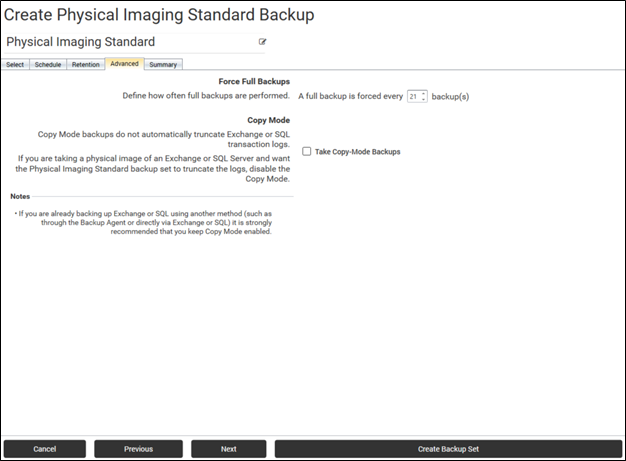
At the Force Full Backups section, specify how often full backups are performed after successful incremental backups.
Note: The range is from 1 to 60 backups. The default is every 21st incremental backup.At the Copy Mode section, select or clear the Take Copy Mode Backups check box, and then click Next.
Note: The Take Copy Mode Backups checkbox is selected by default.
Copy Mode backups do not automatically truncate Exchange or SQL transaction logs.
If you are taking a physical image of an Exchange or SQL server and want the Physical Imaging Standard backup set to truncate the logs, disable Copy Mode.
If you already are backing up Exchange or SQL using another method (such as through the backup agent or directly via Exchange or SQL), then keep Copy Mode enabled.
The Summary page is displayed.
Use the Previous button to display any page to change any of your selections.
After reviewing your selections, click the Create Backup Set button.
The backup set is created and displayed on the Backup Sets page.