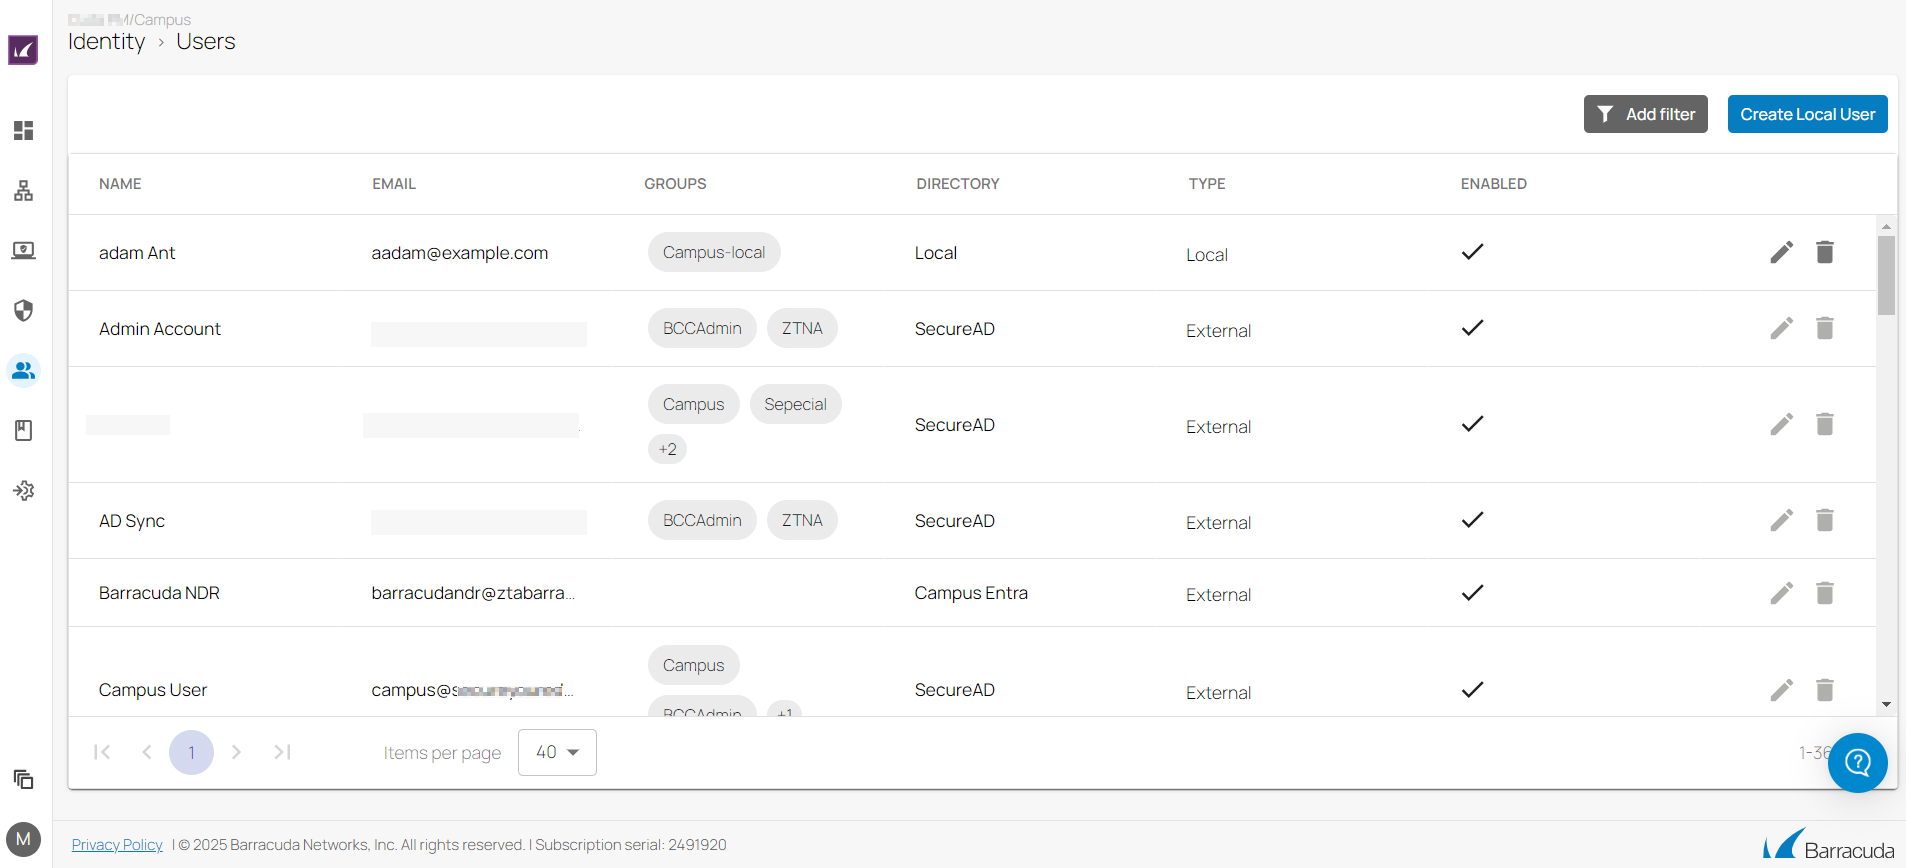
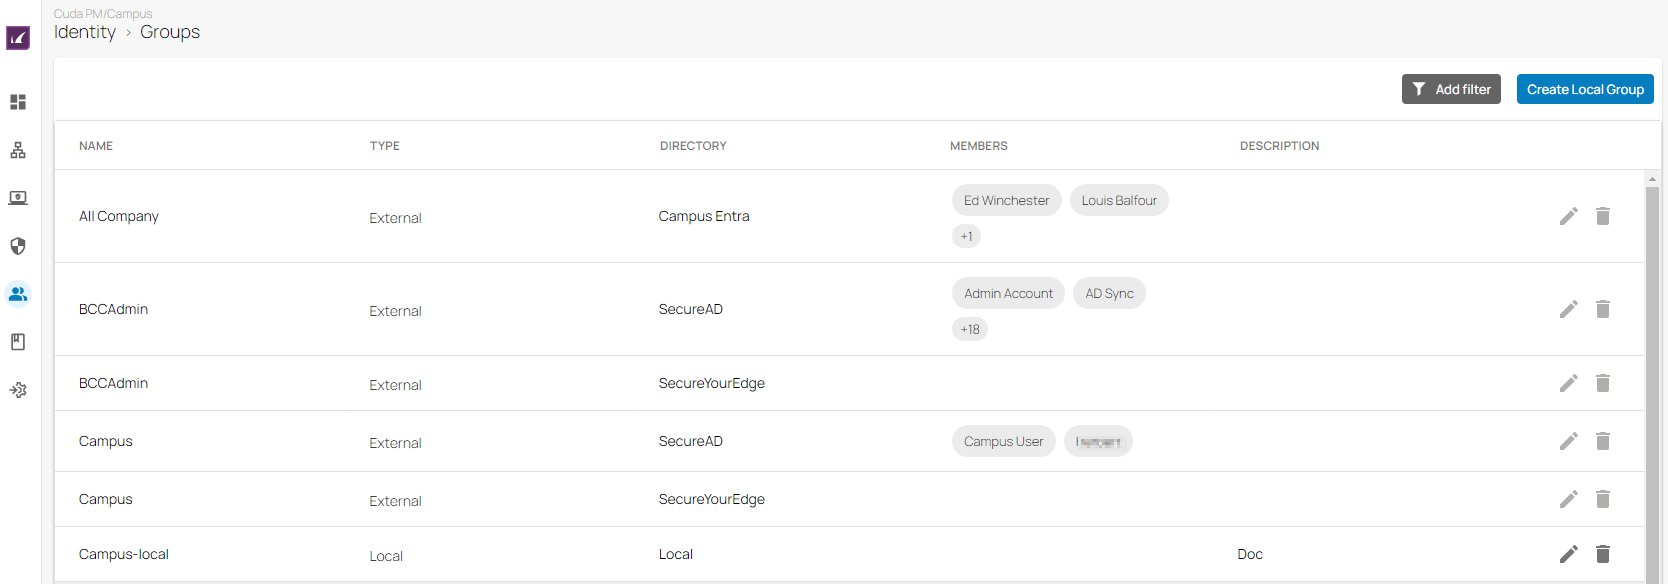
The Barracuda SecureEdge Manager displays all enrolled users or groups for a specific directory with respect to your selected workspace. You can view users/groups associated with a selected directory such as Microsoft Entra ID, Google Workspace, Barracuda Cloud Control, OKTA, LDAP, and SCIM. The Users page displays a searchable list of editable/non-editable users within the linked directory. The Groups page displays a searchable list of editable/non-editable groups within the linked directory. Only local users/groups can be edited via the SecureEdge Manager.
Users
Groups
Before You Begin
You must first configure your identity provider and user directory for the selected workspace. For more information, see How to Configure Identity Provider and How to Configure User Directories in SecureEdge.
Verify Users
Go to https://se.barracudanetworks.com and log in with your existing Barracuda Cloud Control account.
In the left menu, click the Tenants/Workspaces icon and select the workspace you want to verify the users for.
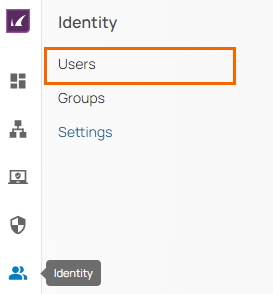
In the left menu, click Identity > Users.
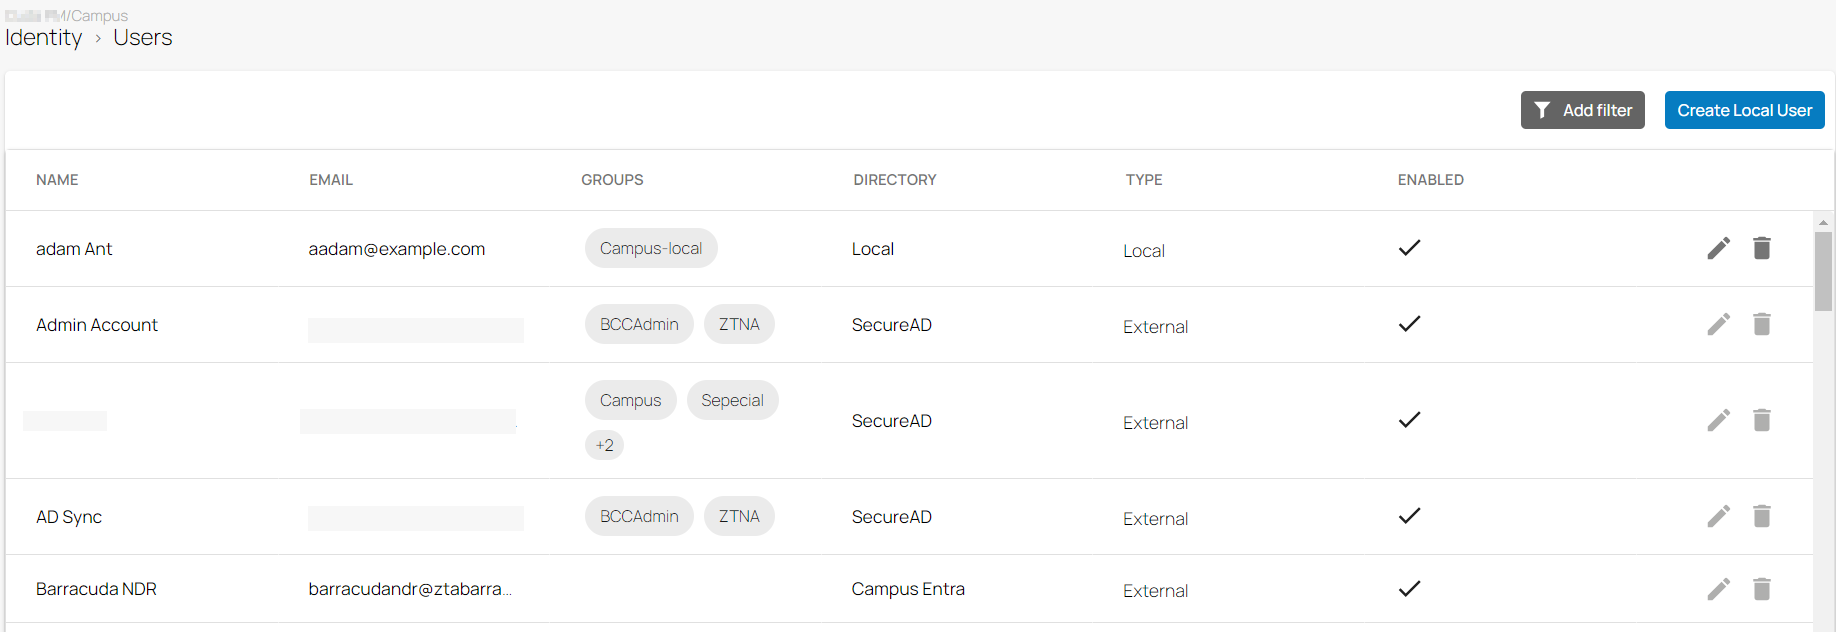
The Users page opens. All enrolled users with respect to your selected user directories in the selected workspace are displayed.
(Optional) Filtering Features
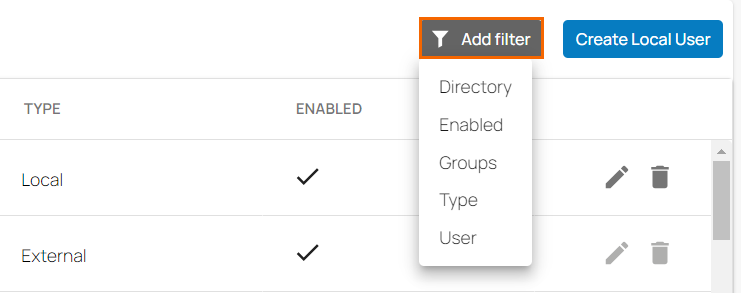
You can add filters to view specific users on the page. Click Add Filter in the top-right corner of a page and select the criteria you wish to search for. You can search for users based on directory, enabled, groups, type, and user.
For example, you can add a filter for Group and Type. In the example below, you see displayed all users with the ZTNA group selected and the type Enabled.
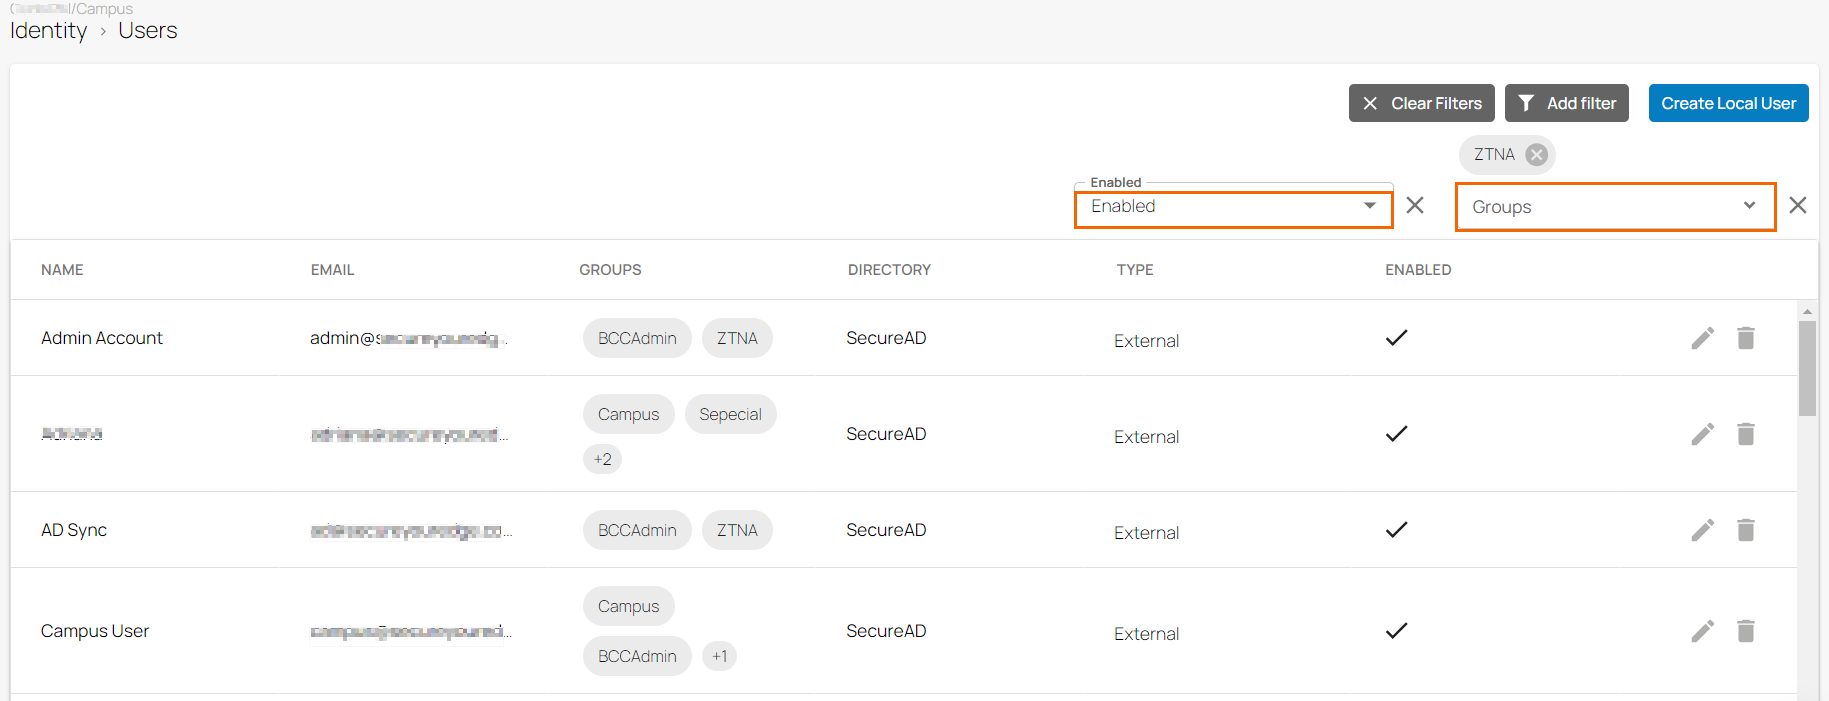
To reset the filter, click Clear Filters.
Verify Groups
Go to https://se.barracudanetworks.com and log in with your existing Barracuda Cloud Control account.
In the left menu, click the Tenants/Workspaces icon and select the workspace you want to verify the groups for.
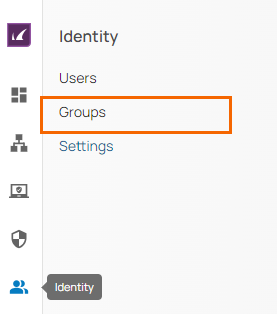
In the left menu, click Identity > Groups.
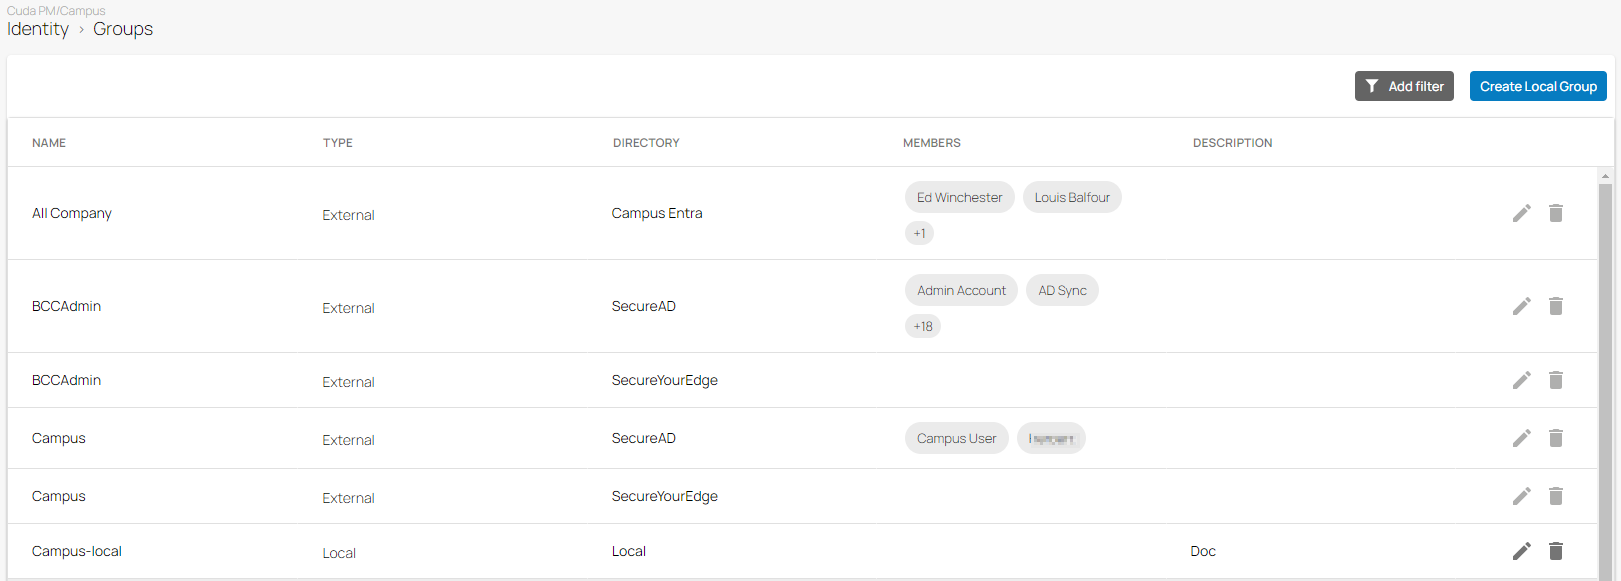
The Groups page opens. All enrolled groups with respect to your selected user directories in the selected workspace are displayed.
(Optional) Filtering Features
You can add filters to view specific groups on the page. Click Add Filter in the top-right corner of a page and select the criteria you wish to search for. You can search for groups based on directory, name, and type.
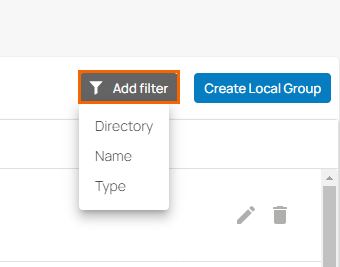
For example, you can add a filter for Directory. Select Directory from the drop-down menu. You can see that all directories named SecureAD in the selected workspace are displayed.
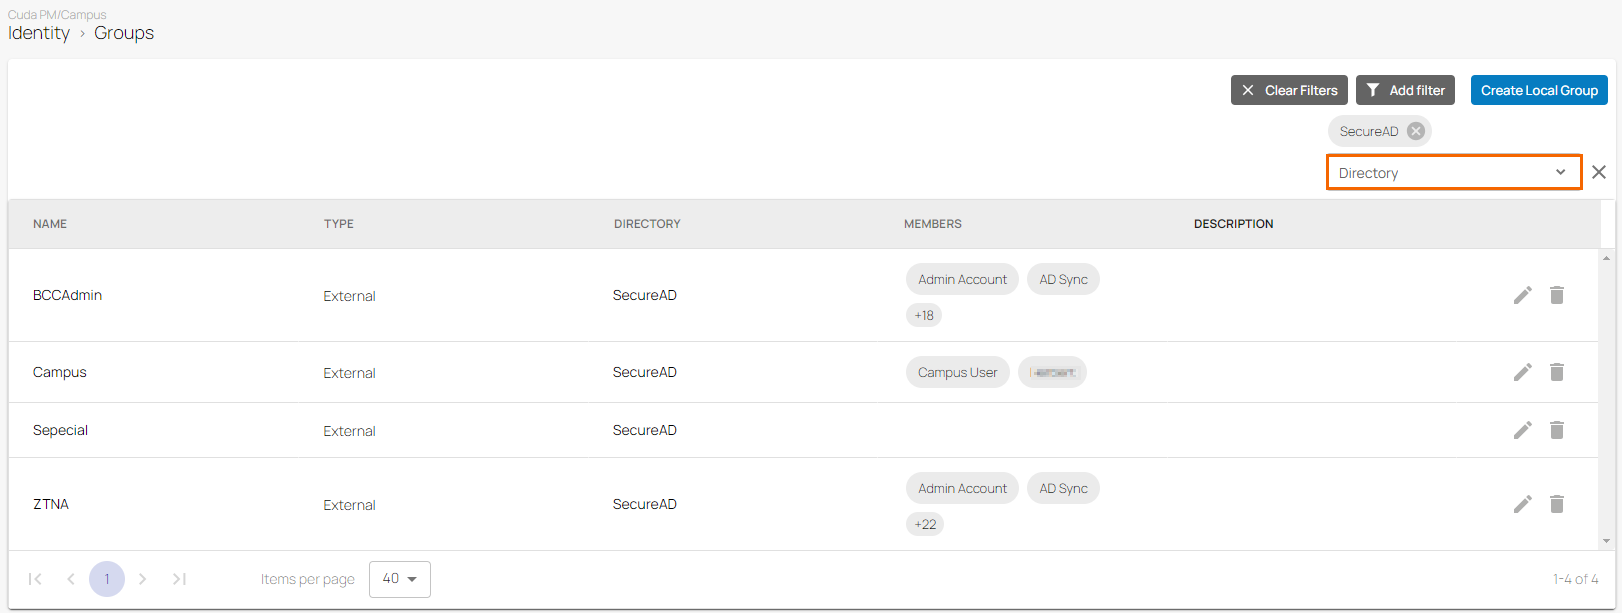
To reset the filter, click Clear Filters.
