This article covers the configuration of Okta for authentication. Use the following steps to create an Okta SAML application to use with SecureEdge. You can find more information in this Okta tutorial.
Configure SAML
Log into your Okta organization as a user with administrative privileges.
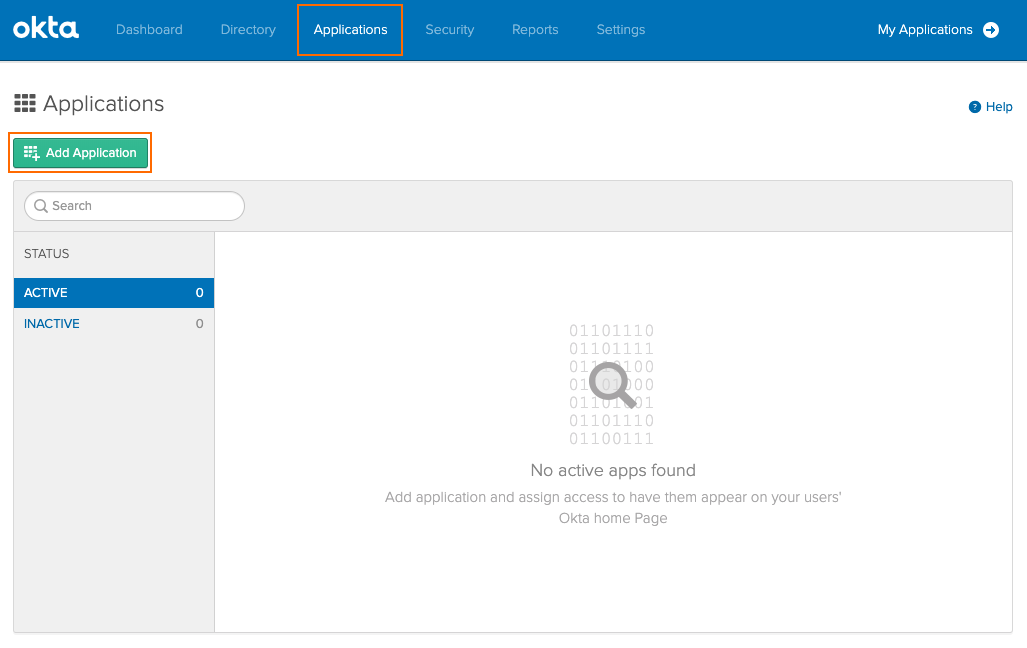
Create a new application by selecting Applications and click Add Application.
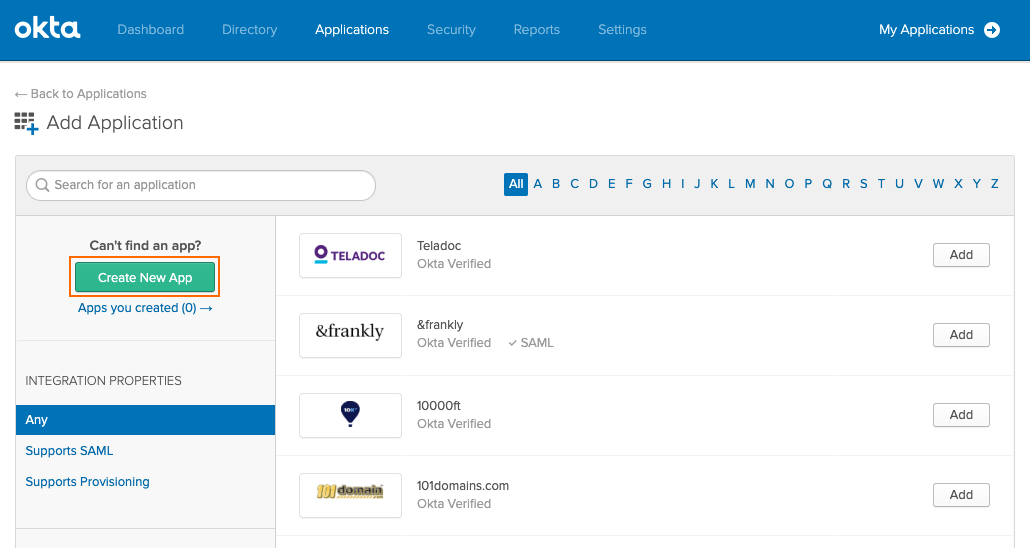
Select Create New App.
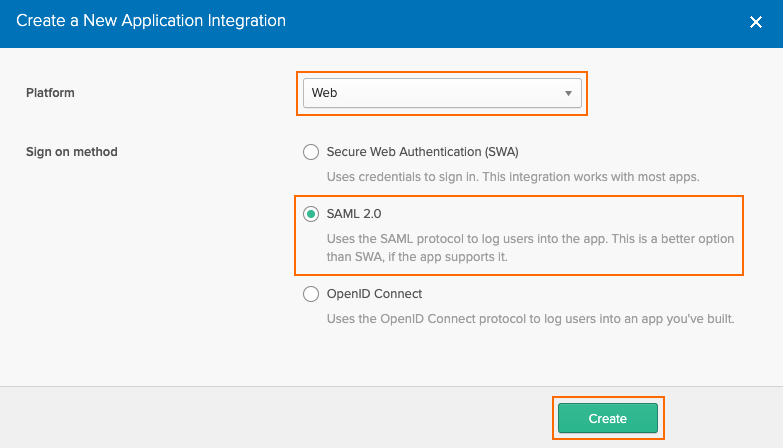
Configure custom application type. Specify values for the following:
Platform – Select Web.
Sign on method – Select SAML 2.0.
Click Create to continue.
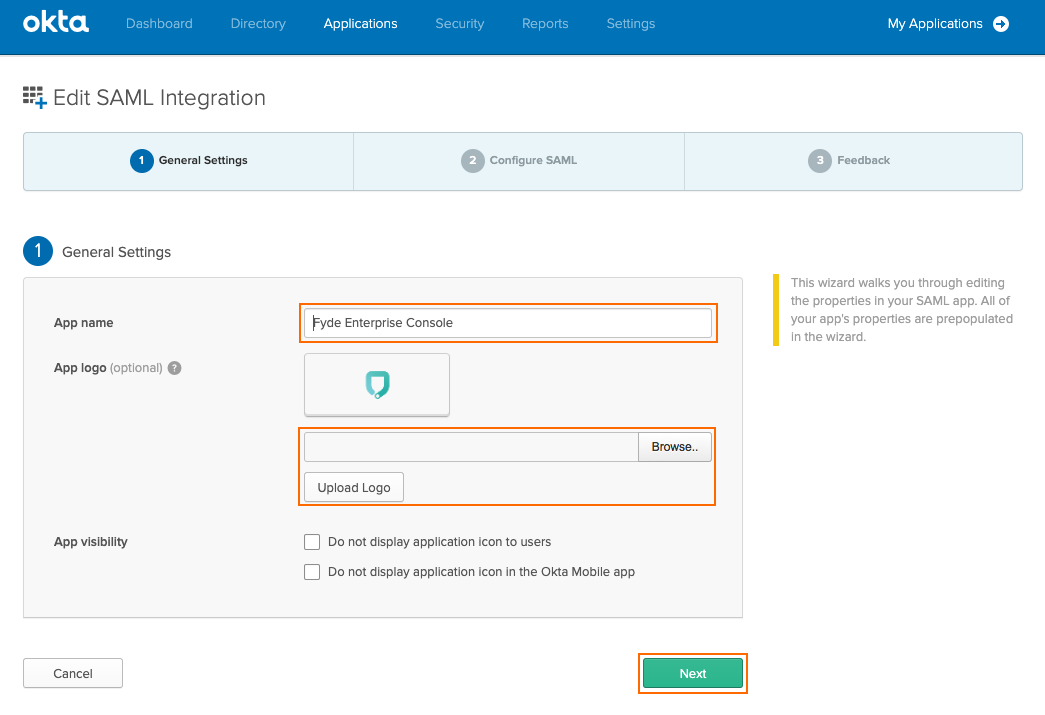
Configure custom application type:
Insert the desired App name (for example:
Fyde Enterprise Console).
Select Next to continue.
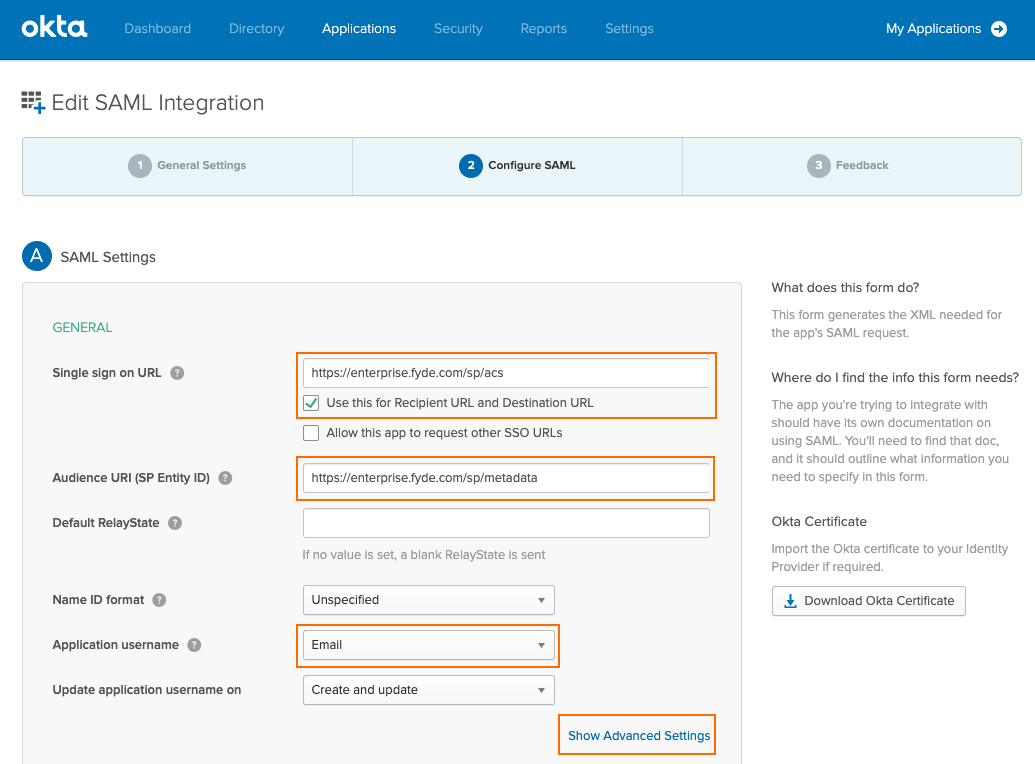
In this menu, the values will be used that were obtained from Step 8, e.g., Entity ID and ACS URL in How to Configure SAML 2.0 Configuration:
Specify values for the following:Single sign on URL (Assertion Consumer Service URL) – Enter the ACS URL obtained from Step 8 for the SAML 2.0 configuration.
Use this Recipient URL and Destination URL – Ensure the check box is selected.
Audience URI (SP Entity ID) – Enter the Entity ID obtained from Step 8 for the SAML 2.0 configuration.
Application username – Ensure is set to Email.
Leave the remaining fields in their default values (as shown).
Select Show Advanced Settings to continue.
In the Advanced Settings section, ensure that all the values are set as below.
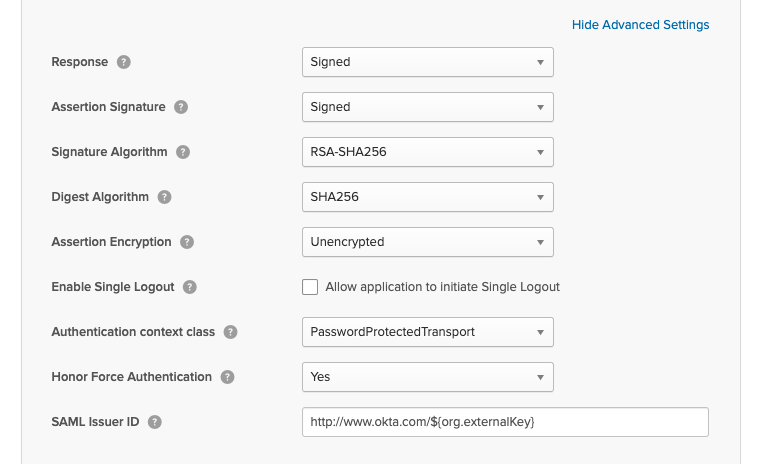
Click Next to continue.
Configure feedback and click Finish.

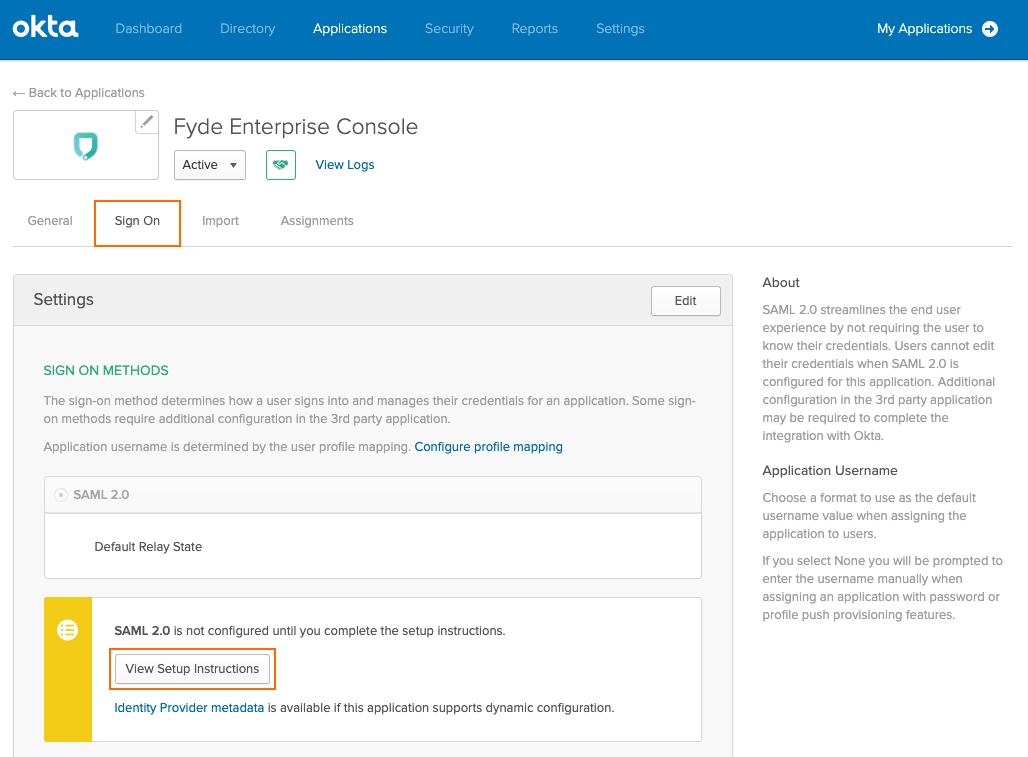
Get provider definitions by selecting Sign On and View Setup Instructions.
Use the values obtained to continue the Step 8 configuration, e.g., Entity ID and ACS URL in How to Configure SAML 2.0 Configuration:
Identity Provider Issuer - Entity ID
Identity Provider Single Sign-On URL - SSO URL
X.509 Certificate - Certificate
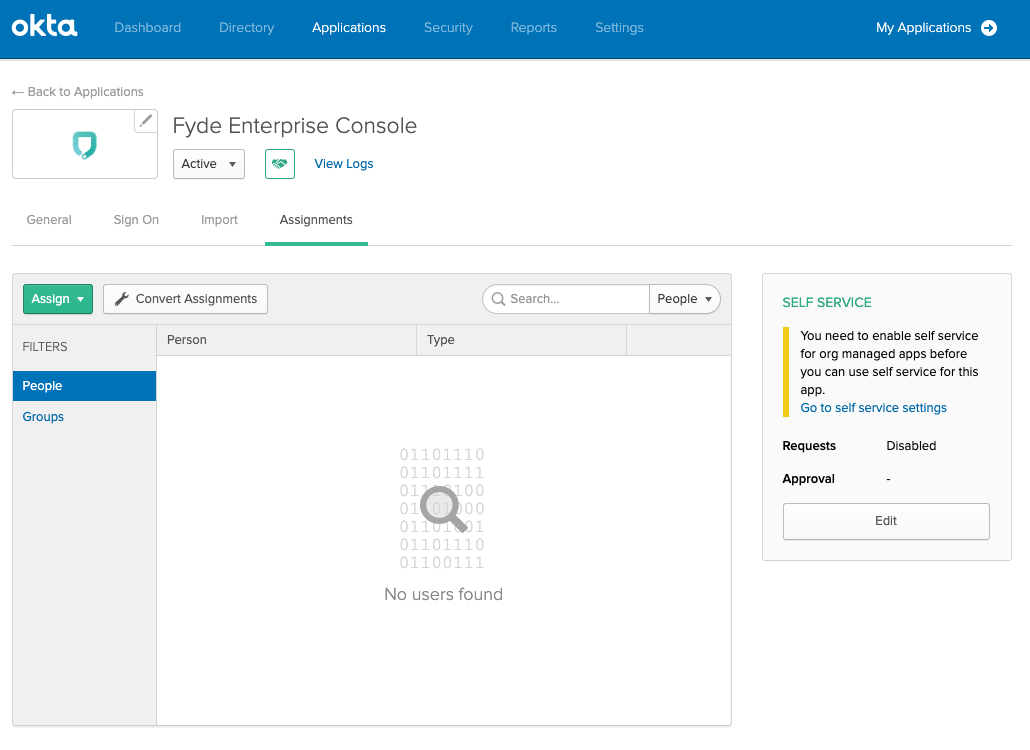
This app must be assigned to users: