

This is a guide for customers to assist with offboarding Barracuda Email Protection products.
Cloud Archiving Service
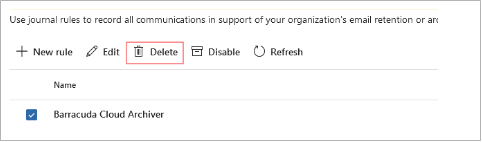
Remove the journal rule.
Navigate to https://purview.microsoft.com/datalifecyclemanagement/exchange/journalrules.
Select the journal rule for the Cloud Archiving Service.
Click Delete.
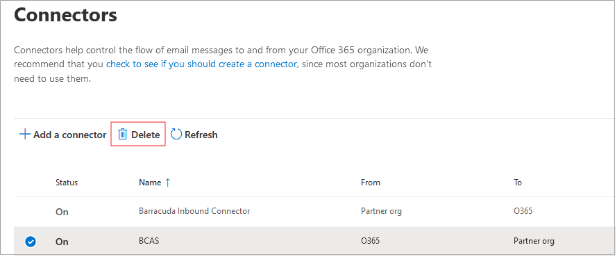
Remove the send connector.
Navigate to https://admin.exchange.microsoft.com/#/connectors.
Select the send connector that was created for the Cloud Archiving Service.
Click Delete.
Remove the application from Azure Enterprise Applications.
Navigate to http://portal.azure.com.
Go to Azure services > Enterprise Applications.
Locate the Barracuda Cloud Archiving Service application with application ID f2093a6d-9c74-41d8-ad61-160e6ff0510f.
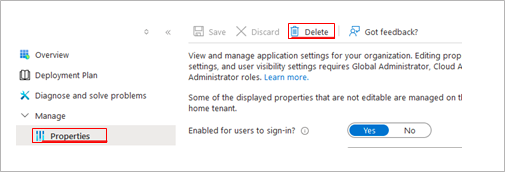
Navigate to Properties, and then click Delete.
Cloud-to-Cloud Backup
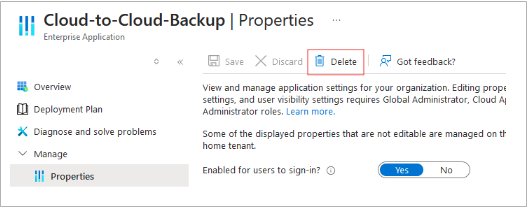
Remove the application from Azure Enterprise Applications.
Navigate to http://portal.azure.com.
Go to Azure services > Enterprise Applications.
Locate the Cloud-to-Cloud Backup application with application ID bea75f7a-2505-46e8-9bf6-d3f7da9c9da7.
Navigate to Properties, and then click Delete.
Data Inspector
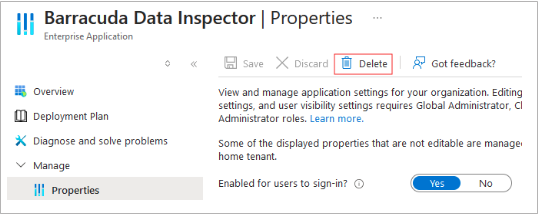
Remove the application from Azure Enterprise Applications.
Navigate to http://portal.azure.com.
Go to Azure services > Enterprise Applications.
Locate the Barracuda Data Inspector application with application ID 557dec0e-19cf-4d28-bc25-9561fd07d026.
Navigate to Properties, and then click Delete.
Domain Fraud Protection
If you were using Barracuda Networks to capture DMARC reports, ensure you update your DMARC record and remove the Barracuda mailto: entries in the ruf and rua report variables. This was set up in Step 1 - Configuring DMARC on Your Domain.
Email Gateway Defense
Delete any existing MX records from Email Gateway Defense, and update your MX records to your new email security provider.
Log into Email Gateway Defense, in the Domains page, remove your domains.
Update the SPF record. If you were routing outbound mail through Barracuda Networks, ensure that you remove the Barracuda include statement from your SPF record. This was set up in Step 2 - Configure Microsoft 365 for Inbound and Outbound Mail, Step 5. Configure Sender Policy Framework for Outbound Mail.
Remove the send connector. Disable (or remove) the send connector created on your mail server to route outbound mail to Barracuda Networks. This was set up in Step 2 - Configure Microsoft 365 for Inbound and Outbound Mail, Step 7. Configure Outbound Mail.
For Microsoft 365 customers only
Remove the Entra ID app from Azure Enterprise Applications. This application was used to sync your user list and provide SSO access for user quarantine.
Navigate to http://portal.azure.com.
Locate the Barracuda AzureAD Sync App – US application with application ID c98f100b-de82-441b-8ec6-400b448ec696.
Navigate to Properties, and then click Delete.
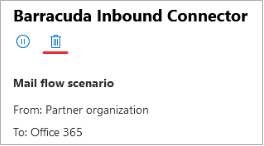
Remove the Barracuda Networks partner connector.
Navigate to https://admin.exchange.microsoft.com/#/connectors
Locate the Barracuda Inbound Connector and delete it.
Email Protection Outlook Add-In
Remove the Outlook Add-In.
Log into https://admin.microsoft.com.
Navigate to Settings > Integrated Apps.
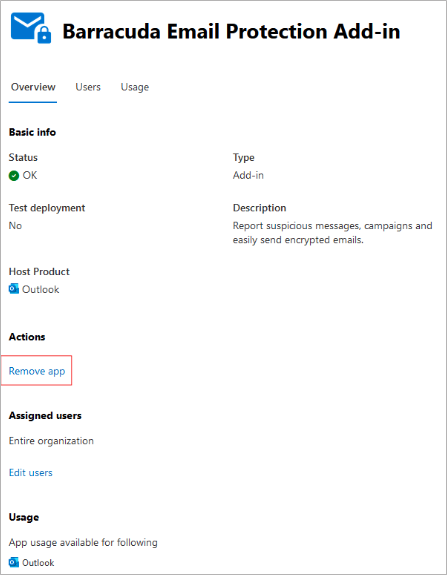
Click on Barracuda Email Protection Add-In.
Click Remove App.
Impersonation Protection (Email Threat Scanner)
Remove the application from Azure Enterprise Applications. This removes Barracuda Networks' access to the mailboxes.
Navigate to http://portal.azure.com.
Locate the Barracuda Networks application with application ID 8f0bb7d0-51ef-4c03-8837-ab91cbc1c509.
Navigate to Properties, and then click Delete.
Incident Response
Note: Incident Response uses the same application as Impersonation Protection. If you have already deleted the application for Impersonation Protection, there is nothing else to remove for Incident Response.
Remove the application from Azure Enterprise Applications. This removes Barracuda Networks’ access to the mailboxes.
Navigate to http://portal.azure.com.
Locate the Barracuda Networks application with application ID 8f0bb7d0-51ef-4c03-8837-ab91cbc1c509.
Navigate to Properties, and then click Delete.
Security Awareness Training
Remove the Entra ID connector from Azure Enterprise Applications.
Navigate to http://portal.azure.com.
Go to Azure services > Enterprise Applications.
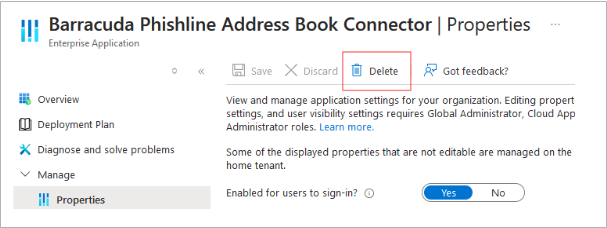
Locate the Barracuda Phishline Address Book Connector application with application ID 4326c83b-02a7-4dc3-817f-455022887768.
Navigate to Properties, and then click Delete.
Inline Deployment
Delete the following connectors:
Barracuda Inbound Connector (Inline)
Barracuda Outbound Connector (Inline)
Barracuda Outbound Connector
Delete the following mail flow rules:
Forward to Barracuda Networks unless secret header is present
Remove Barracuda header secret from scanned emails
Outbound mail filtering
Remove the Barracuda Tenant Allow List entries from https://security.microsoft.com/tenantAllowBlockList.
Remove the Barracuda IP from the Connection filter policy https://security.microsoft.com/antispam.
To run a script containing all outlined steps, download and run the provided script: Inline Deployment Offboarding Script